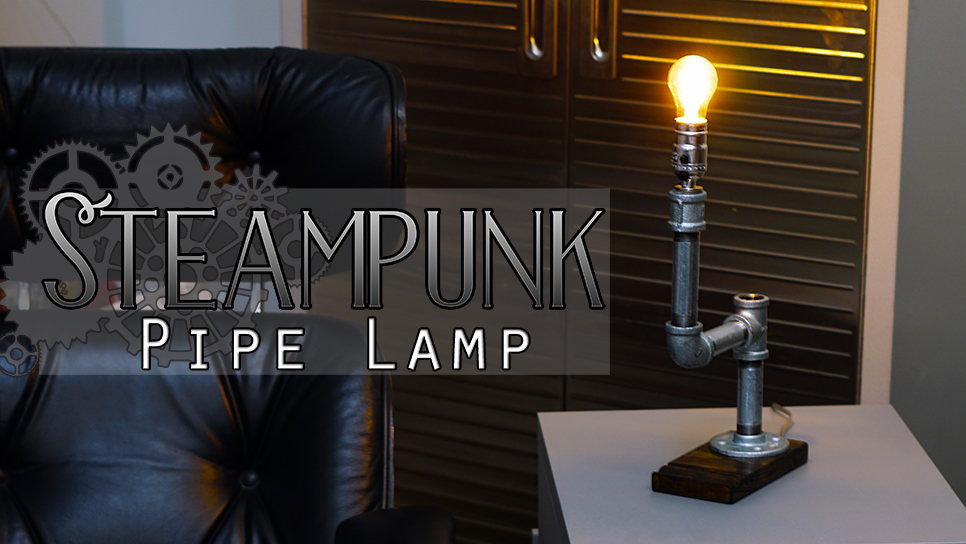
Warning! This Post is Electric!
But literally, I decided to do some functional decor and made a DIY Father’s Day present this year of an industrial/ Steampunk Pipe Lamp. This lamp as easy as drilling some holes and screwing some bits together. It really is a great project for a visually interesting but easy-to-make lamp for any home. The best part is that it is so versatile. Literally, your hardware store is just a kit of parts!
Materials for DIY Steampunk Pipe Lamp
- 3/4″ Galvanized Pipes and Fittings (per your design. My design described below)
- 1 – 3/4″ Floor Flange
- 3 – 3/4″x4″ Threaded Nipple Fittings
- 1 – 3/4″ 90 Degree Fitting
- 1 – 3/4″ T-Shaped Fitting
- 1- 3/4″ Coupling Fitting
- 7″ x 3 3/4″ x 3/4″ Wood Applique – or similar chunk of wood
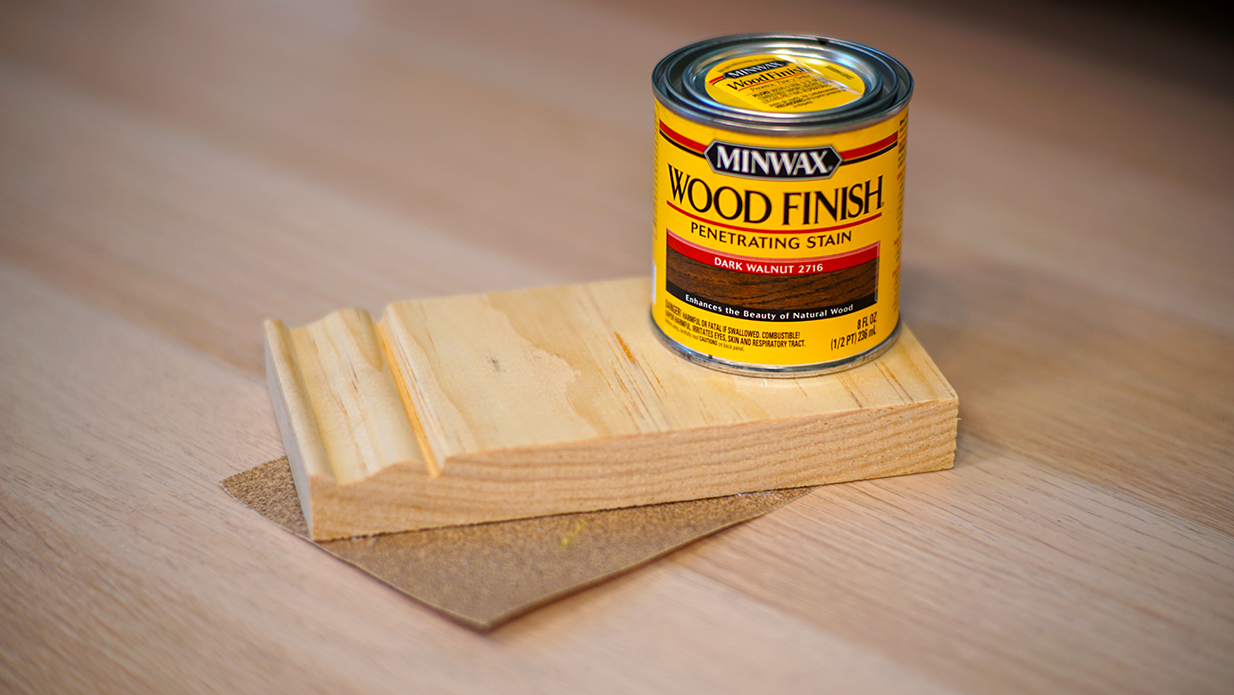
- Wood Stain – I used Minwax Dark Walnut
- Polyurethane Sealant
- Bottle Lamp Wiring Kit
- 4 – 1/2″ Screws
- Edison Bulb to fit a standard light socket (E26)
- Drill and Drimmel
Shopping for parts for the DIY Steampunk Pipe Lamp
When first getting started on the DIY Steampunk Lamp I scoured through my big box hardware store to find bits and pieces I would need for it. The pipe fittings are in the plumbing section of the store. There are lots of different sizes. I decided to keep at 3/4″ because 1″ was weirdly exponentially more expensive. That was actually a good choice because the bottle lamp kit’s maximum fitting was for a 3/4″ opening. You can create your steampunk pipe lamp with smaller pipes if that tickles your fancy. However, be careful that you are definitely getting the right sizes as in don’t just blindly trust the boxes, look at the packaging/pieces as well.
Creating the base for the DIY Steampunk Pipe Lamp
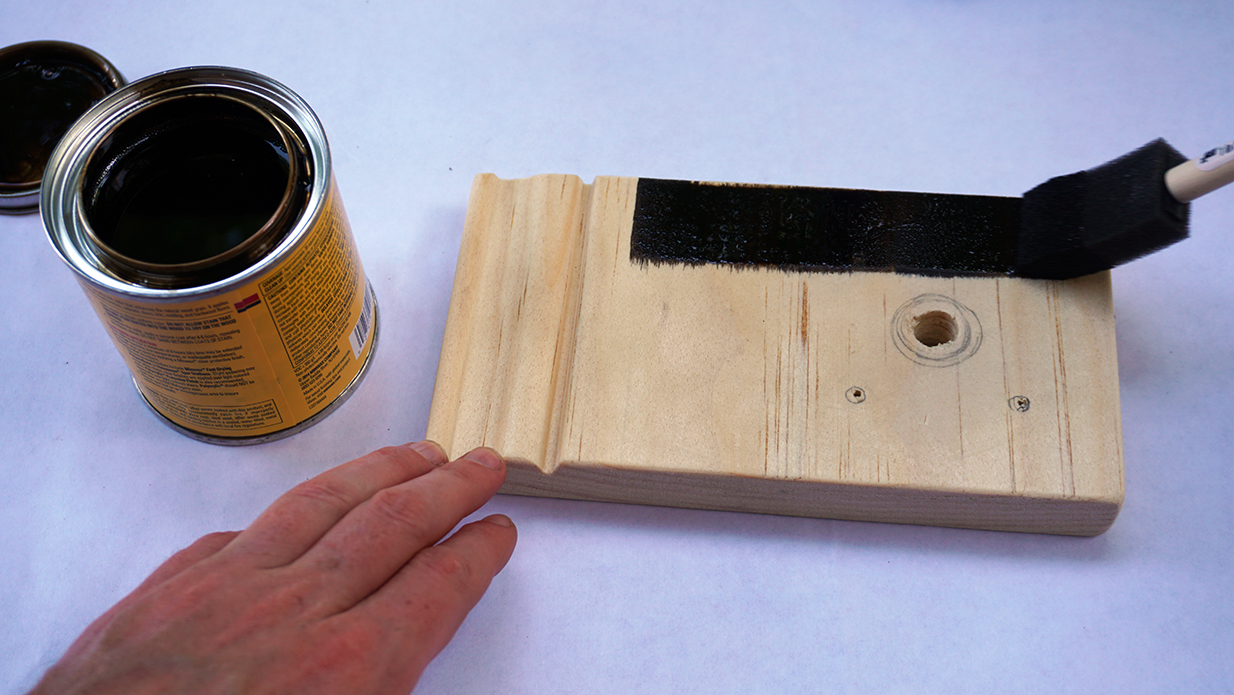
After gathering all my supplies I started prepping my base for the DIY steampunk pipe lamp. I settled on the biggest applique of millwork. The original intention of the applique was for windows or stair posts, but in this life, it has a different destiny. I sanded down the sharp corners and edges. After determining where I wanted my lamp to sit on the base drilled a hole with the biggest drill bit I owned to prepare for where the wire will eventually go through.
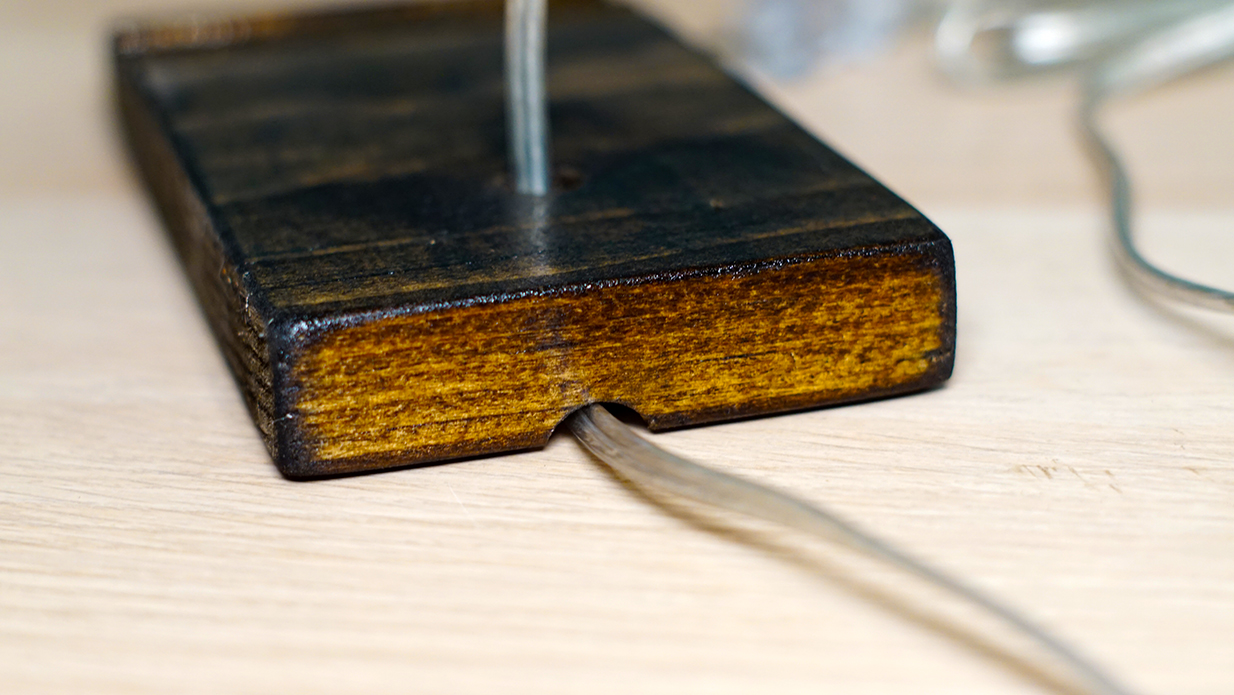
If I really thought things through this would also be the point where I took a Drimmel and sanded down a stripe to the back of the base. This would act as a guide for the wire so the base sits flush to the table then stain the applique. Instead, I stained it first then sanded the stripe which means I had to get out my stain again just for the stripe. As soon as the stain dried I applied a layer of spray Polyurethane to protect it.
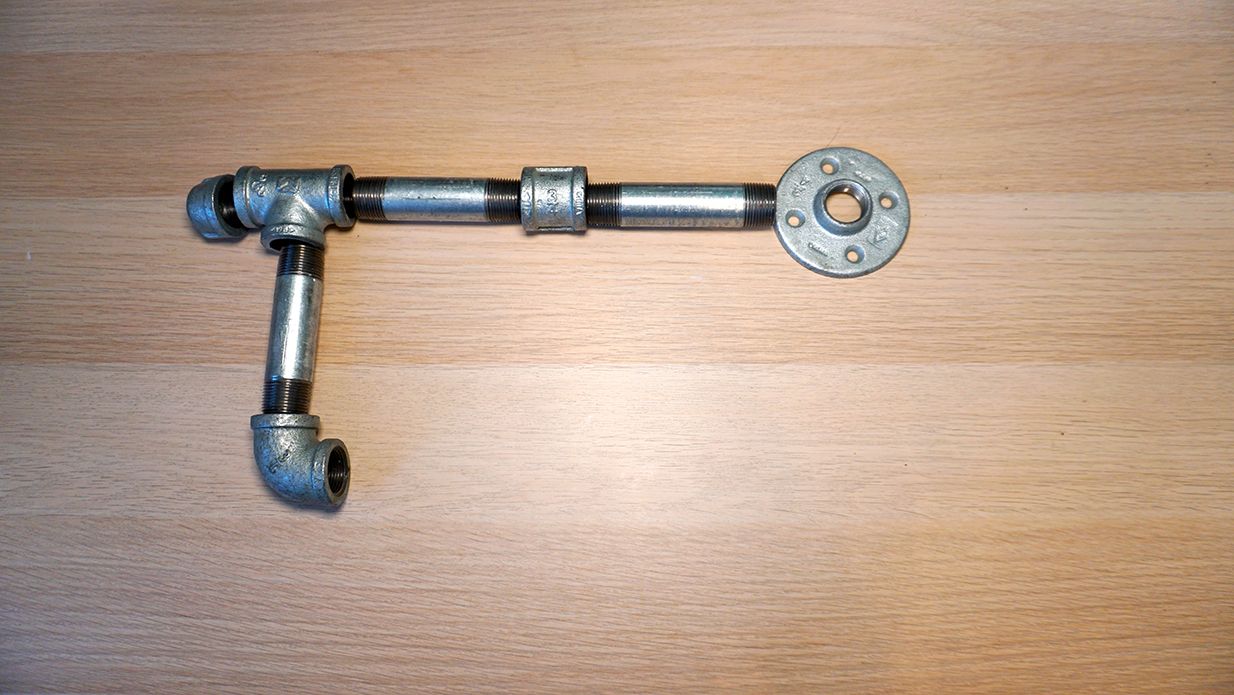
Assembly of the pipes
When the base is finished drying it is time to assemble the pipes for our DIY Steampunk Pipe Lamp. I took my 4 screws and started to screw down the flange around the hole I previously drilled. Okay, really I drilled into one which turned out to be a smidge longer than the applique thus making a tiny hole in my new table (ugh). So I scrounged up 4 slightly smaller screws and actually screwing it in (without damaging my table). After a bit of play, I screwed the pipes into their final steampunk pipe lamp shape.
Wiring the DIY Steampunk Pipe Lamp
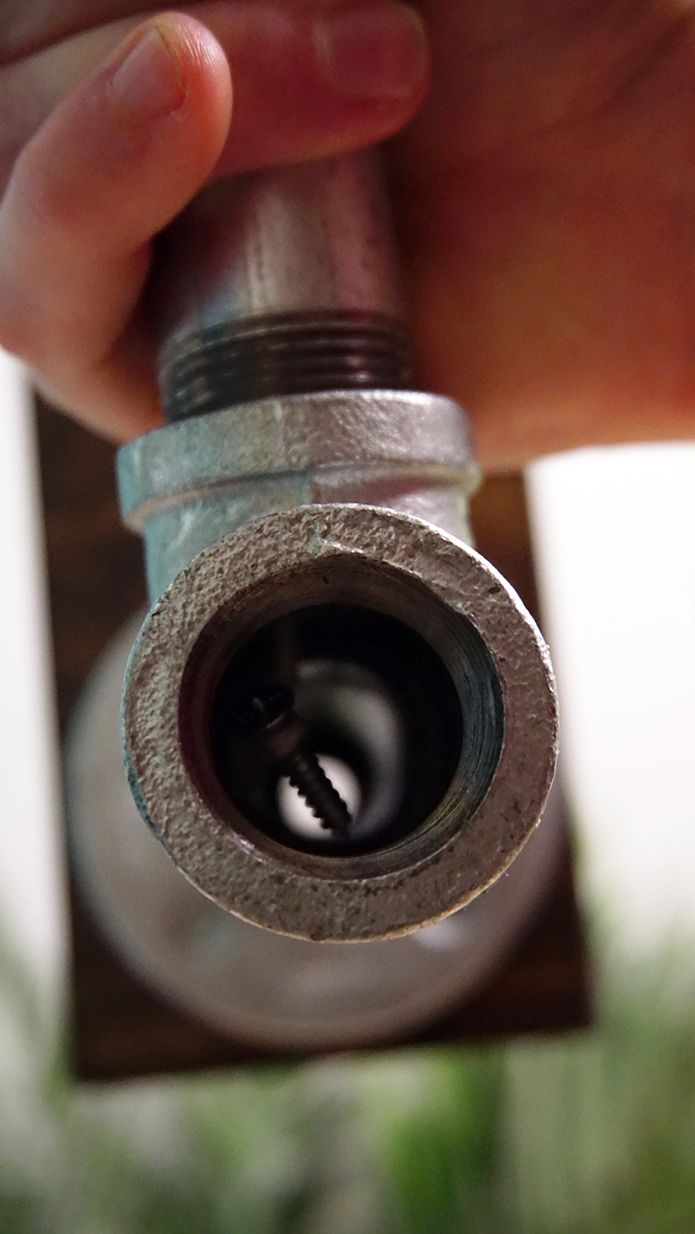
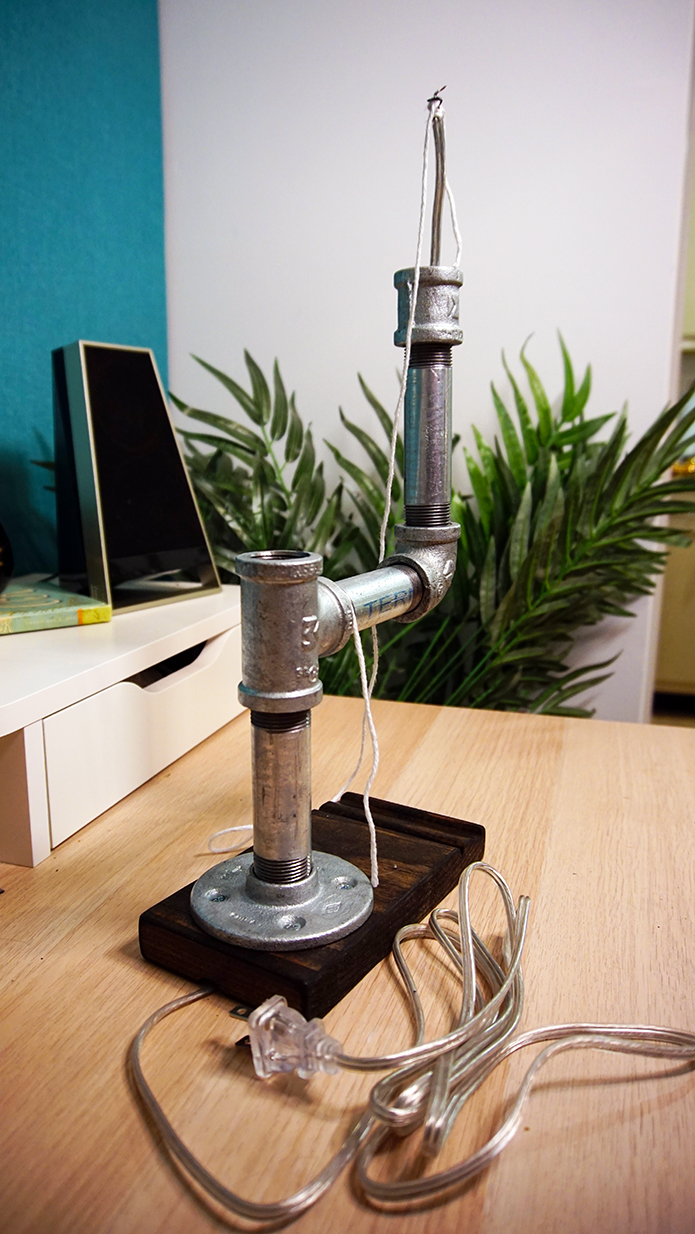
Okay so this thing is starting to look super dope but not super lampy. Before bringing out the kit to make a bottle lamp we first need to make sure the wiring will get through all the kinks and curves of the pipe. What I did was tied the dang screw that made a hole in my table to a length of string I then put the screw into the top of the lamp. With the assistance of gravity, patience, and a lot of jiggling eventually it will go through all the curves of the pipes and down the bottom. Once properly through I tied the open end of the wire to the string and pulled back the other way so the plug end of the wire was at the base.
Making it Lampy
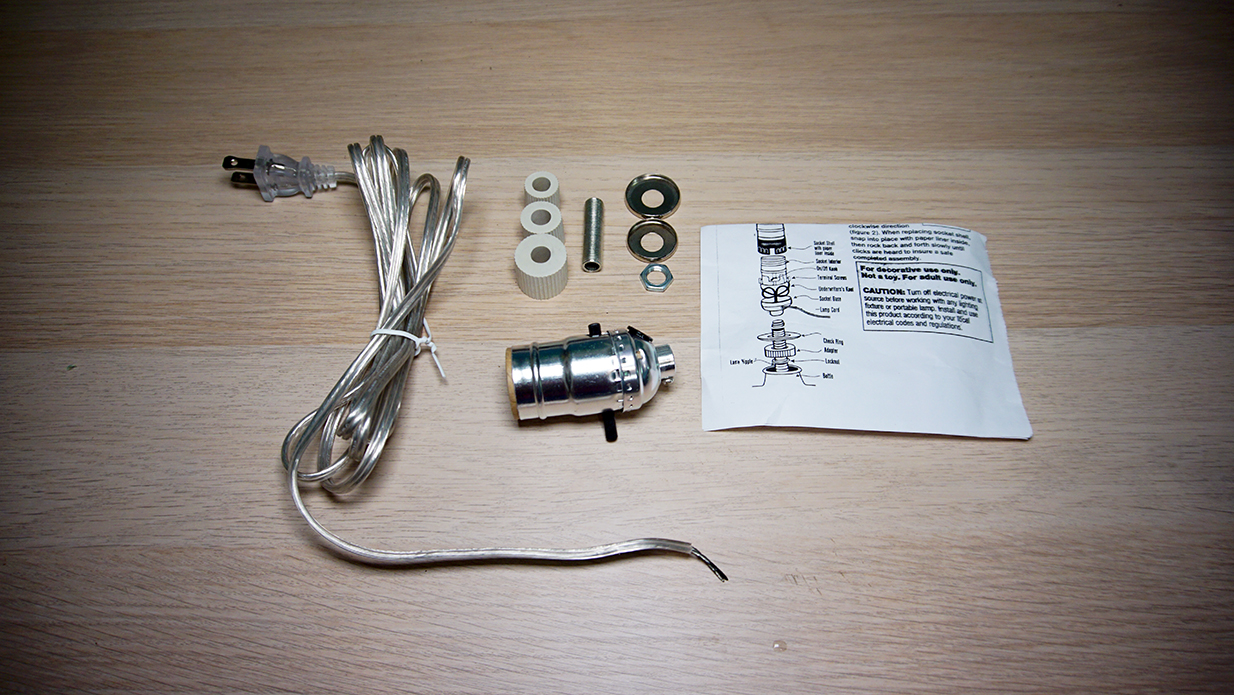
This is the part where when talking to people about this project they start feeling squeamish. Ehhh. Electricity? Isn’t it dangerous? Yes… and No. I absolutely don’t encourage anyone to pretend to be masters of the electrical currents and wire their whole home, but take a moment to trust yourself. You aren’t building Deep Thought. You’re turning on a lightbulb which kids do with a potato. Make sure you or your evil twin didn’t plug in the wire since stringing it through the lamp and follow the directions given by the kit. Mine had a clear diagram to help me through the whole wiring process. The only difference I made was that in my kit I had a hole to allow the chord to go through the base of the bulb housing. I just strung it through the bottom instead to make for a cleaner look to the whole shebang.
The only difficulties I had was tying the underwriter’s knot and identifying the neutral wire. I found the video from See Jane Drill to be incredibly useful on how to create the knot. When it came to identifying the neutral wire it took a while to find the subtle differences in texture. Buuuuut after feeling up my wires I noticed one of the rubber insulation sleeves was completely smooth, while the other had a bit of extra vertical ribbing. The directions mention ribbing and I thought it would be in circumference, but it’s not like a condom. It was simply an extra line of vertical rubber up and down the insulation.
Little Touches for the DIY Steampunk Pipe Lamp

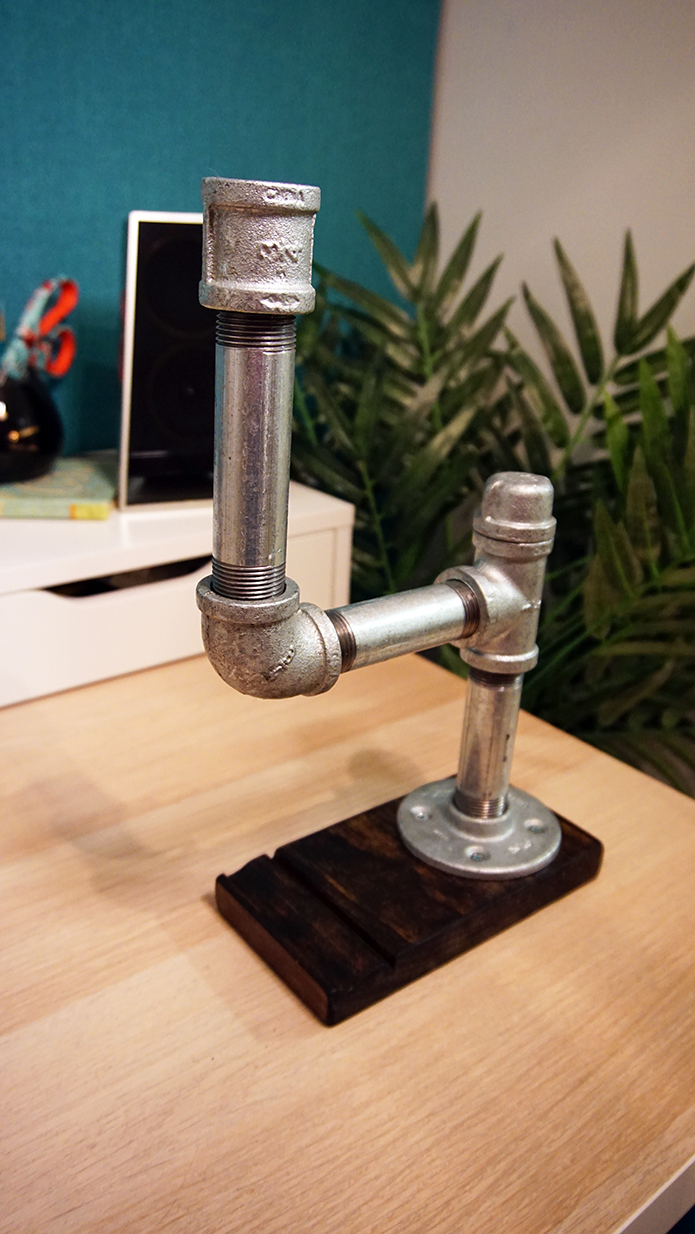
Huzzah! I screwed in my Edison bulb and The Steampunk Pipe Lamp is finished! There are a few little subtle things I did to really make this project sparkle. I chose everything in dark, steampunky tones. That meant a silver lamp kit, silver screws and dark wood base. Since it was a father’s day present I personalized the bottom with some script and notations to commemorate it. Also part of the cork for the lamp stuck out so I colored it in with metallic Sharpie. I know! It’s stupidly simple but I try to use the Occam’s Razor approach and you wouldn’t be able to tell (unless you’re being nit-picky).

This DIY Steampunk Pipe Lamp was a super fun project to work on and I hope you enjoyed my tutorial. Thank you for dropping by and I hope you come back soon!
![]()
I love the industrial feel of the lamp! Is there a purpose to the opening at the first T-joint above the base?
I wanted to cap it off ( you can see the cap in some pictures) but I didn’t have the foresight to purchase a short nipple to connect the cap. I tried gluing it but I didn’t have the right glue. Because I wasn’t feeling it for going to the hardware store again; I opted to let the lamp open to suggest that there could be more connection points for further customization of the lamp.
Enjoye
ost but I was wondering if you could write a litte more on this topic? I’d be very grateful if you could elaborate a little bit more. Cheers!
Thank you for your interest! Which part would you like me to expand? I really appreciate your feedback!