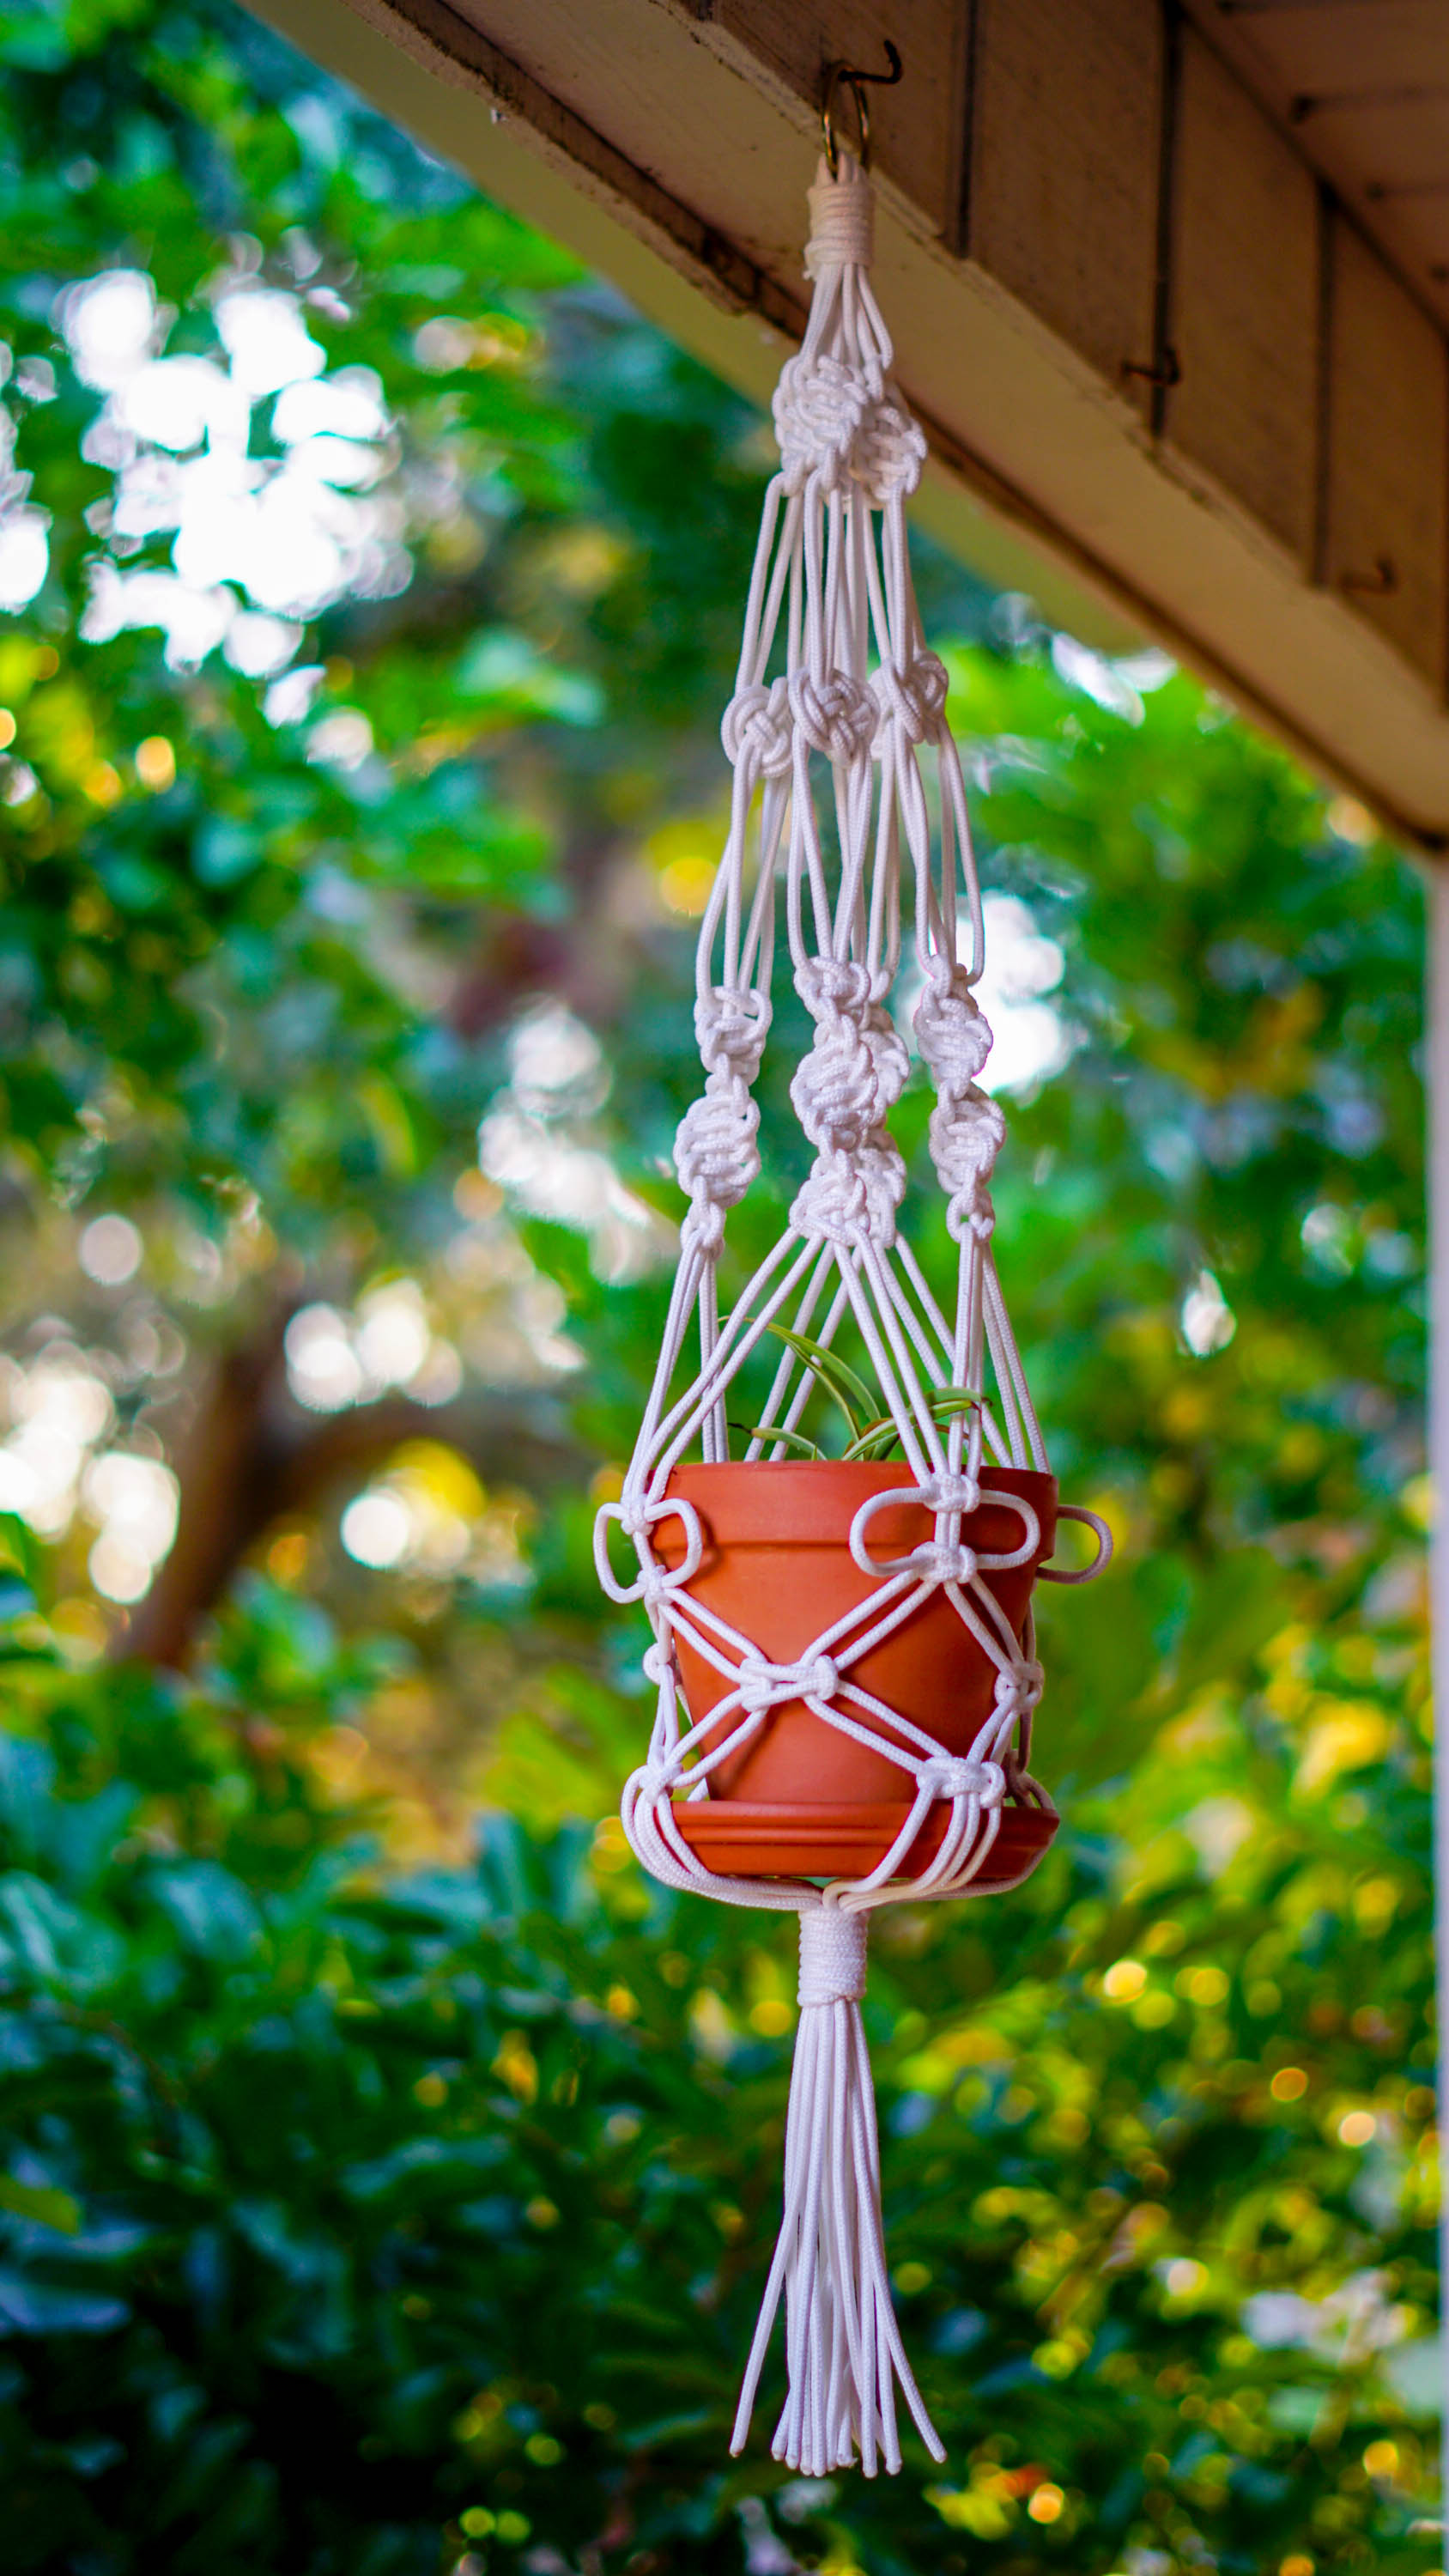
I love my kitties, but I also love plants. Mostly plants that can be used for cooking but the occasional houseplant. In order to keep the cats from munching and knocking over the plants, I decided to make a macrame plant hanger
Houseplants and Pets
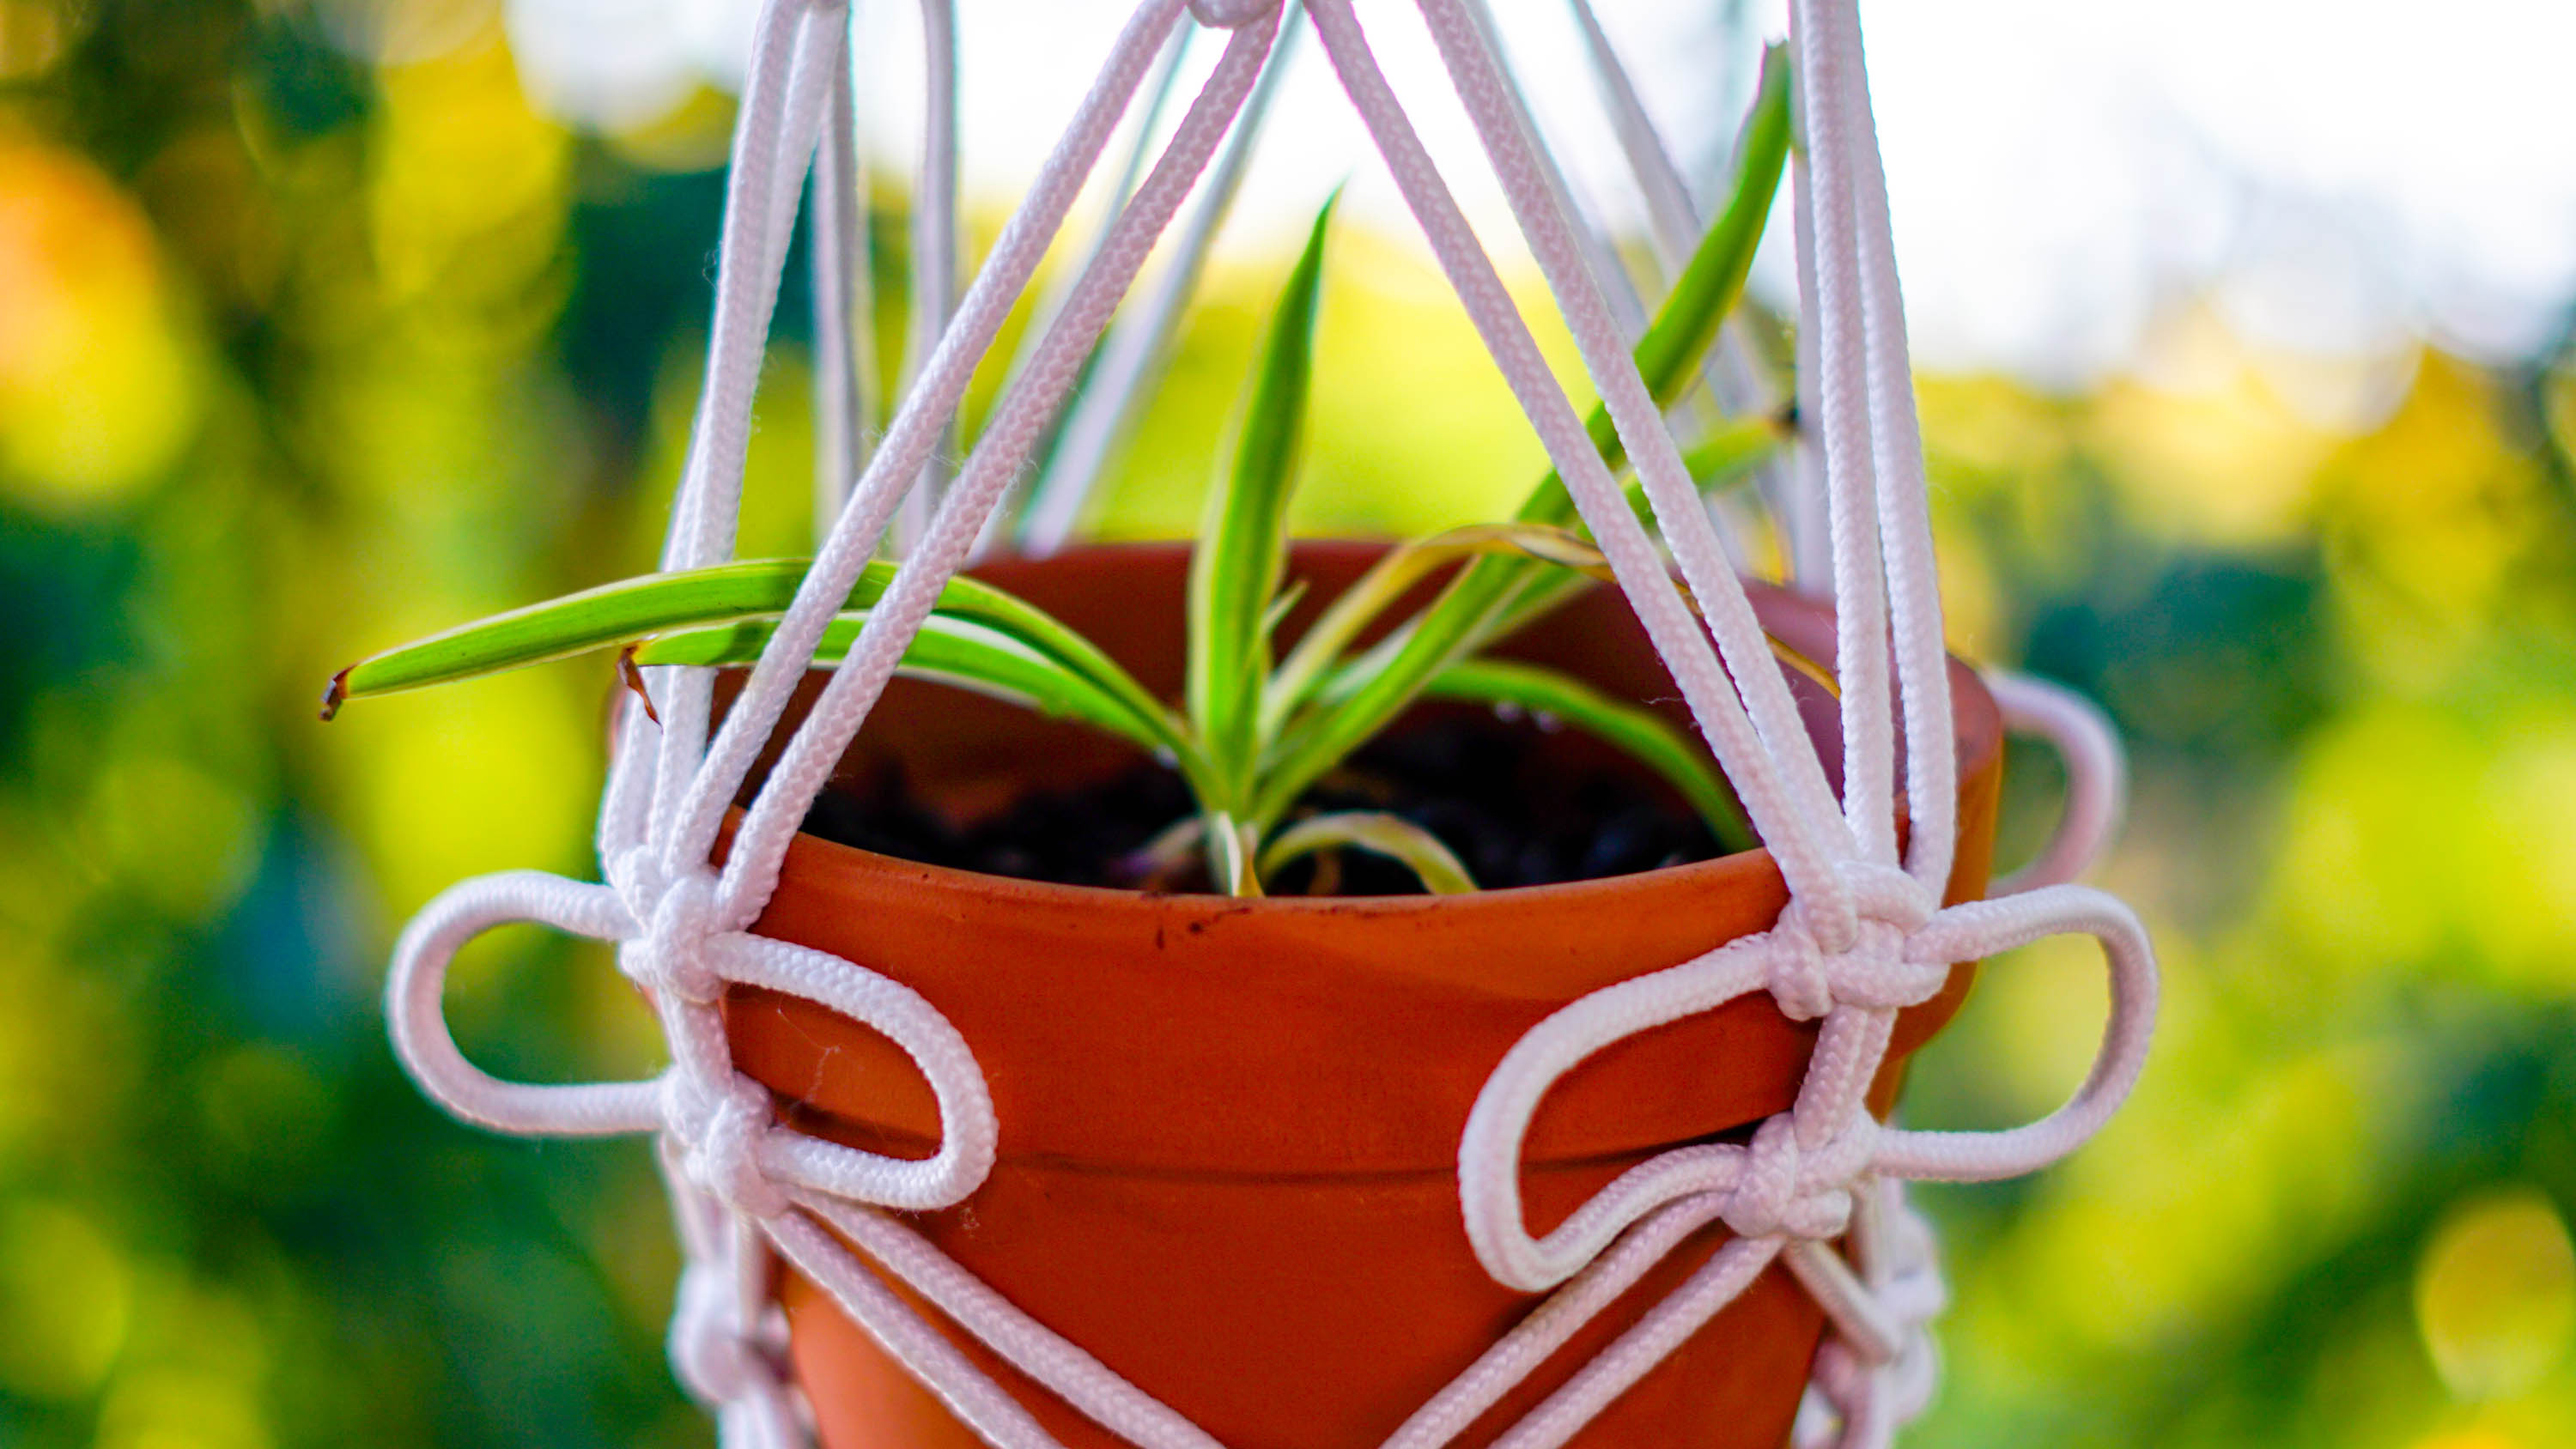
Although I purposefully put my houseplant out of reach of kitties I still never bring any plant indoors that could poison or harm my pets. I think it’s good practice to keep in mind that many plants are toxic to pets and it’s just better to make sure every plant within the pet’s environment is safe.
ASPCA has an easy-to-follow comprehensive list of toxic and non-toxic plants to dogs, cats, and even horses. By easy to follow I mean the searchable plant database has an identifiable stock photo and max 5 lines of bulleted descriptions followed by an abundantly clear “Toxic/non-toxic to dogs, Toxic/non-toxic to cats, Toxic/non-toxic to horses.” Taking the two minutes to search your potential new plant could prevent a lot of
Materials for Macramé Plant Hanger
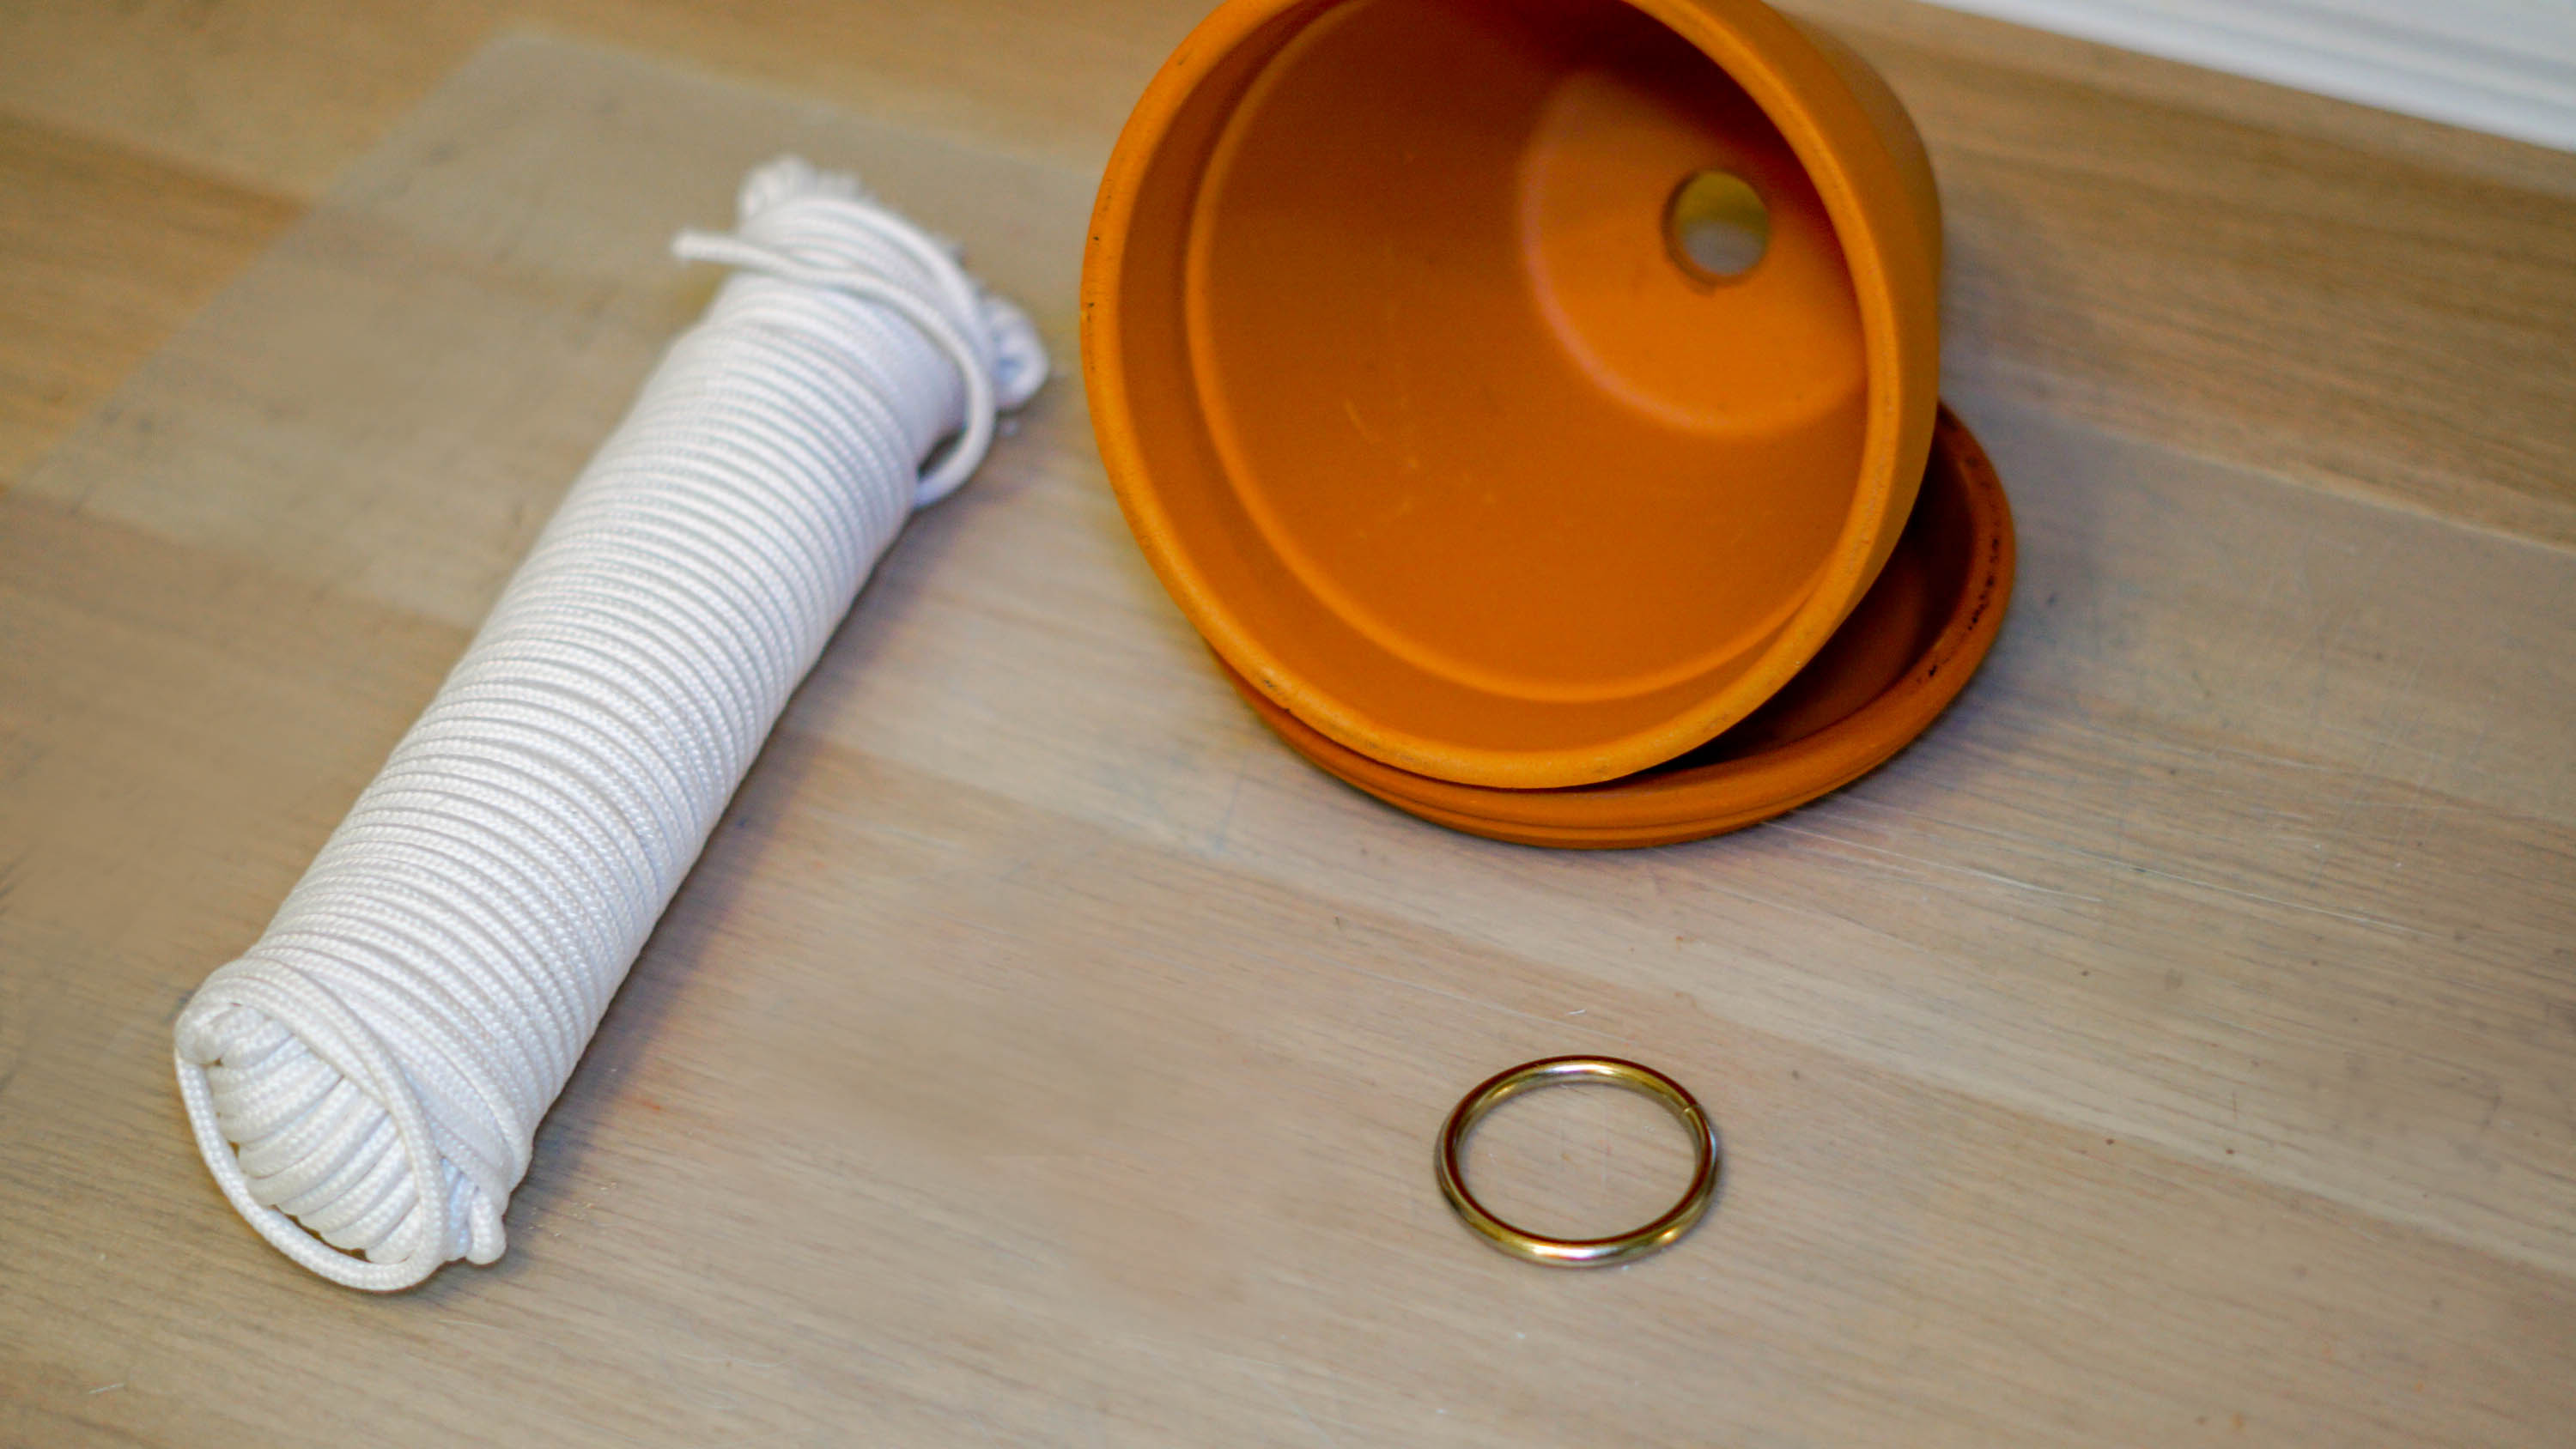
- ~100′ Nylon/ Paracord/ Cotton Rope
- 8 ropes of 12′ OR 12 ropes of 8′ (for a smaller project)
- 2 ropes of 2′
- Metal or Wood Rings
- Lighter
- Small Potted plant with drainage plate (if Indoors)
- Hook to hang from (Swag Hook)
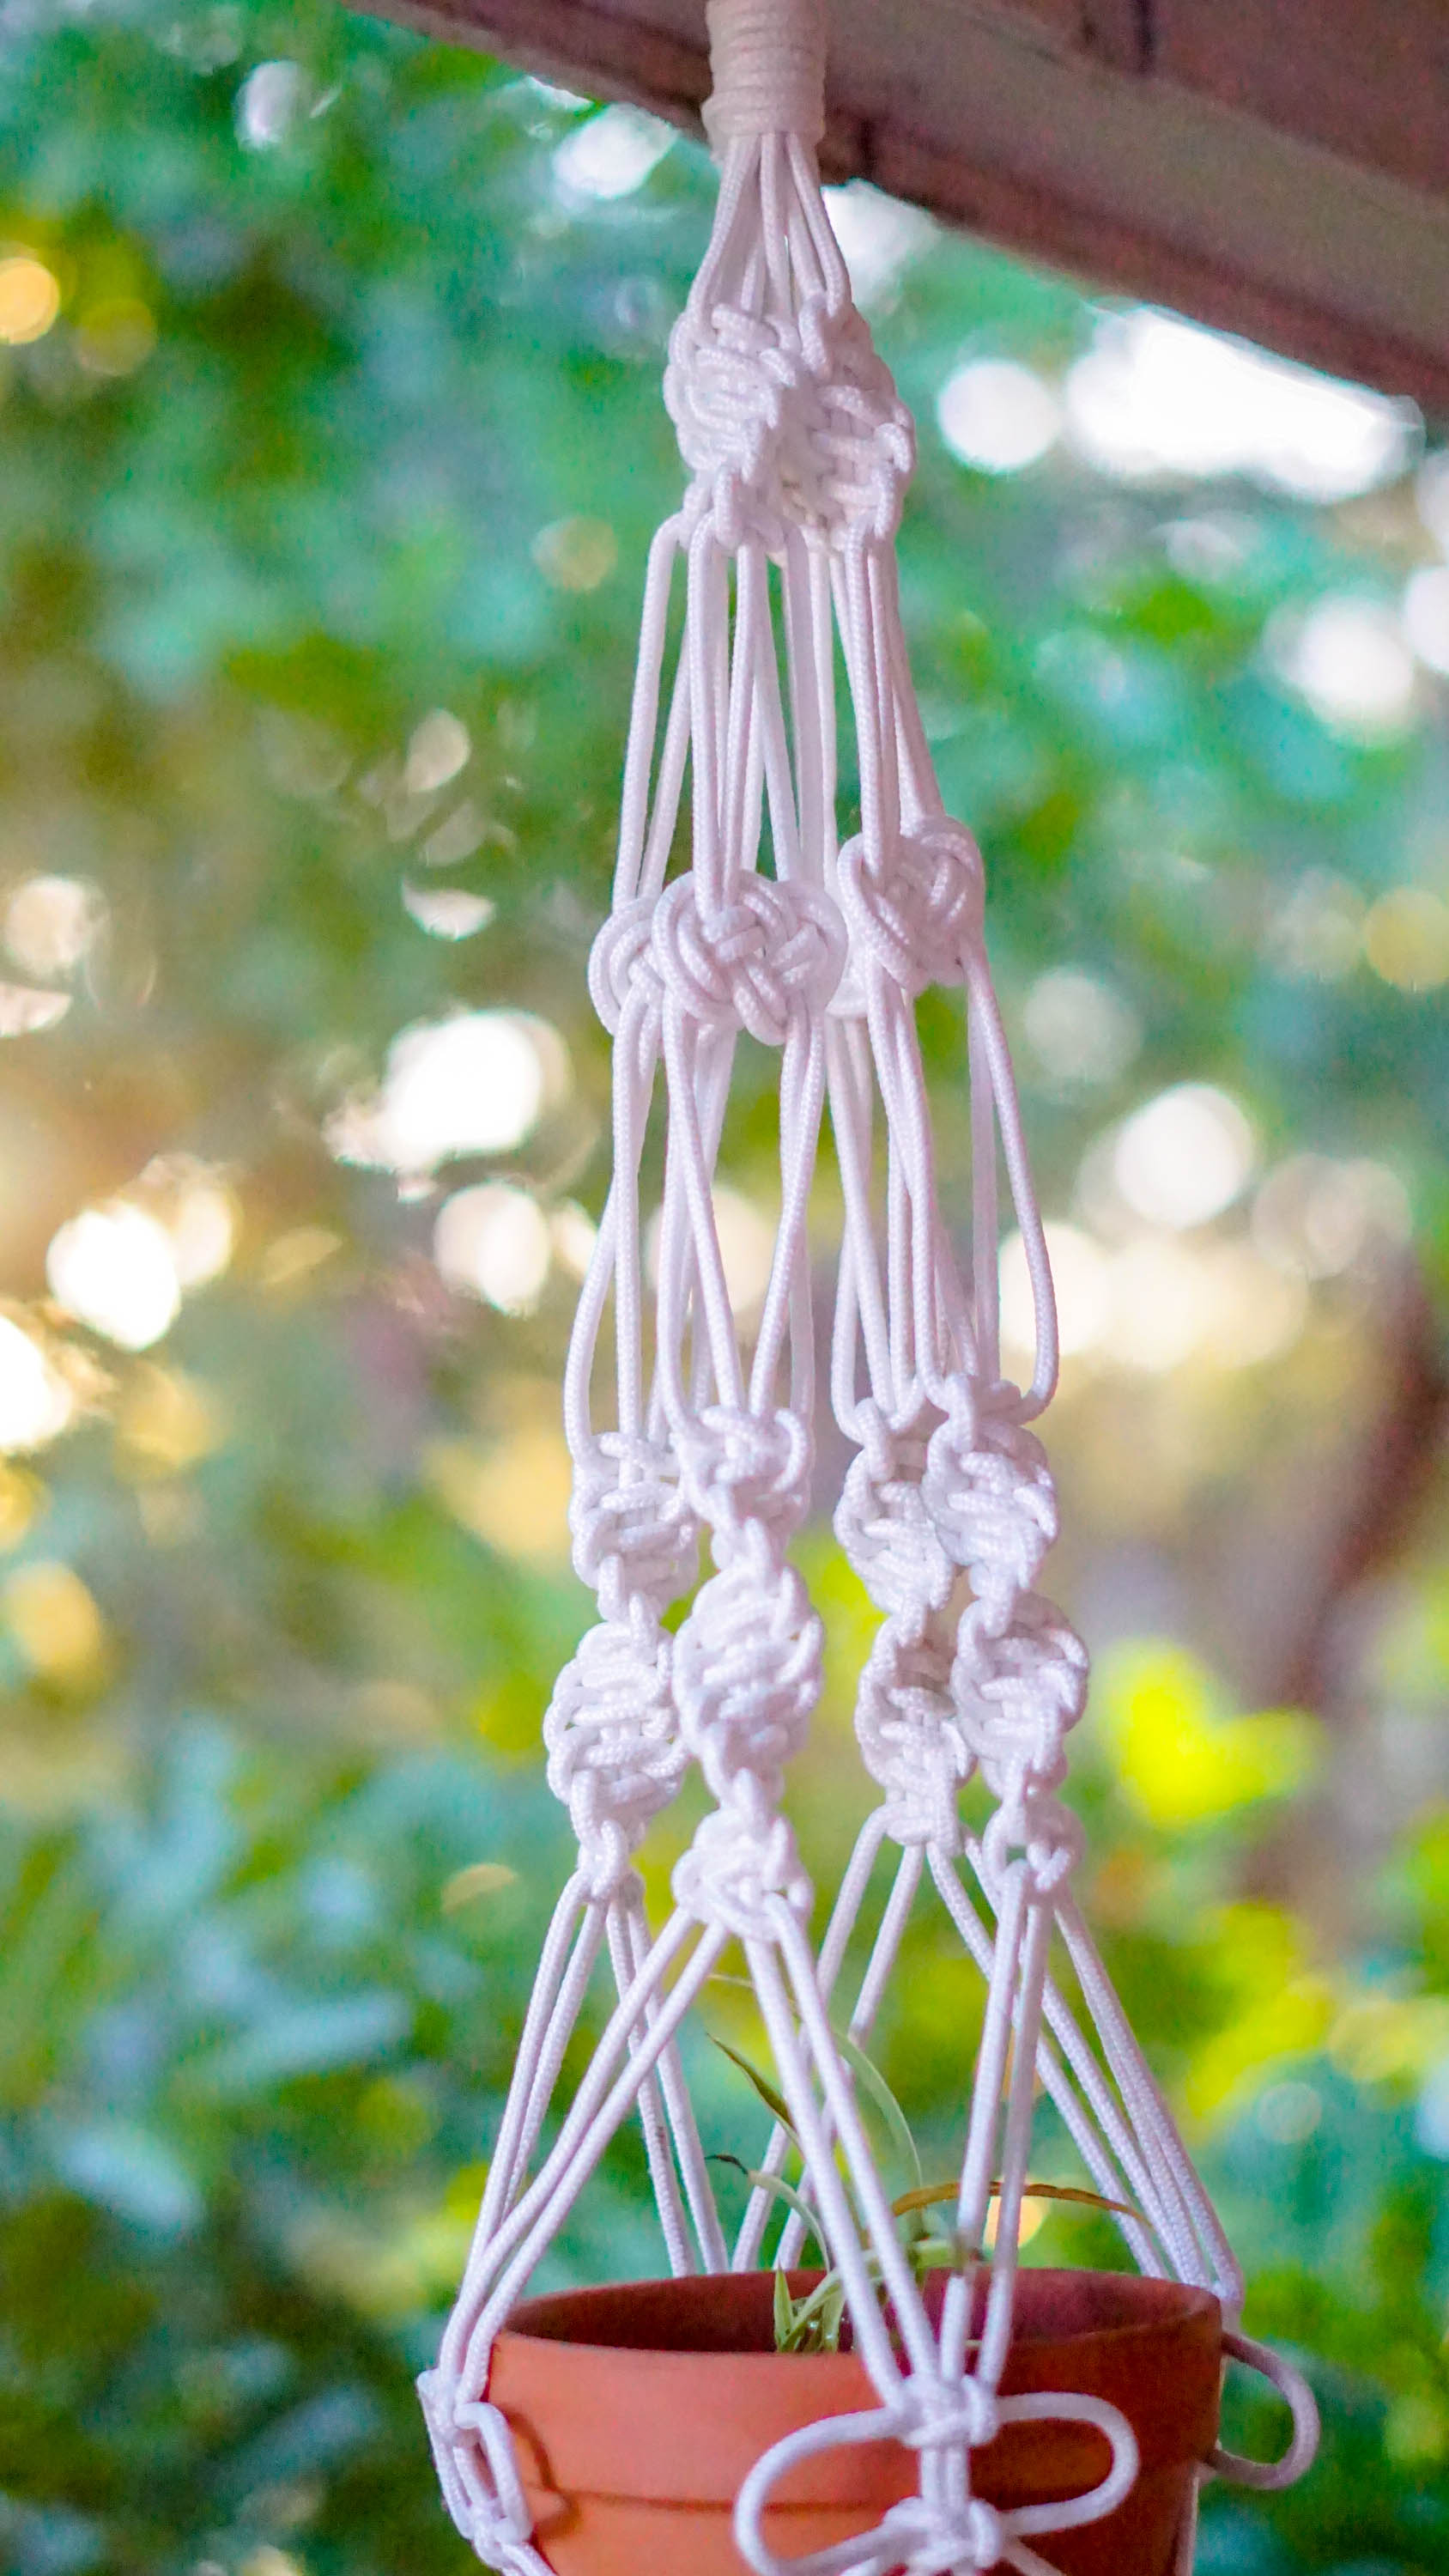
FYI this guide for a Macrame Plant Hanger is going to be a loose DIY. I’m not going to tell you 12 of these, 2 of these, make sure it’s this diameter. ‘Cause even I didn’t do that when working mine. I will show you the knots I used, but this is going to be your unique project. I’m encouraging you to explore variations, get a little silly, and find something that makes you happy.
Cut the (Para) Cord
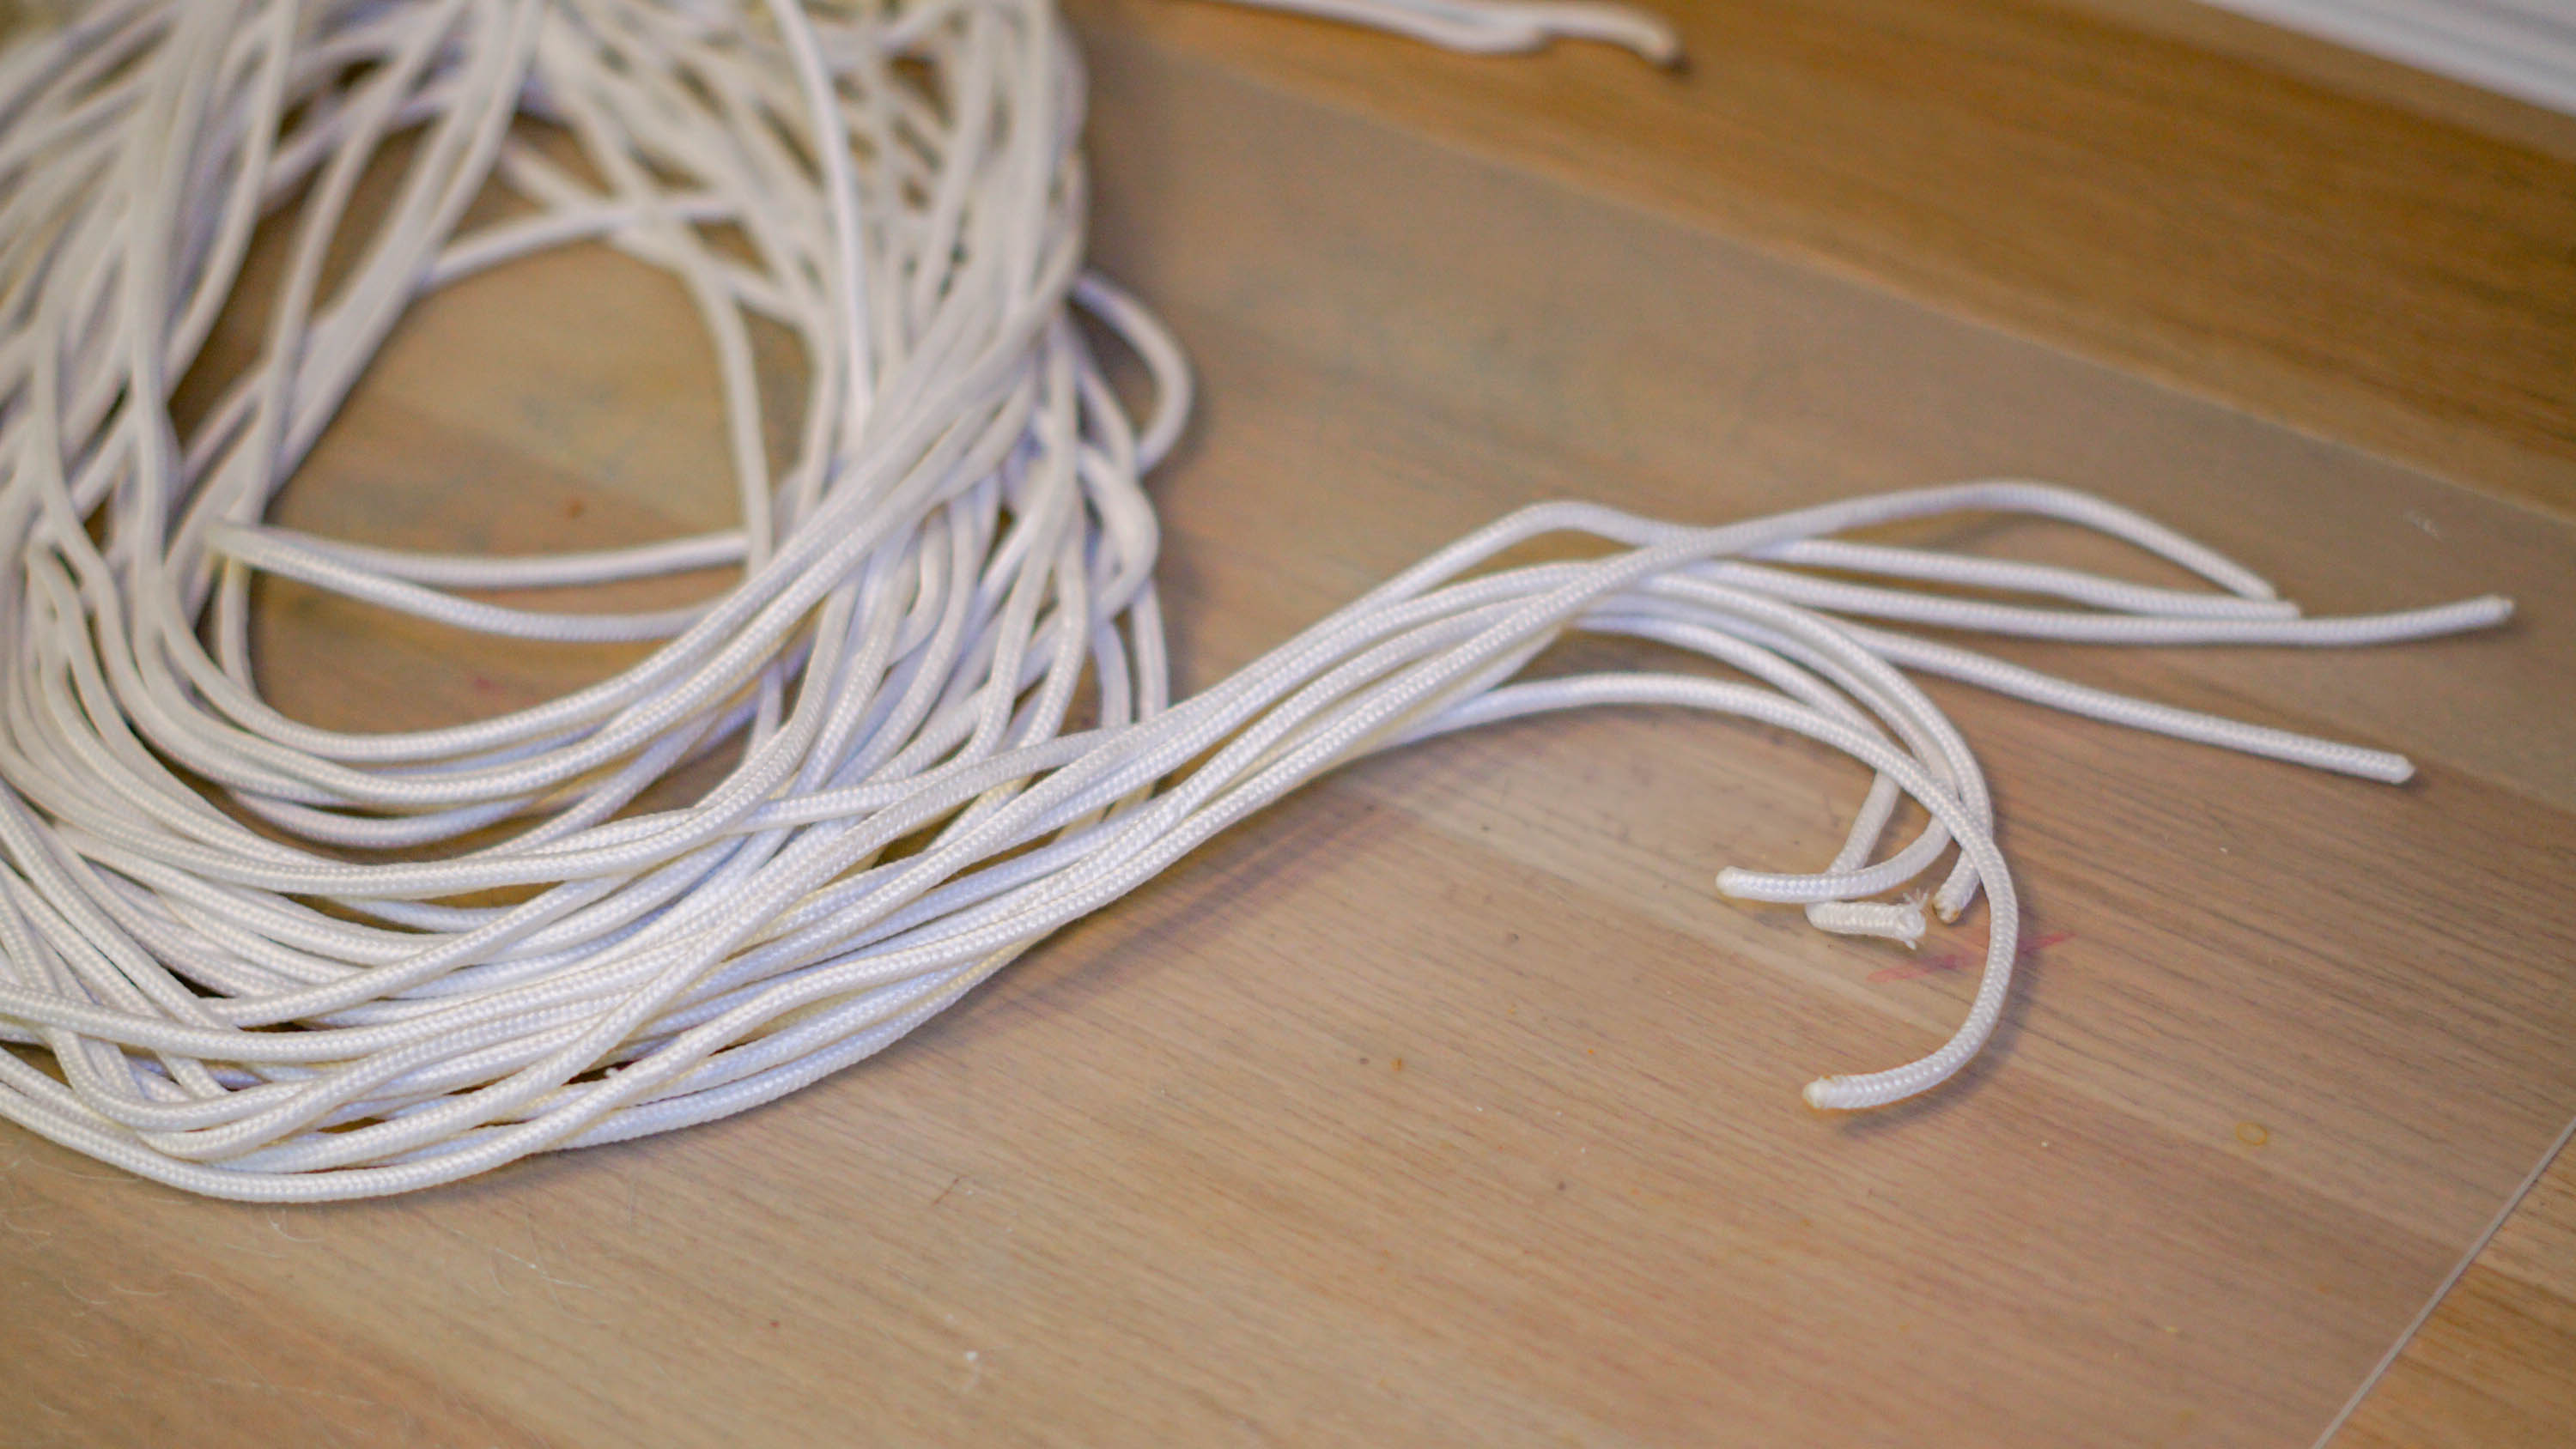
To get our macrame plant hanger started the key is to remember the knots for this project require groups of 4. So when cutting the rope What will be cut will not only be doubled the doubled number will have to be divisible by 4. Following? Hopefully, it will become clearer.
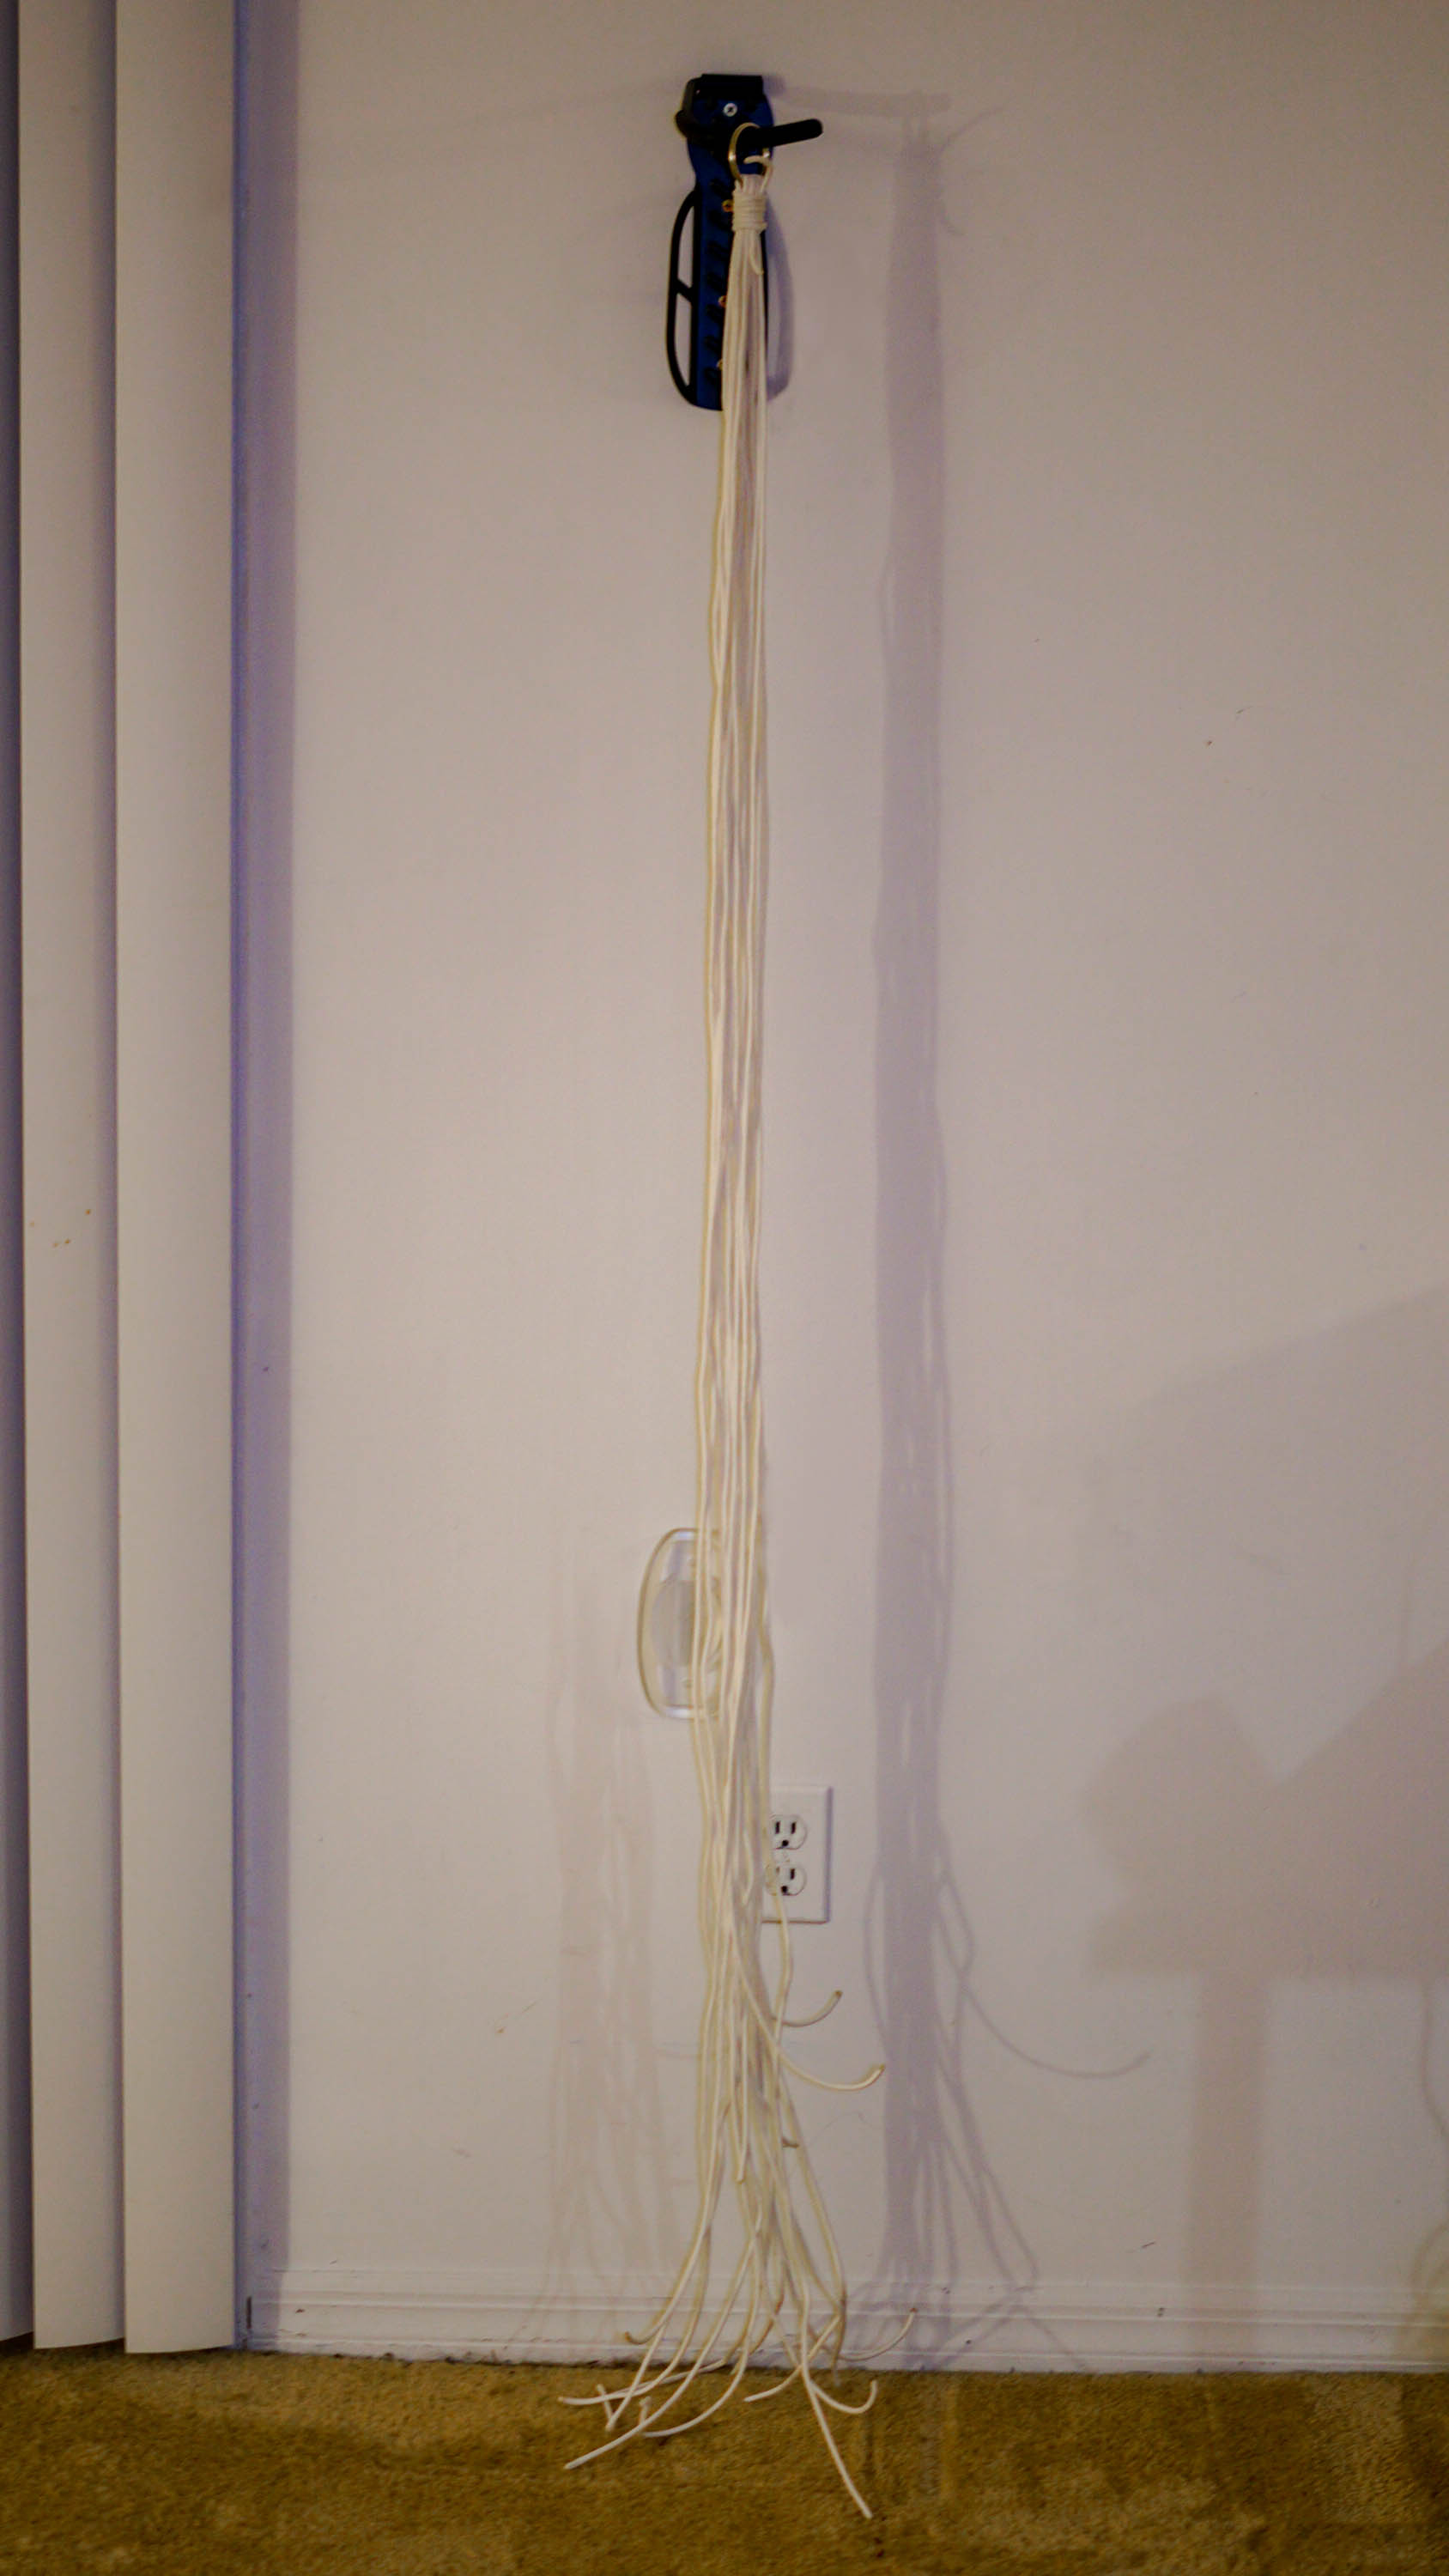
I cut 8 ropes of about 12′ each leaving me with 2 ropes of 2′ left over. When doubled I will have 16 ropes to make 4 groups to make 4 strands of knots. If you’re more ambitious you could do 12 ropes at 8′ each. Be aware, macramé eats up a lot of rope length so that is more for a smaller, less knotty project.
The Gathering Knot (or Wrapped Knot)
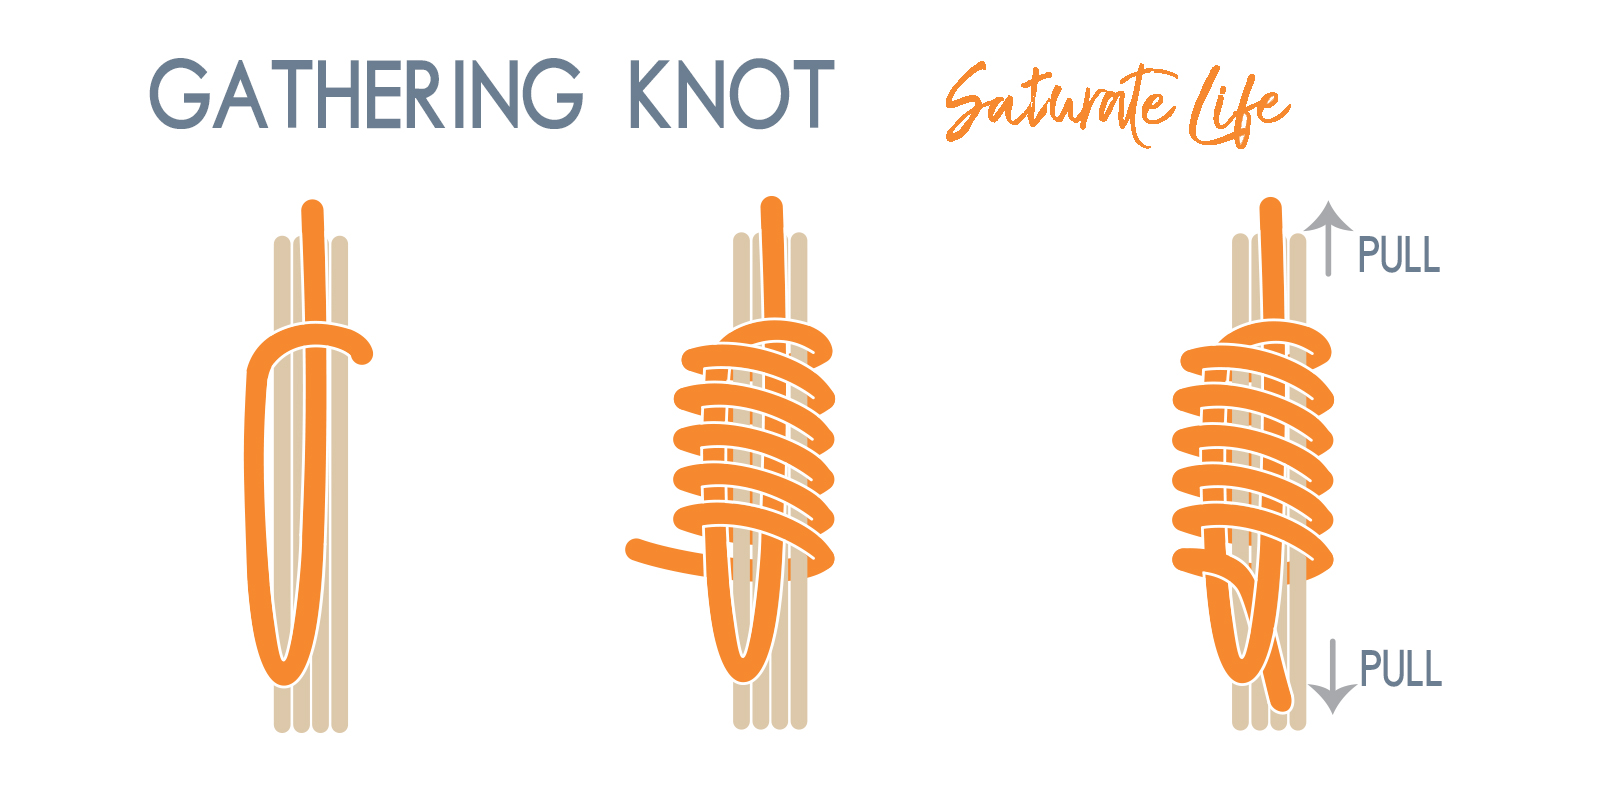
After cutting the rope for your macramé plant hanger string the rope through the metal or wooden ring so each side of the rope is even. I had about 6′ of rope on each side of the ring. From here we will bunch the rope and tie it with one of the extra 2′ lengths into what is known as a Wrapped Knot or Gathering Knot.
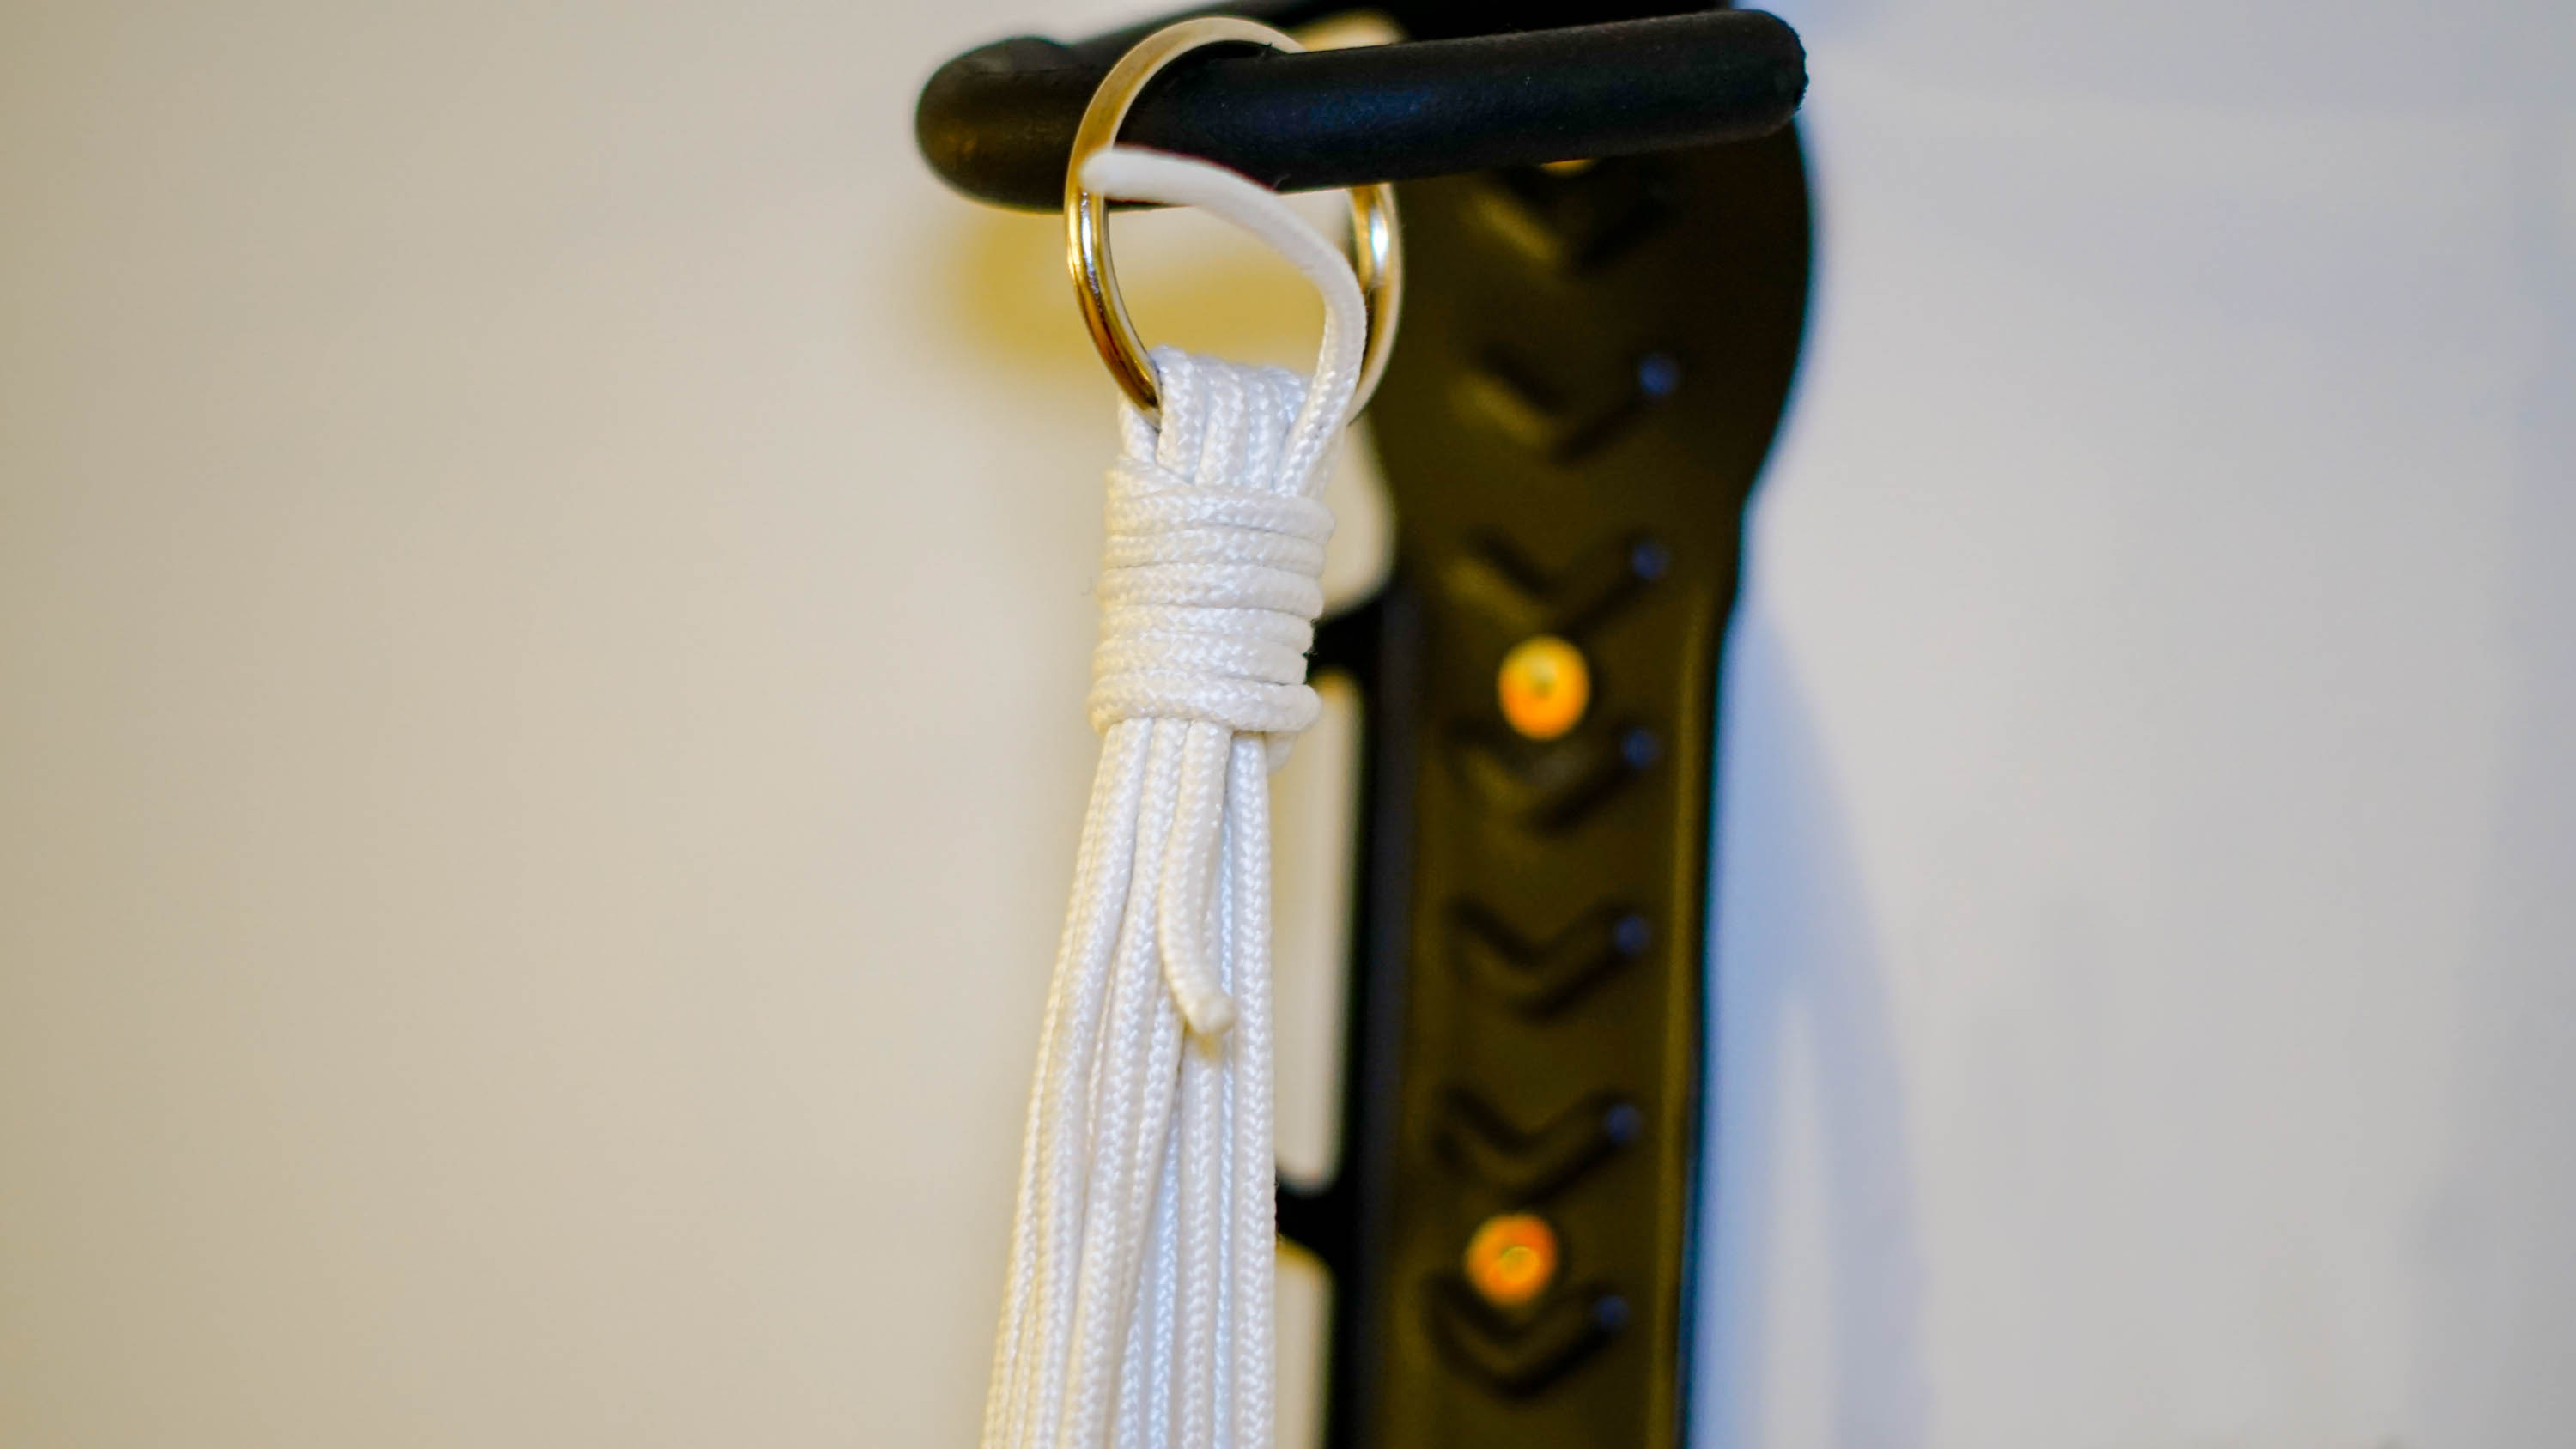
To be honest, it’s very similar to a hangman’s noose, but without the
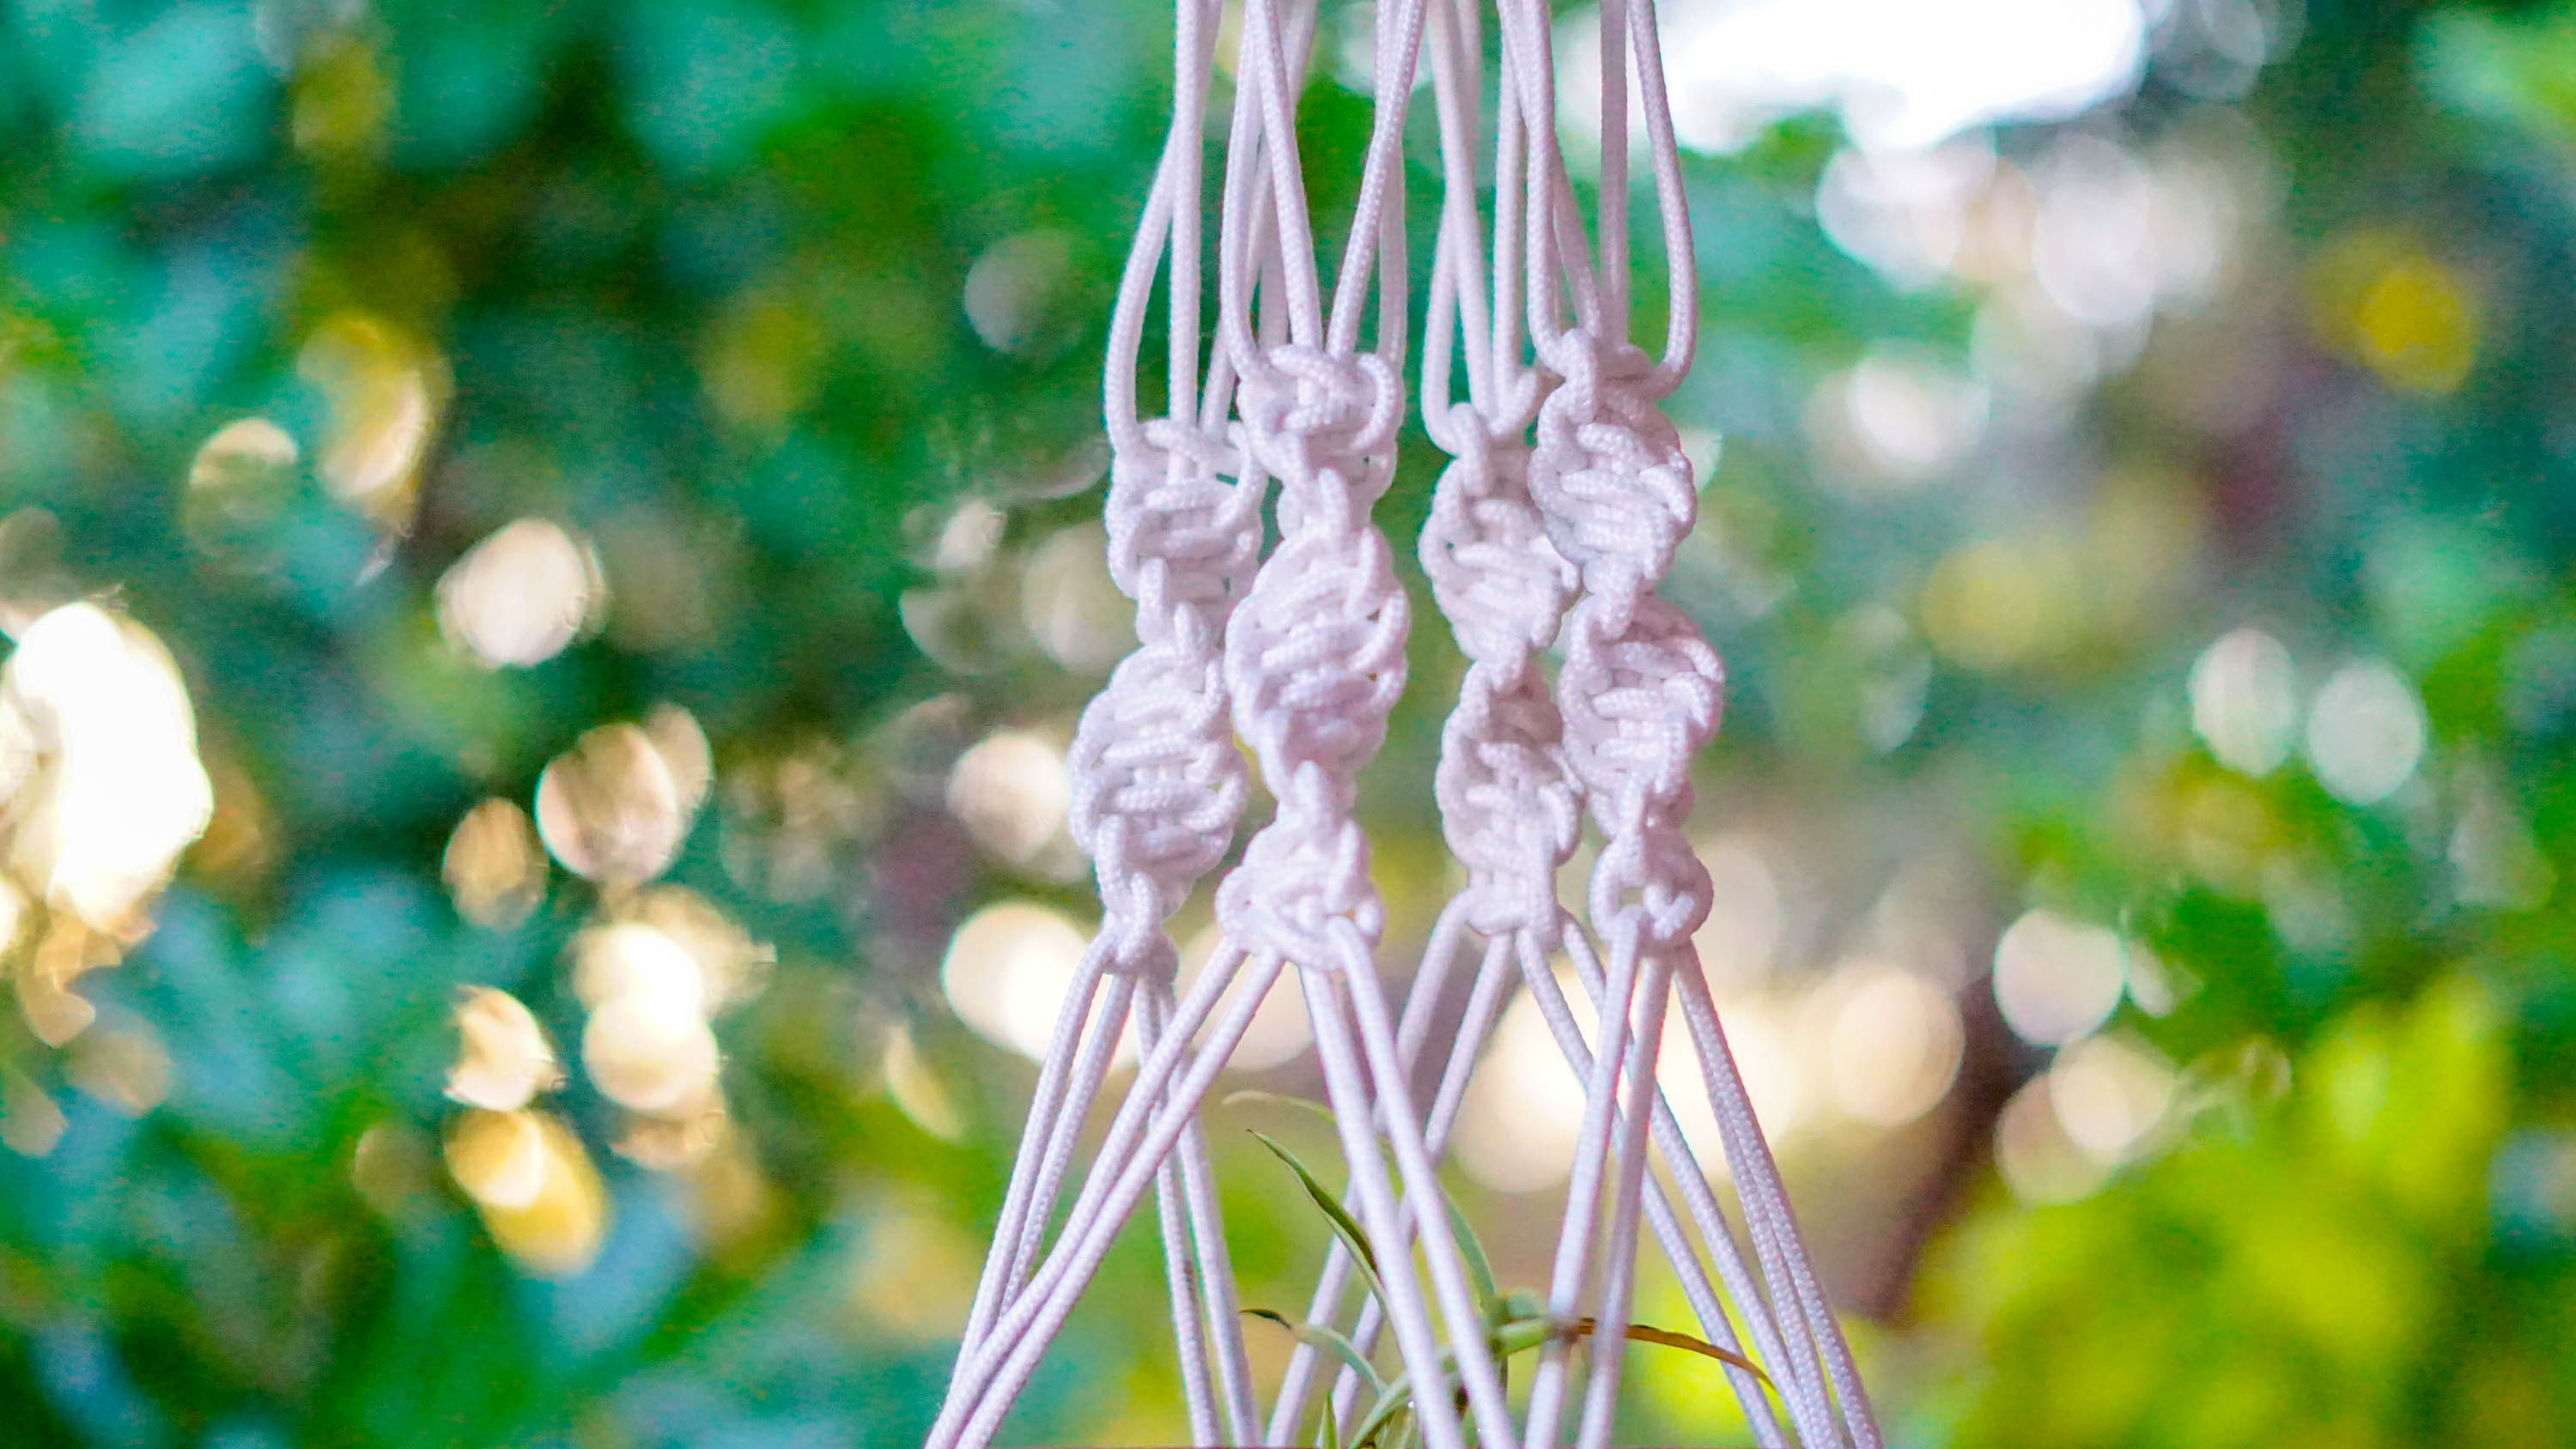
Half Square Knot aka The Spiral Knot
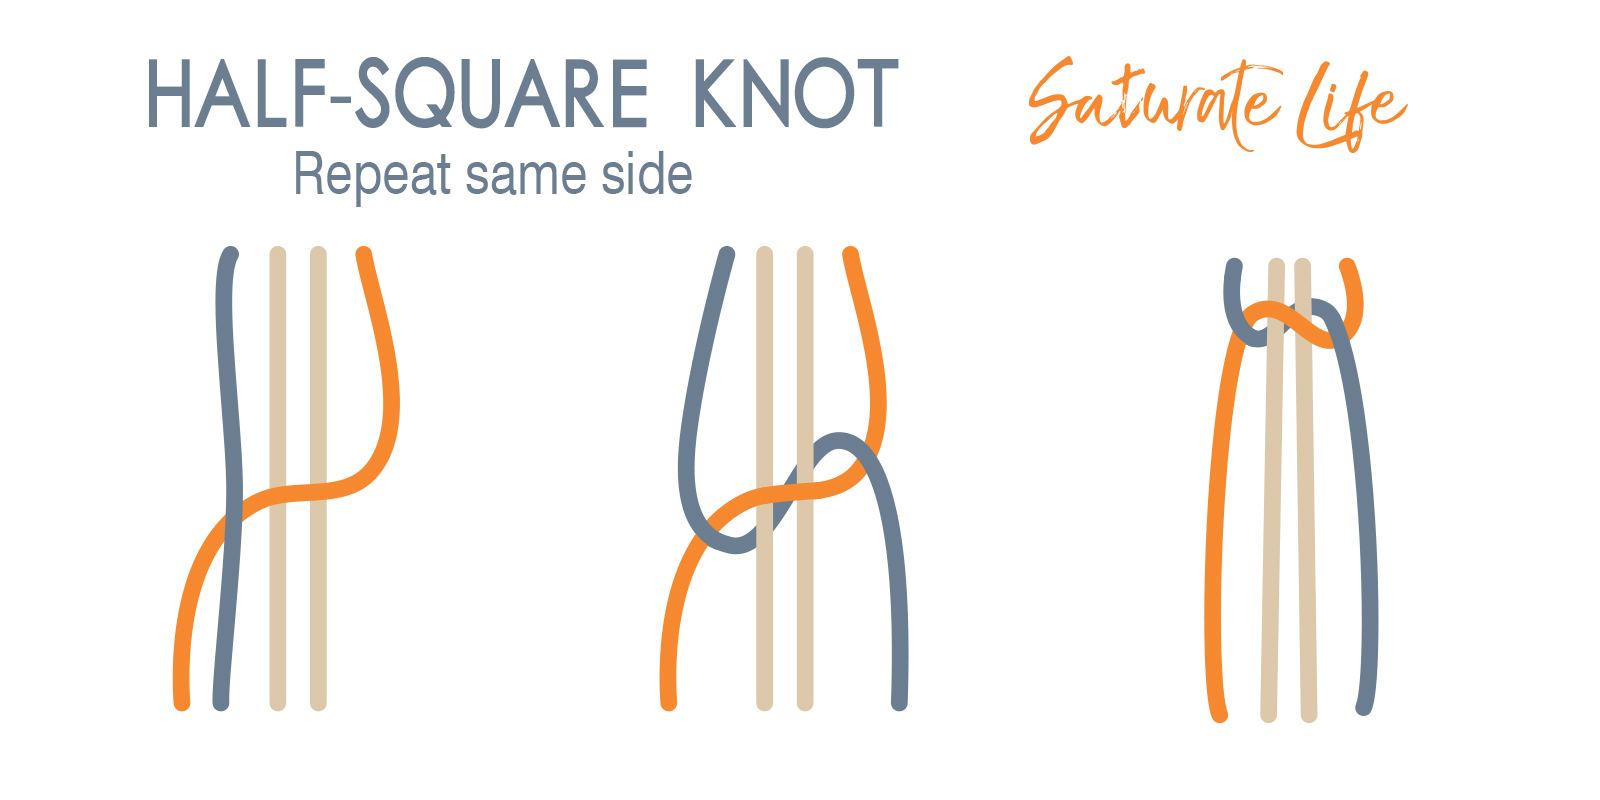
For the Macramé Plant
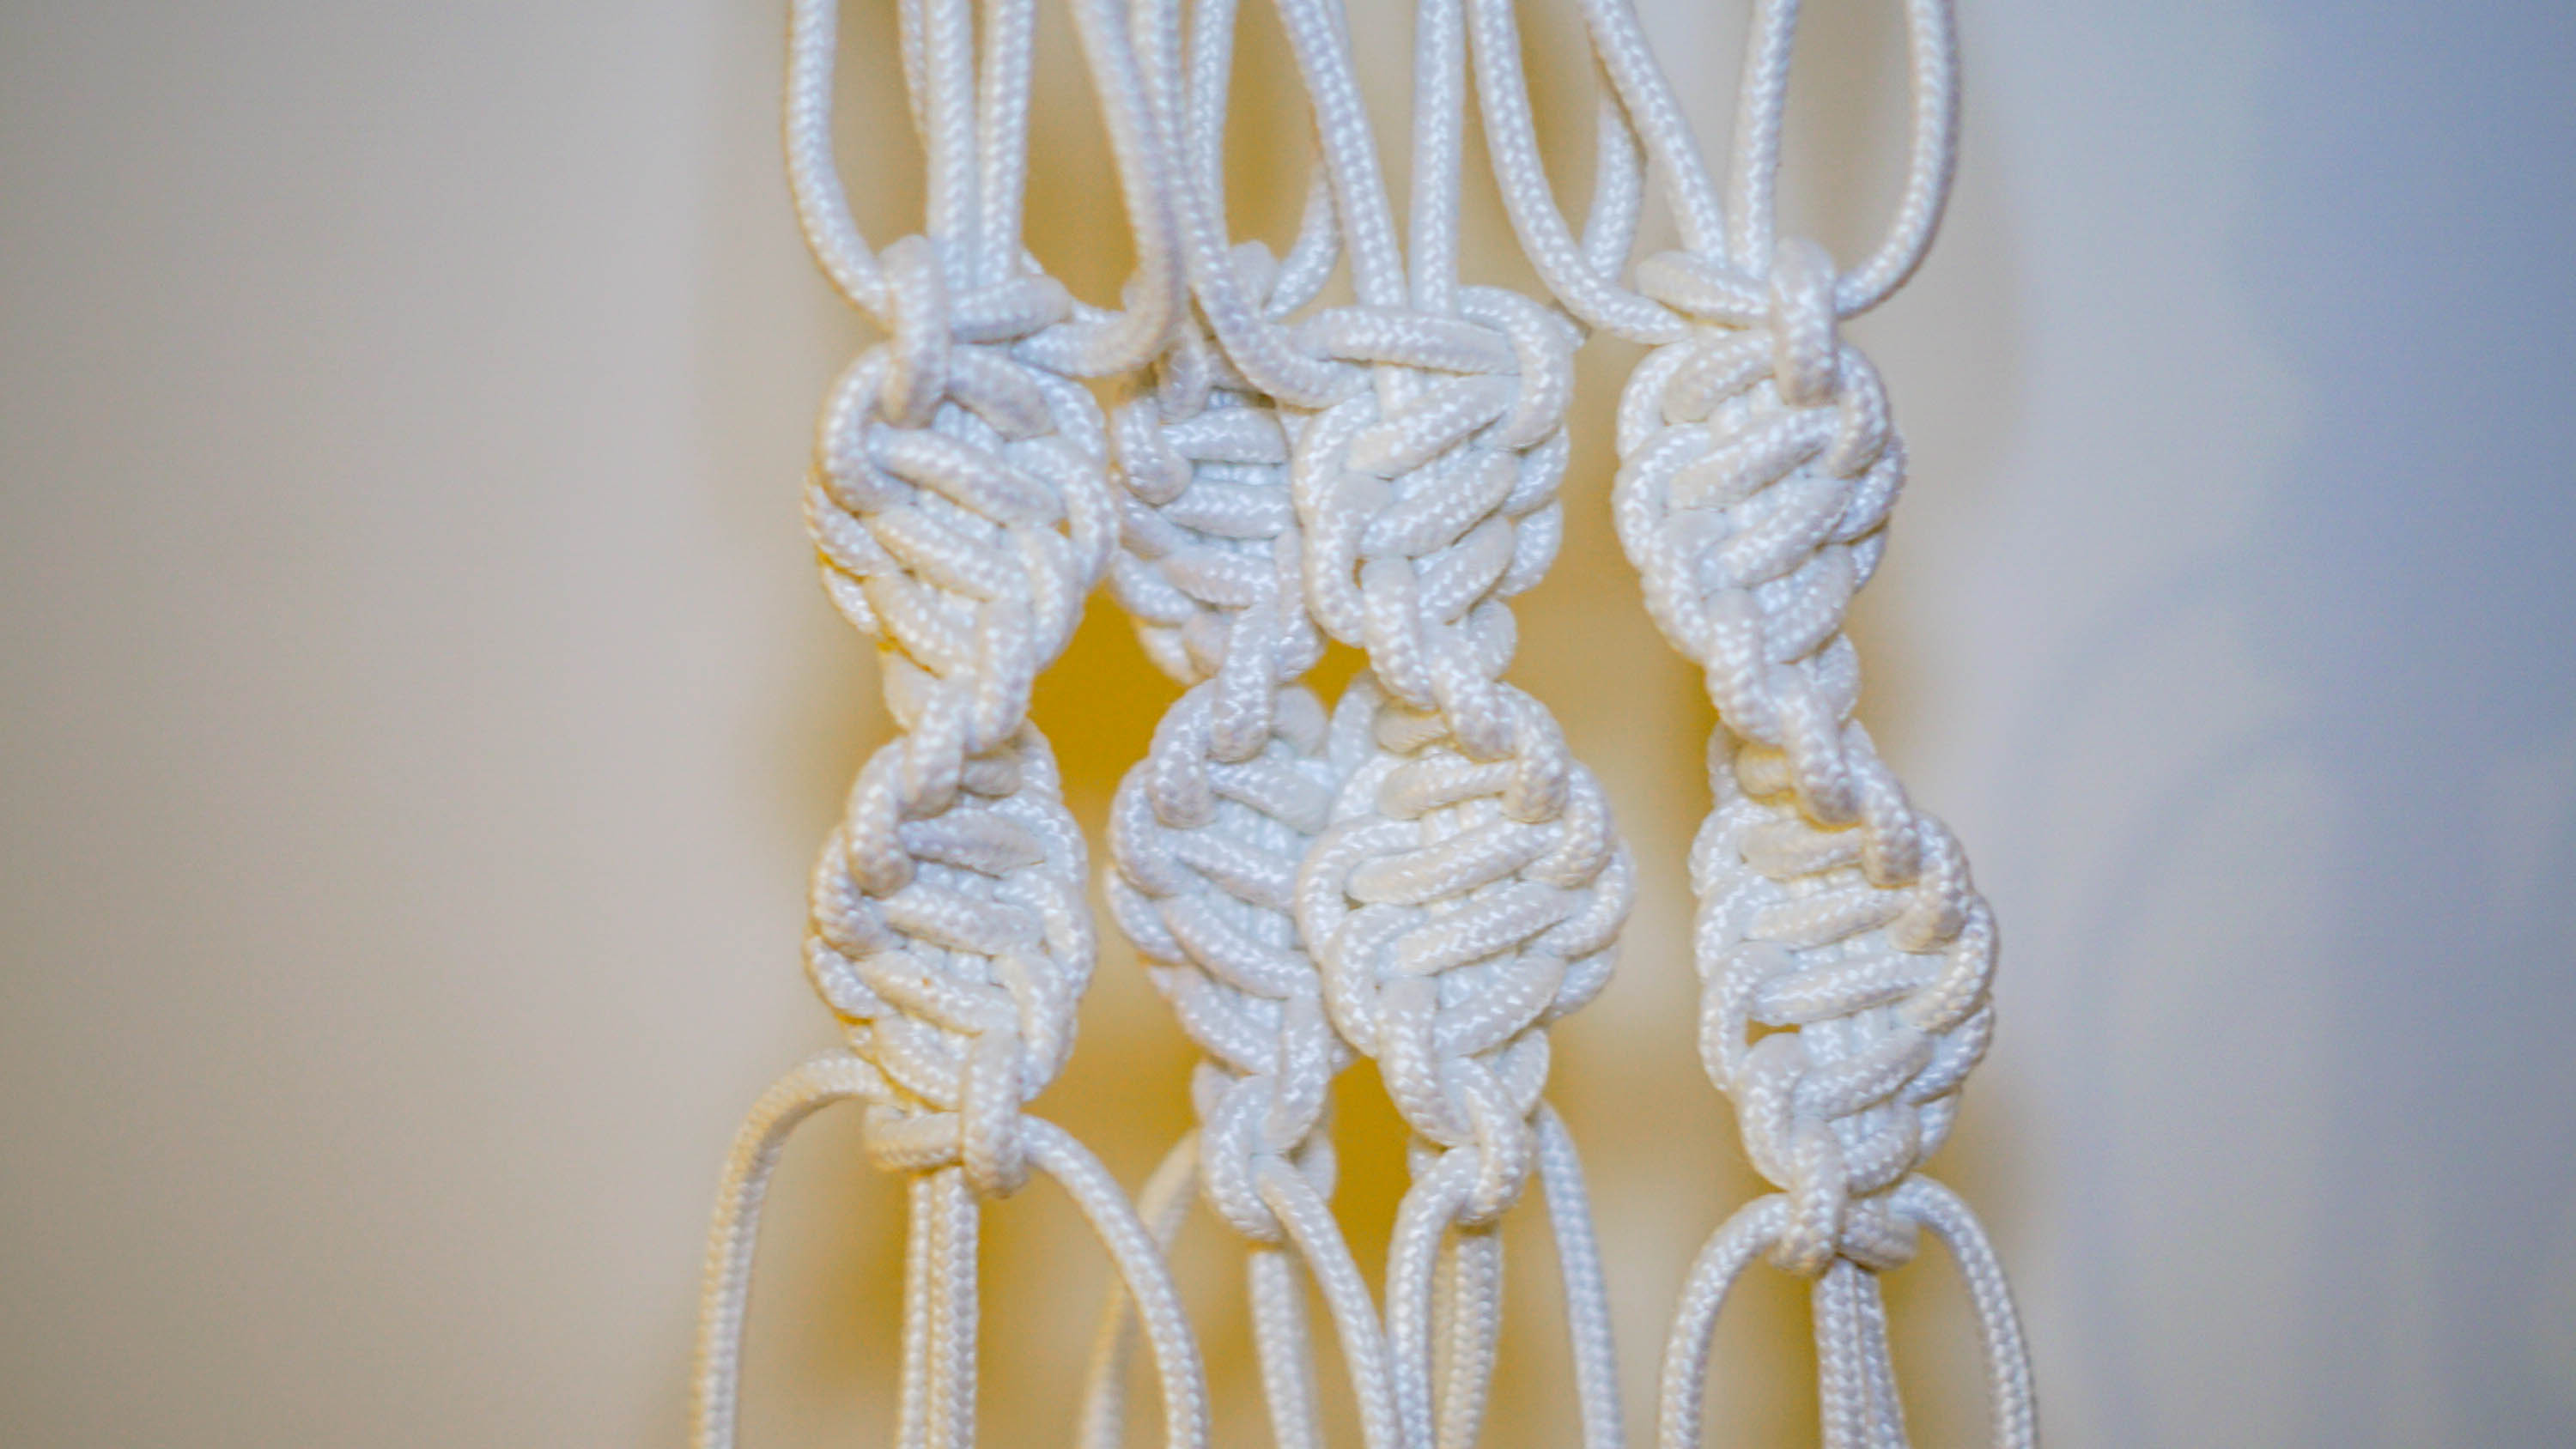
This knot made for a pretty little Spiral Bead to start off as decoration within
The Josephine Knot
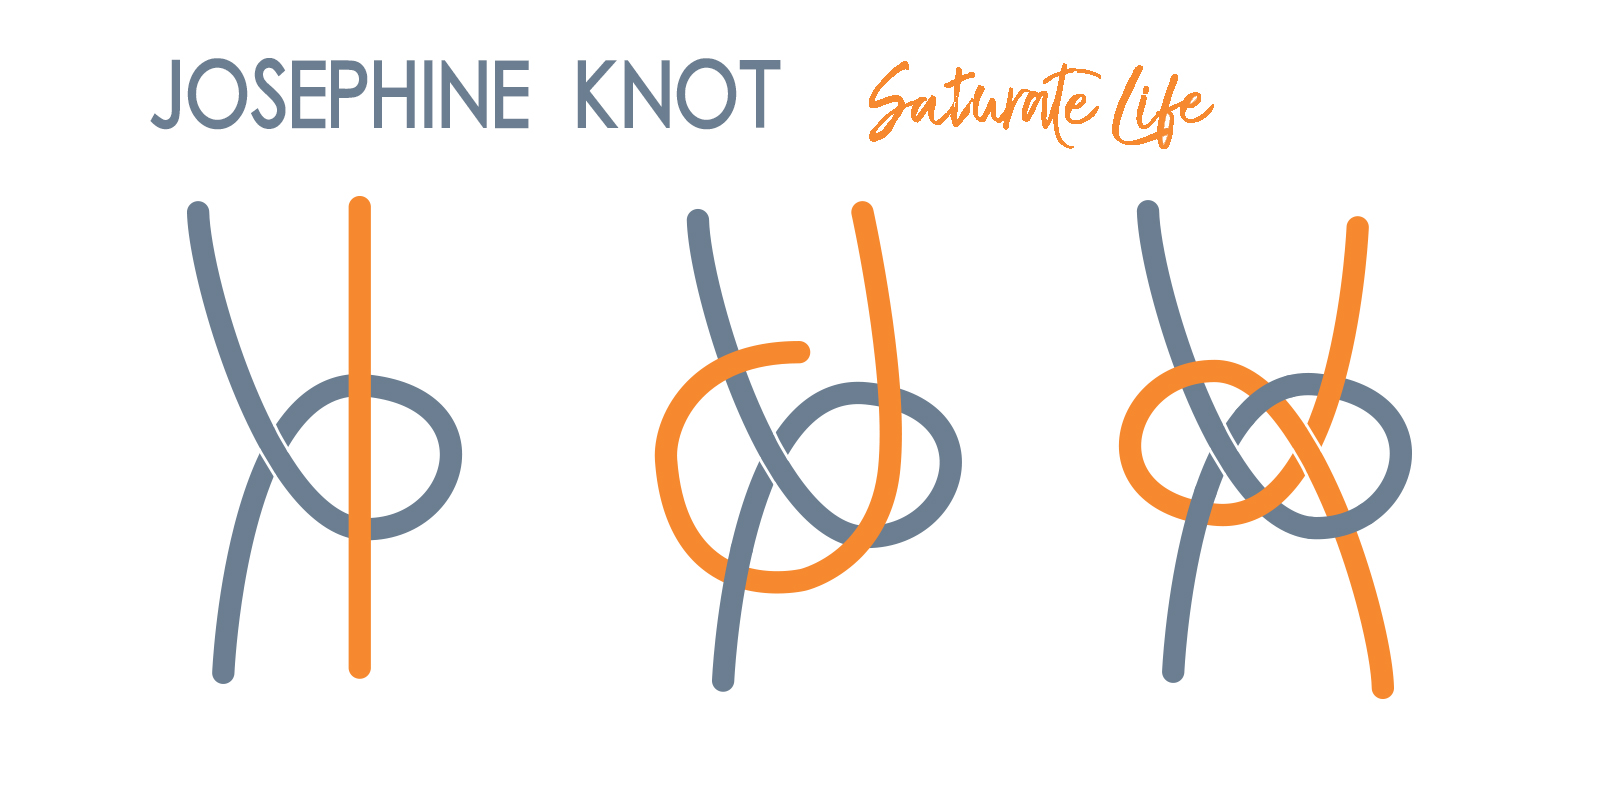
This pretty little knot for the macramé plant hanger is something I have never made but it looks so elegant I had to try it out. While I made it with the 4 ropes, it’s also fine to use only 2 ropes for a smaller knot. When working with 4 ropes align two of the ropes flat side by side and have them move as one.
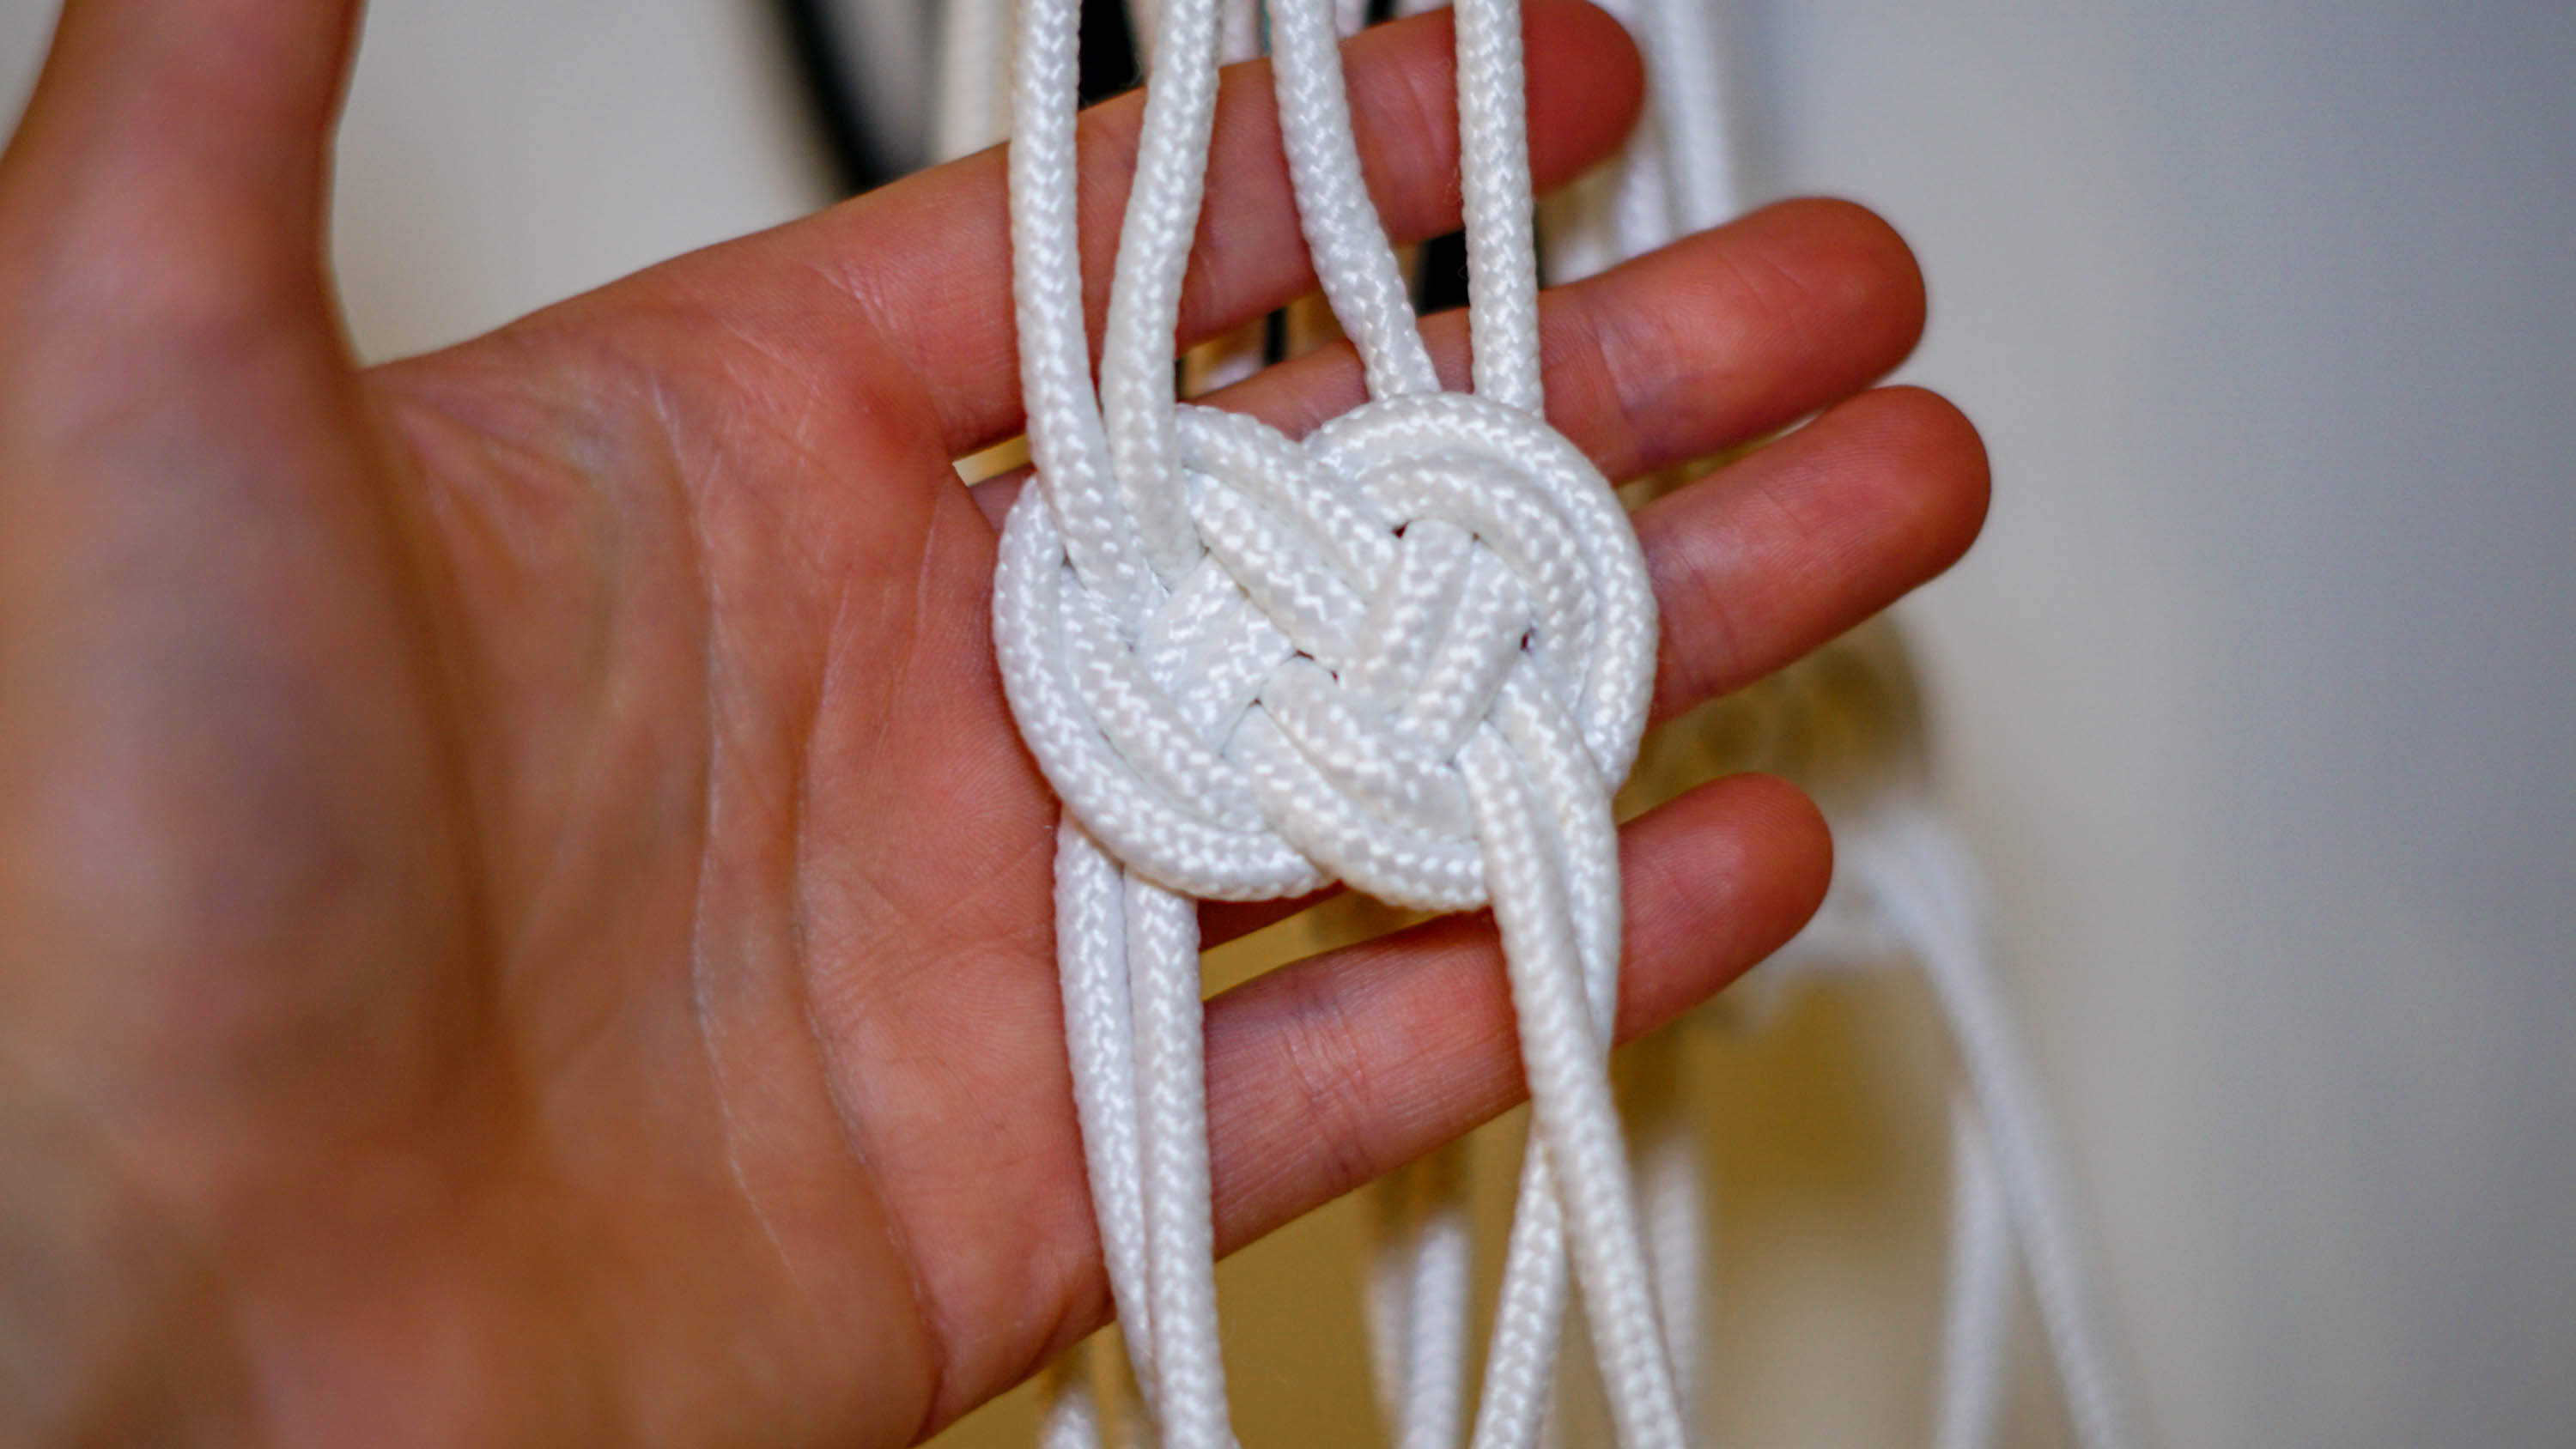
In the
The Square Knot – The Flat Knot
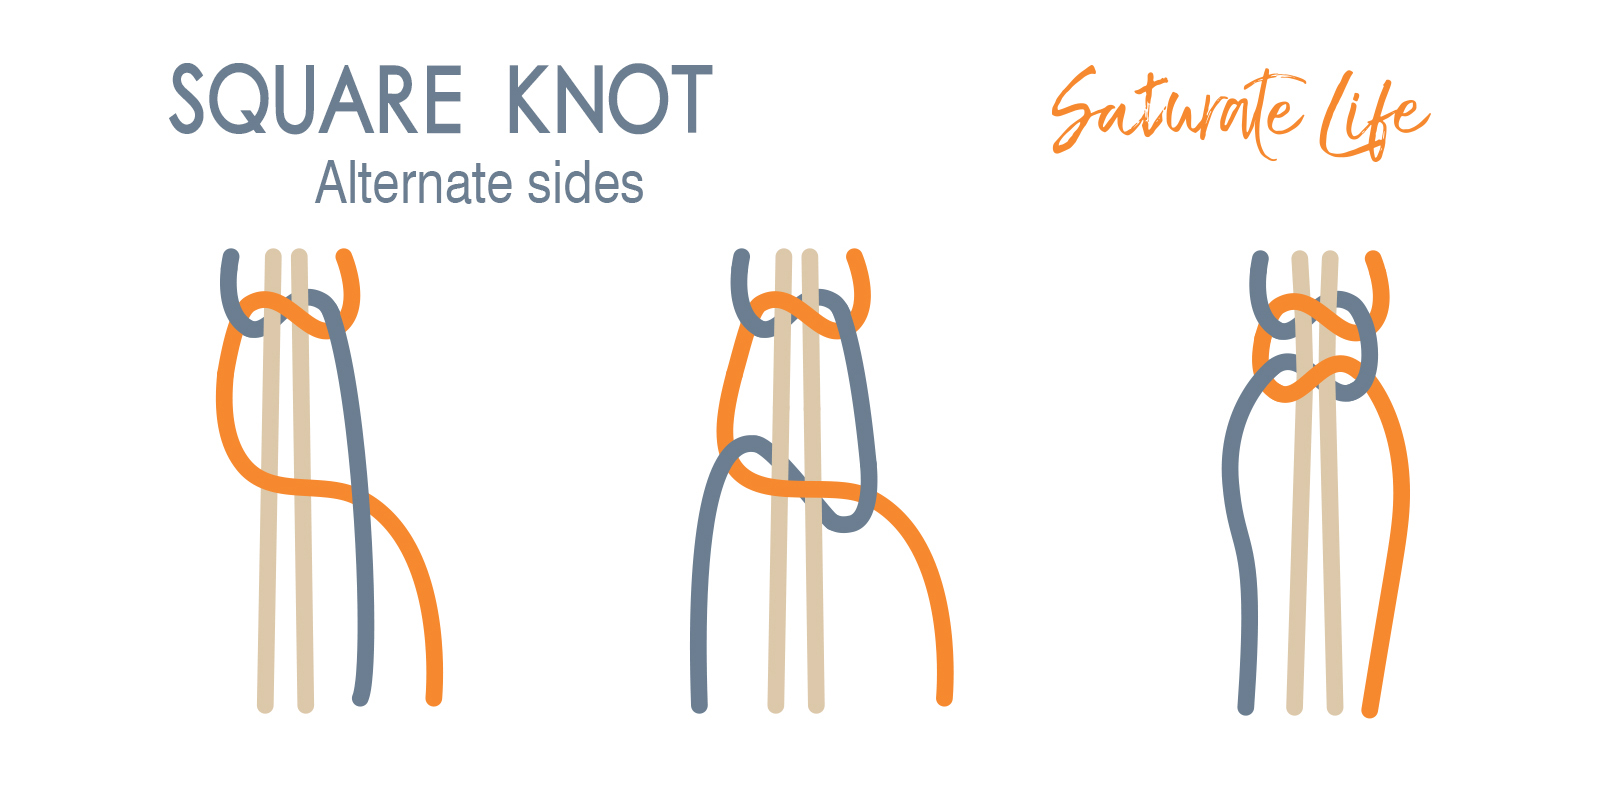
This variation is the full version of the Half Square Knot described above. Rather than keeping with knotting the same side you alternate sides. This means that as the knot lengthens it will lay flat. This knot is popular for most hemp jewelry, like the Seashell Hemp Bracelet I made earlier.
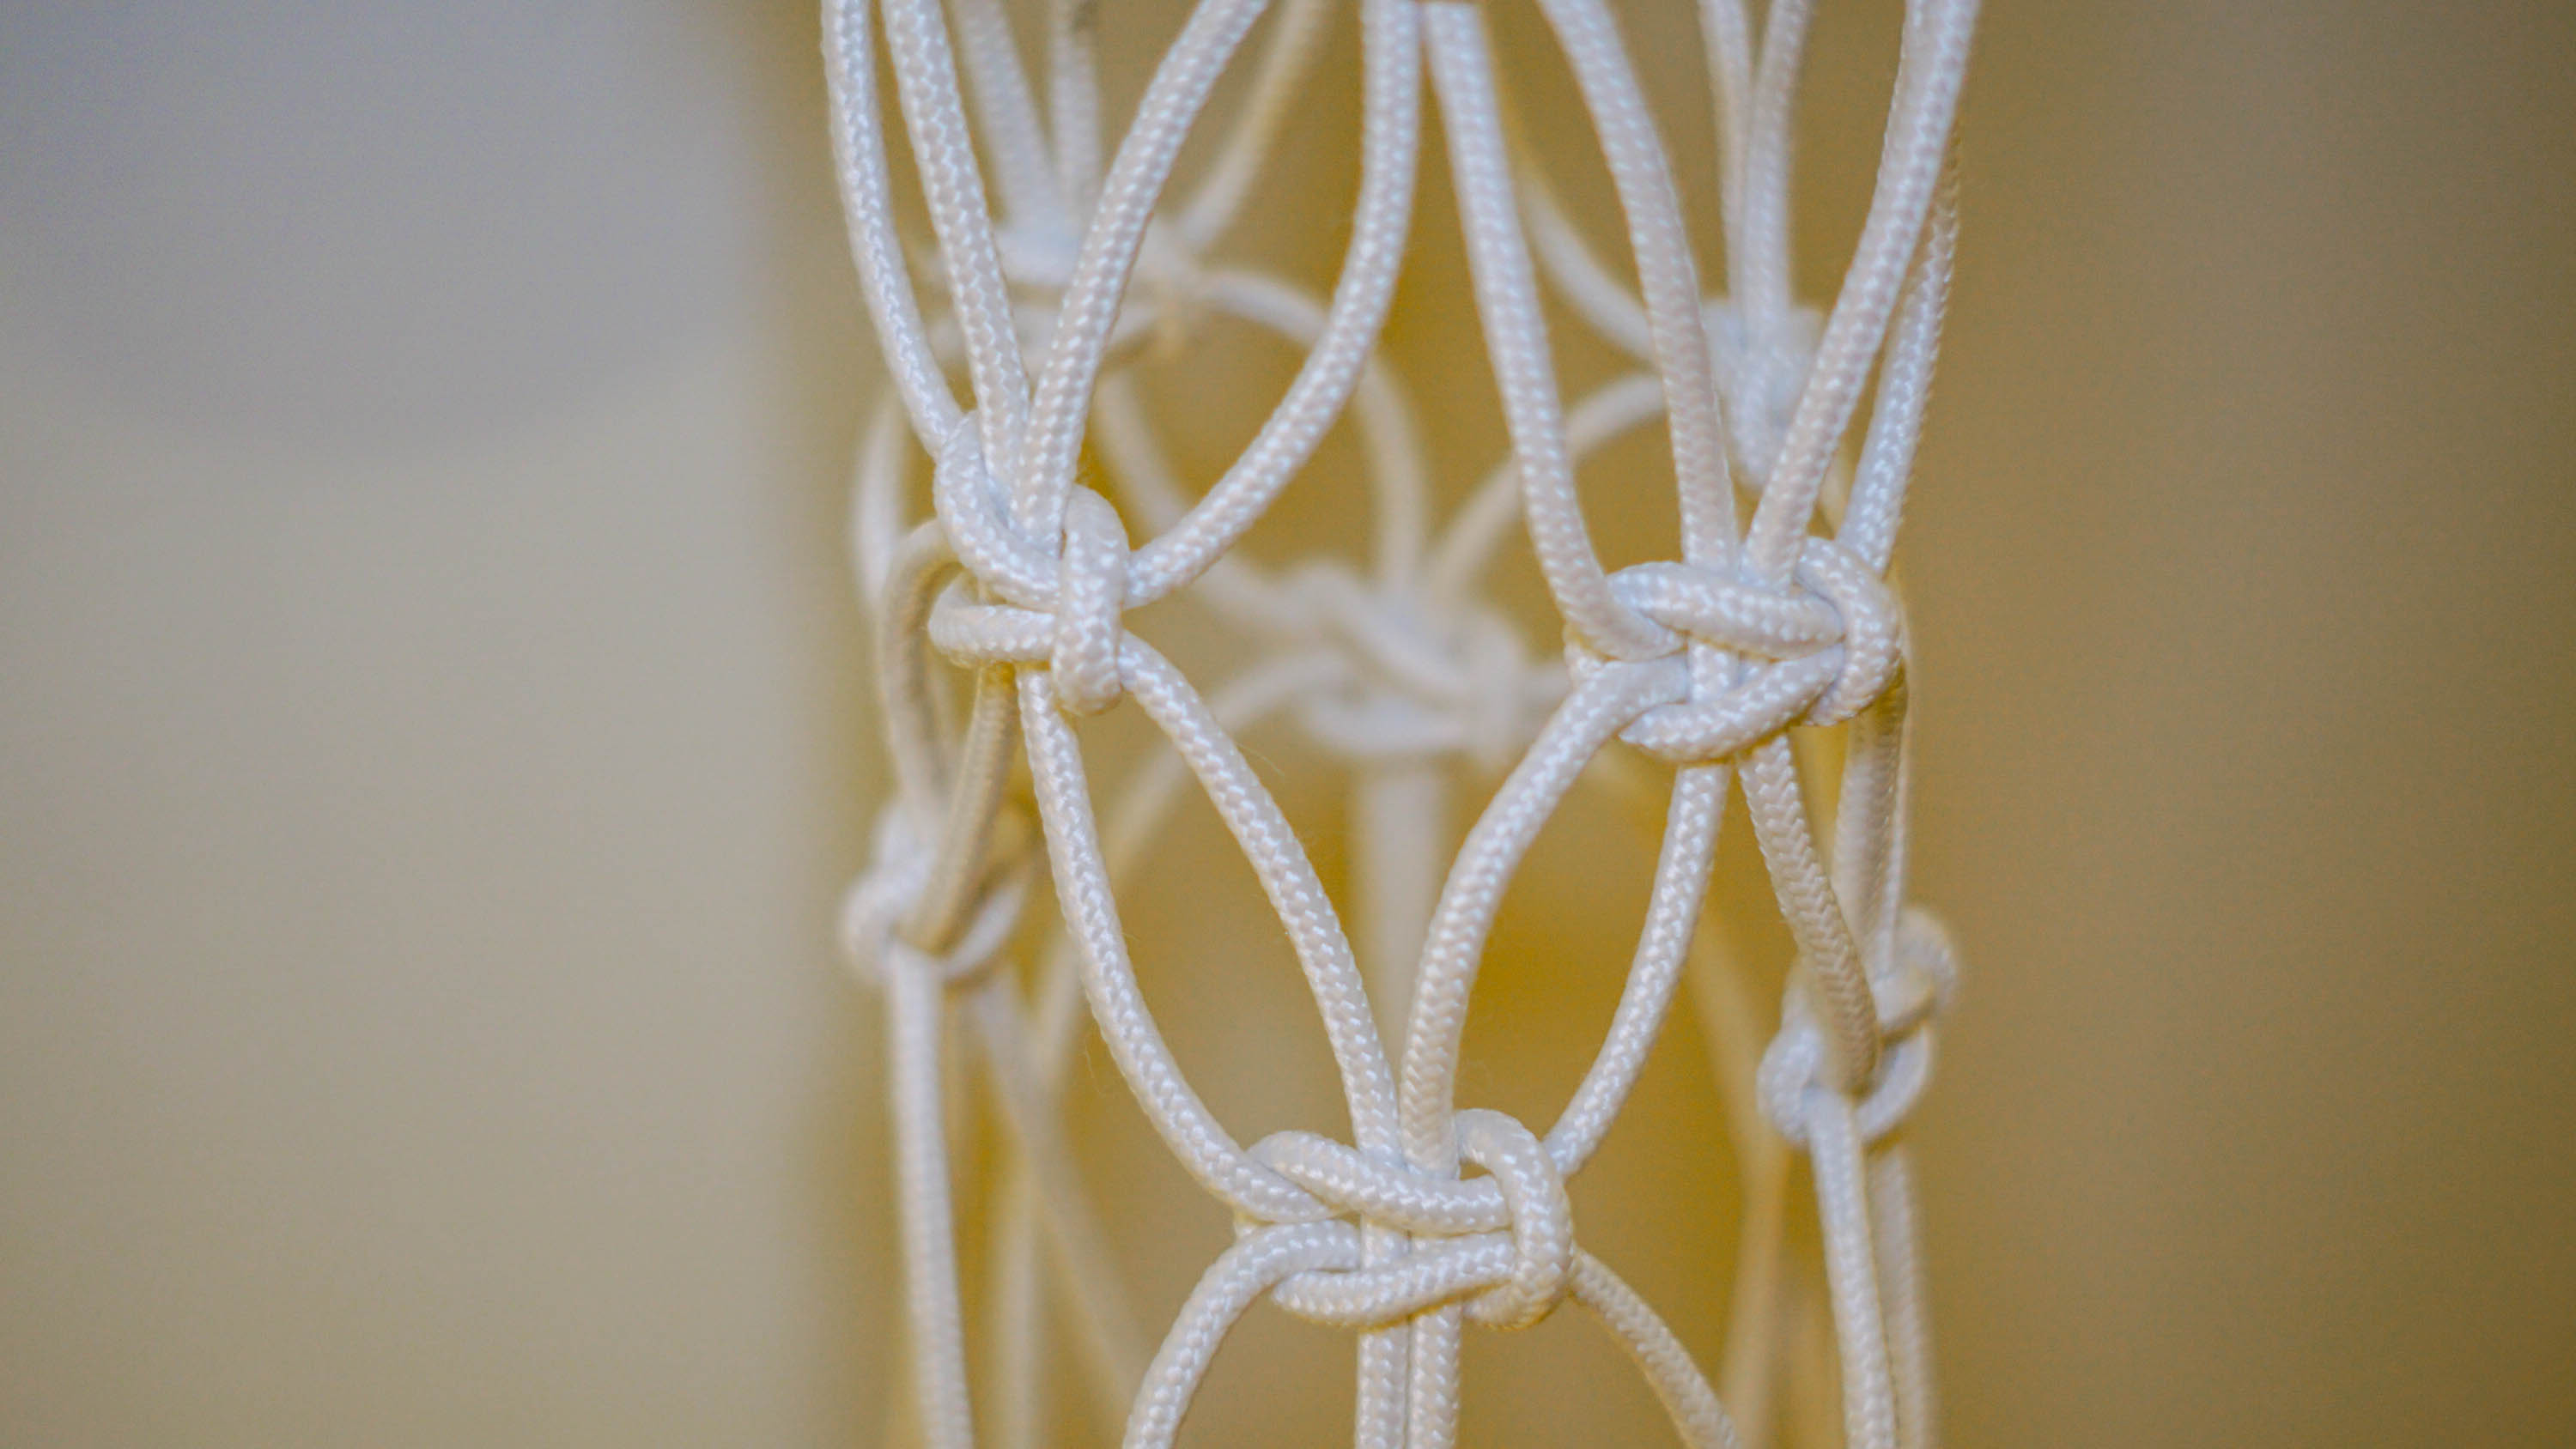
While I didn’t extend this knot very long. I did use it to connect the original 4 groups of rope and make the basket my planter would hang in.
The Picot Knot
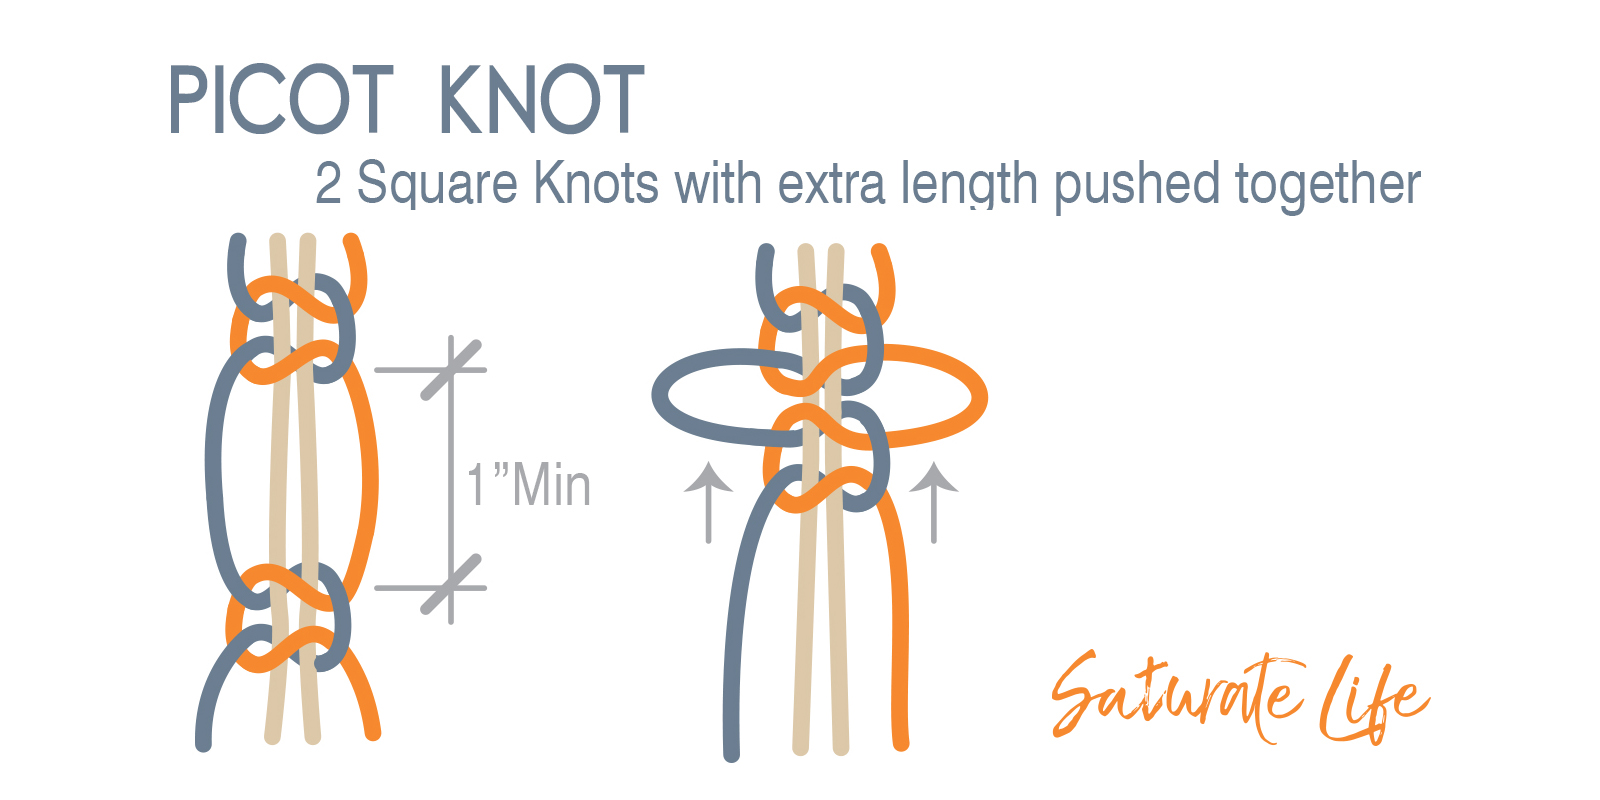
The picot knot looks fancy for our Macrame Plant Hanger, but after I learned how it was made my face probably dropped in an: “Oh. That’s too easy.” kind of expression. A Picot Knot is simply two square knots with some space created between them and smushed together.
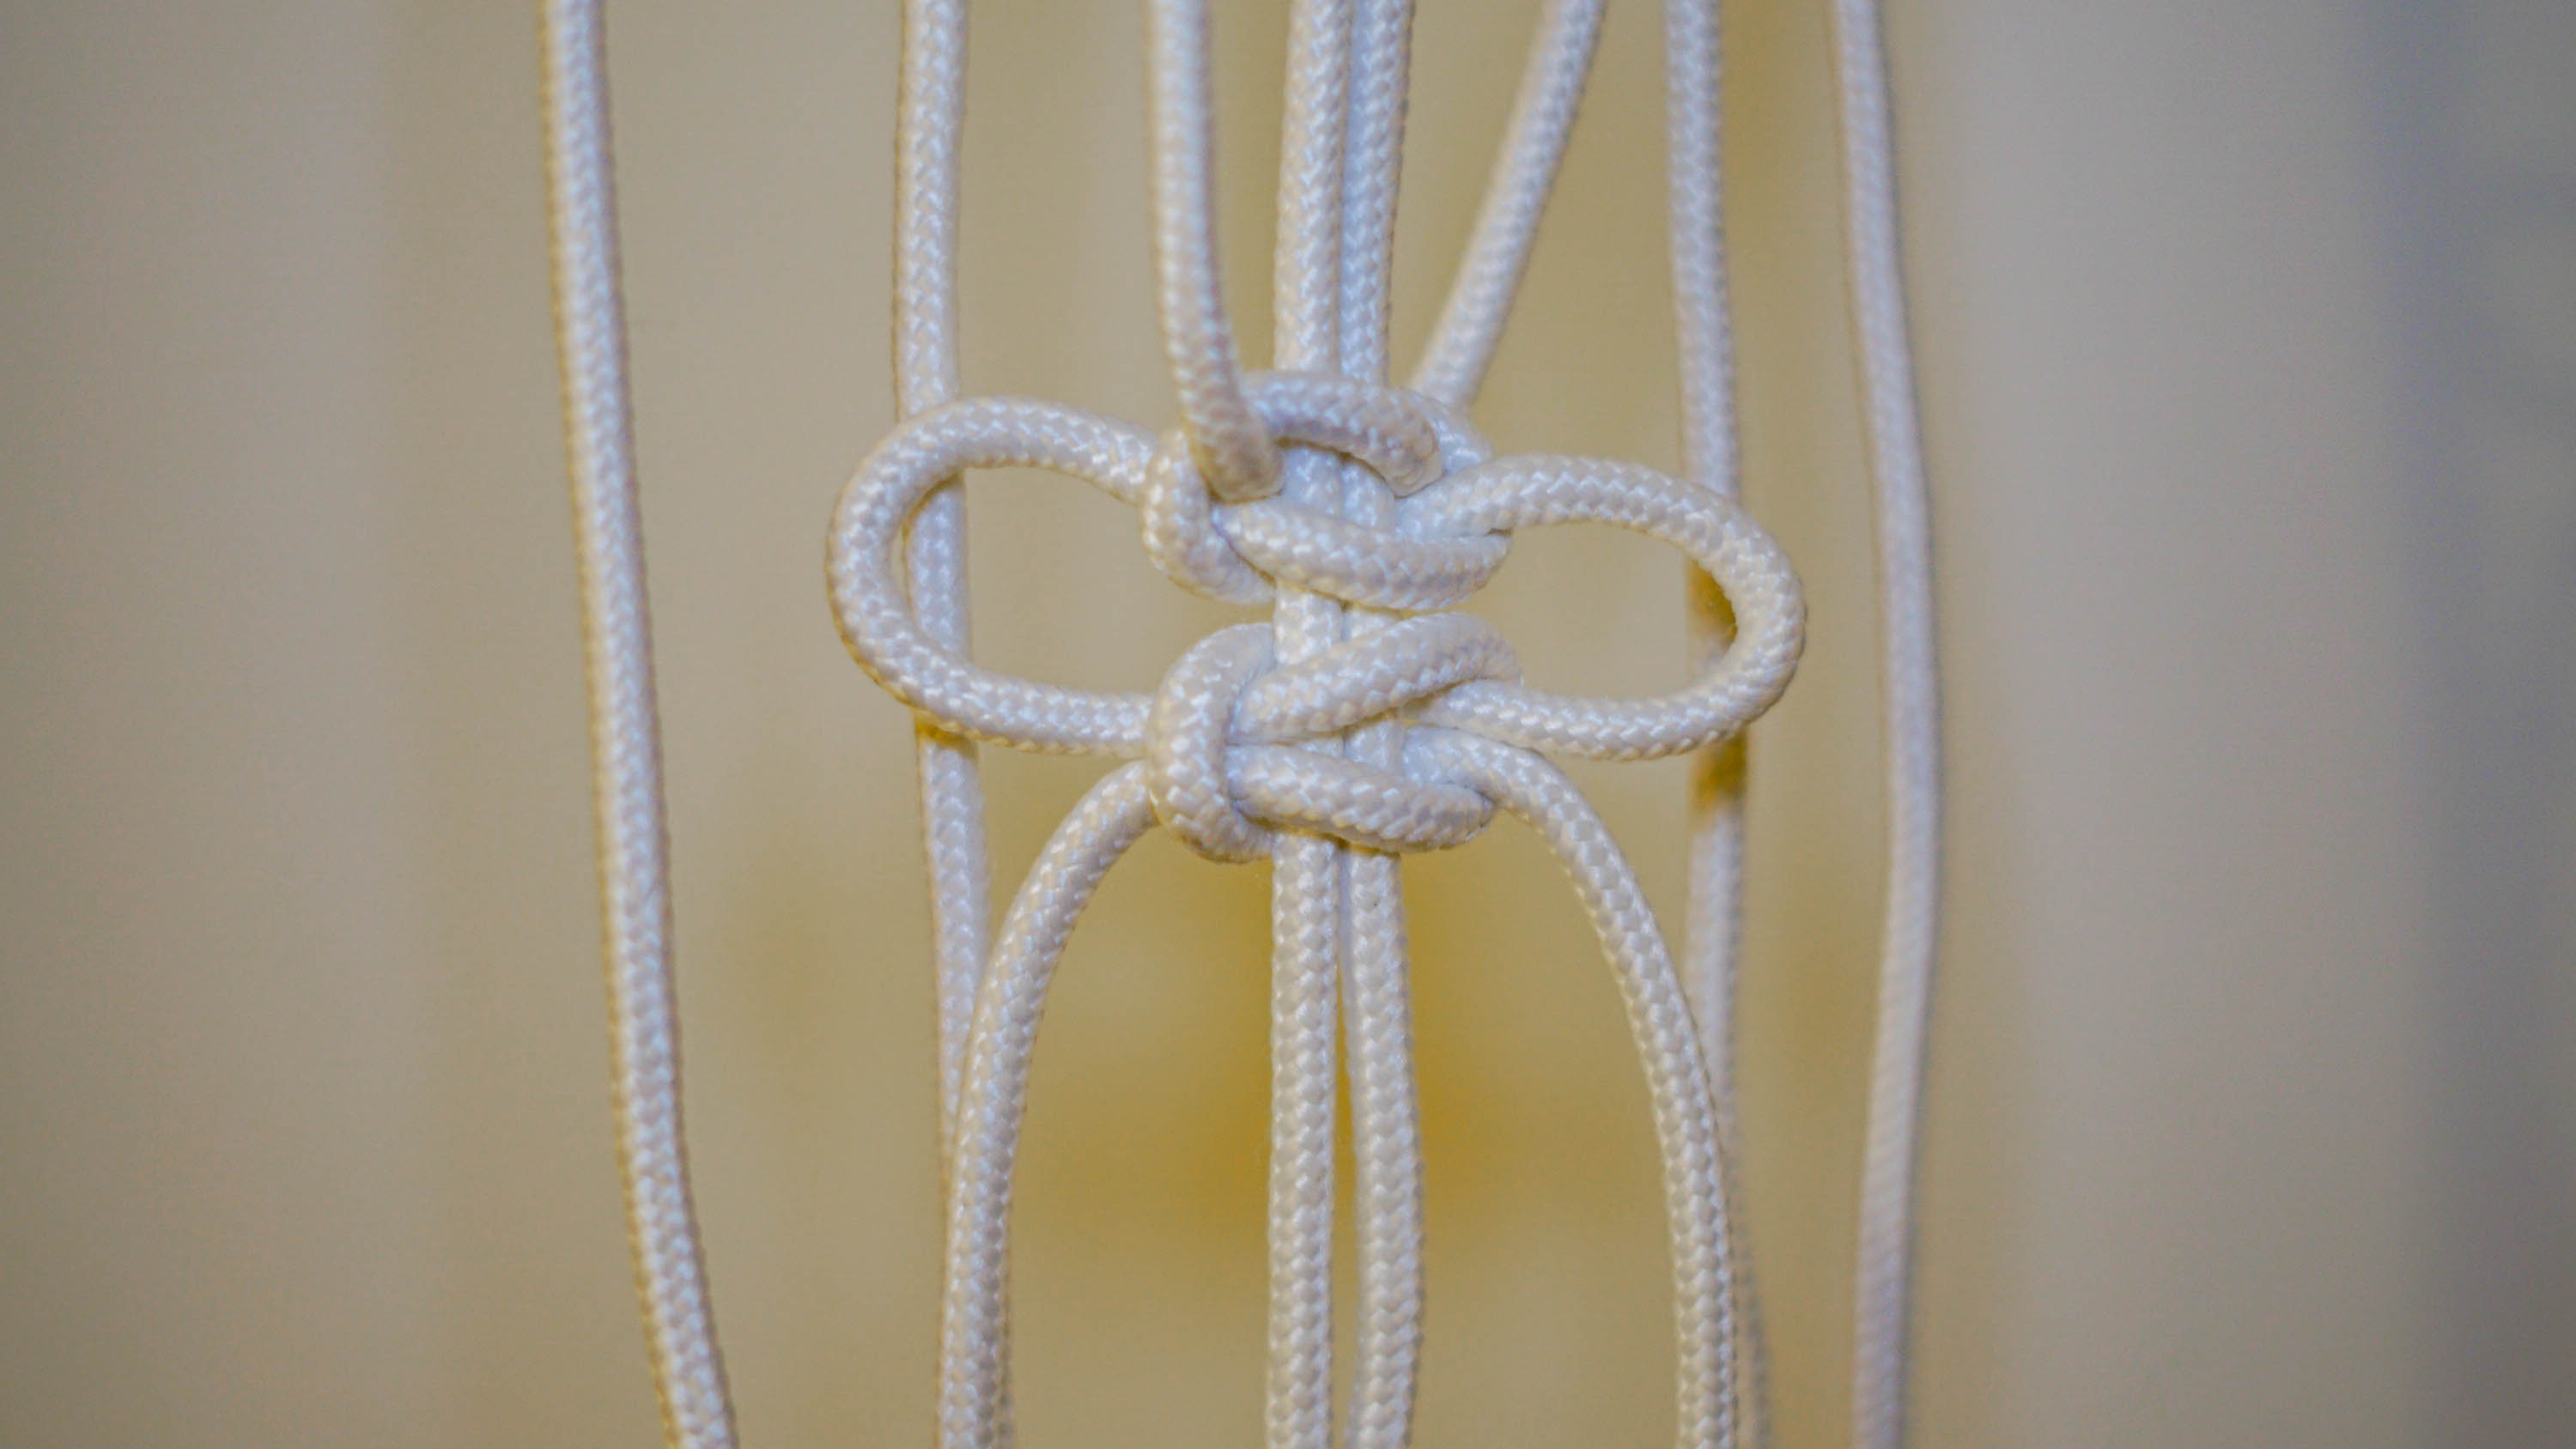
Like really? They’re so frilly and look so much more complex than that. But cool, less work for more aesthetic. I’m down with that. This was the first knot I used to start my basket as a sort of fancy border. I split up the original four groups of ropes and started interweaving them.
Adjusting For the Pot of the Macrame Plant Hanger
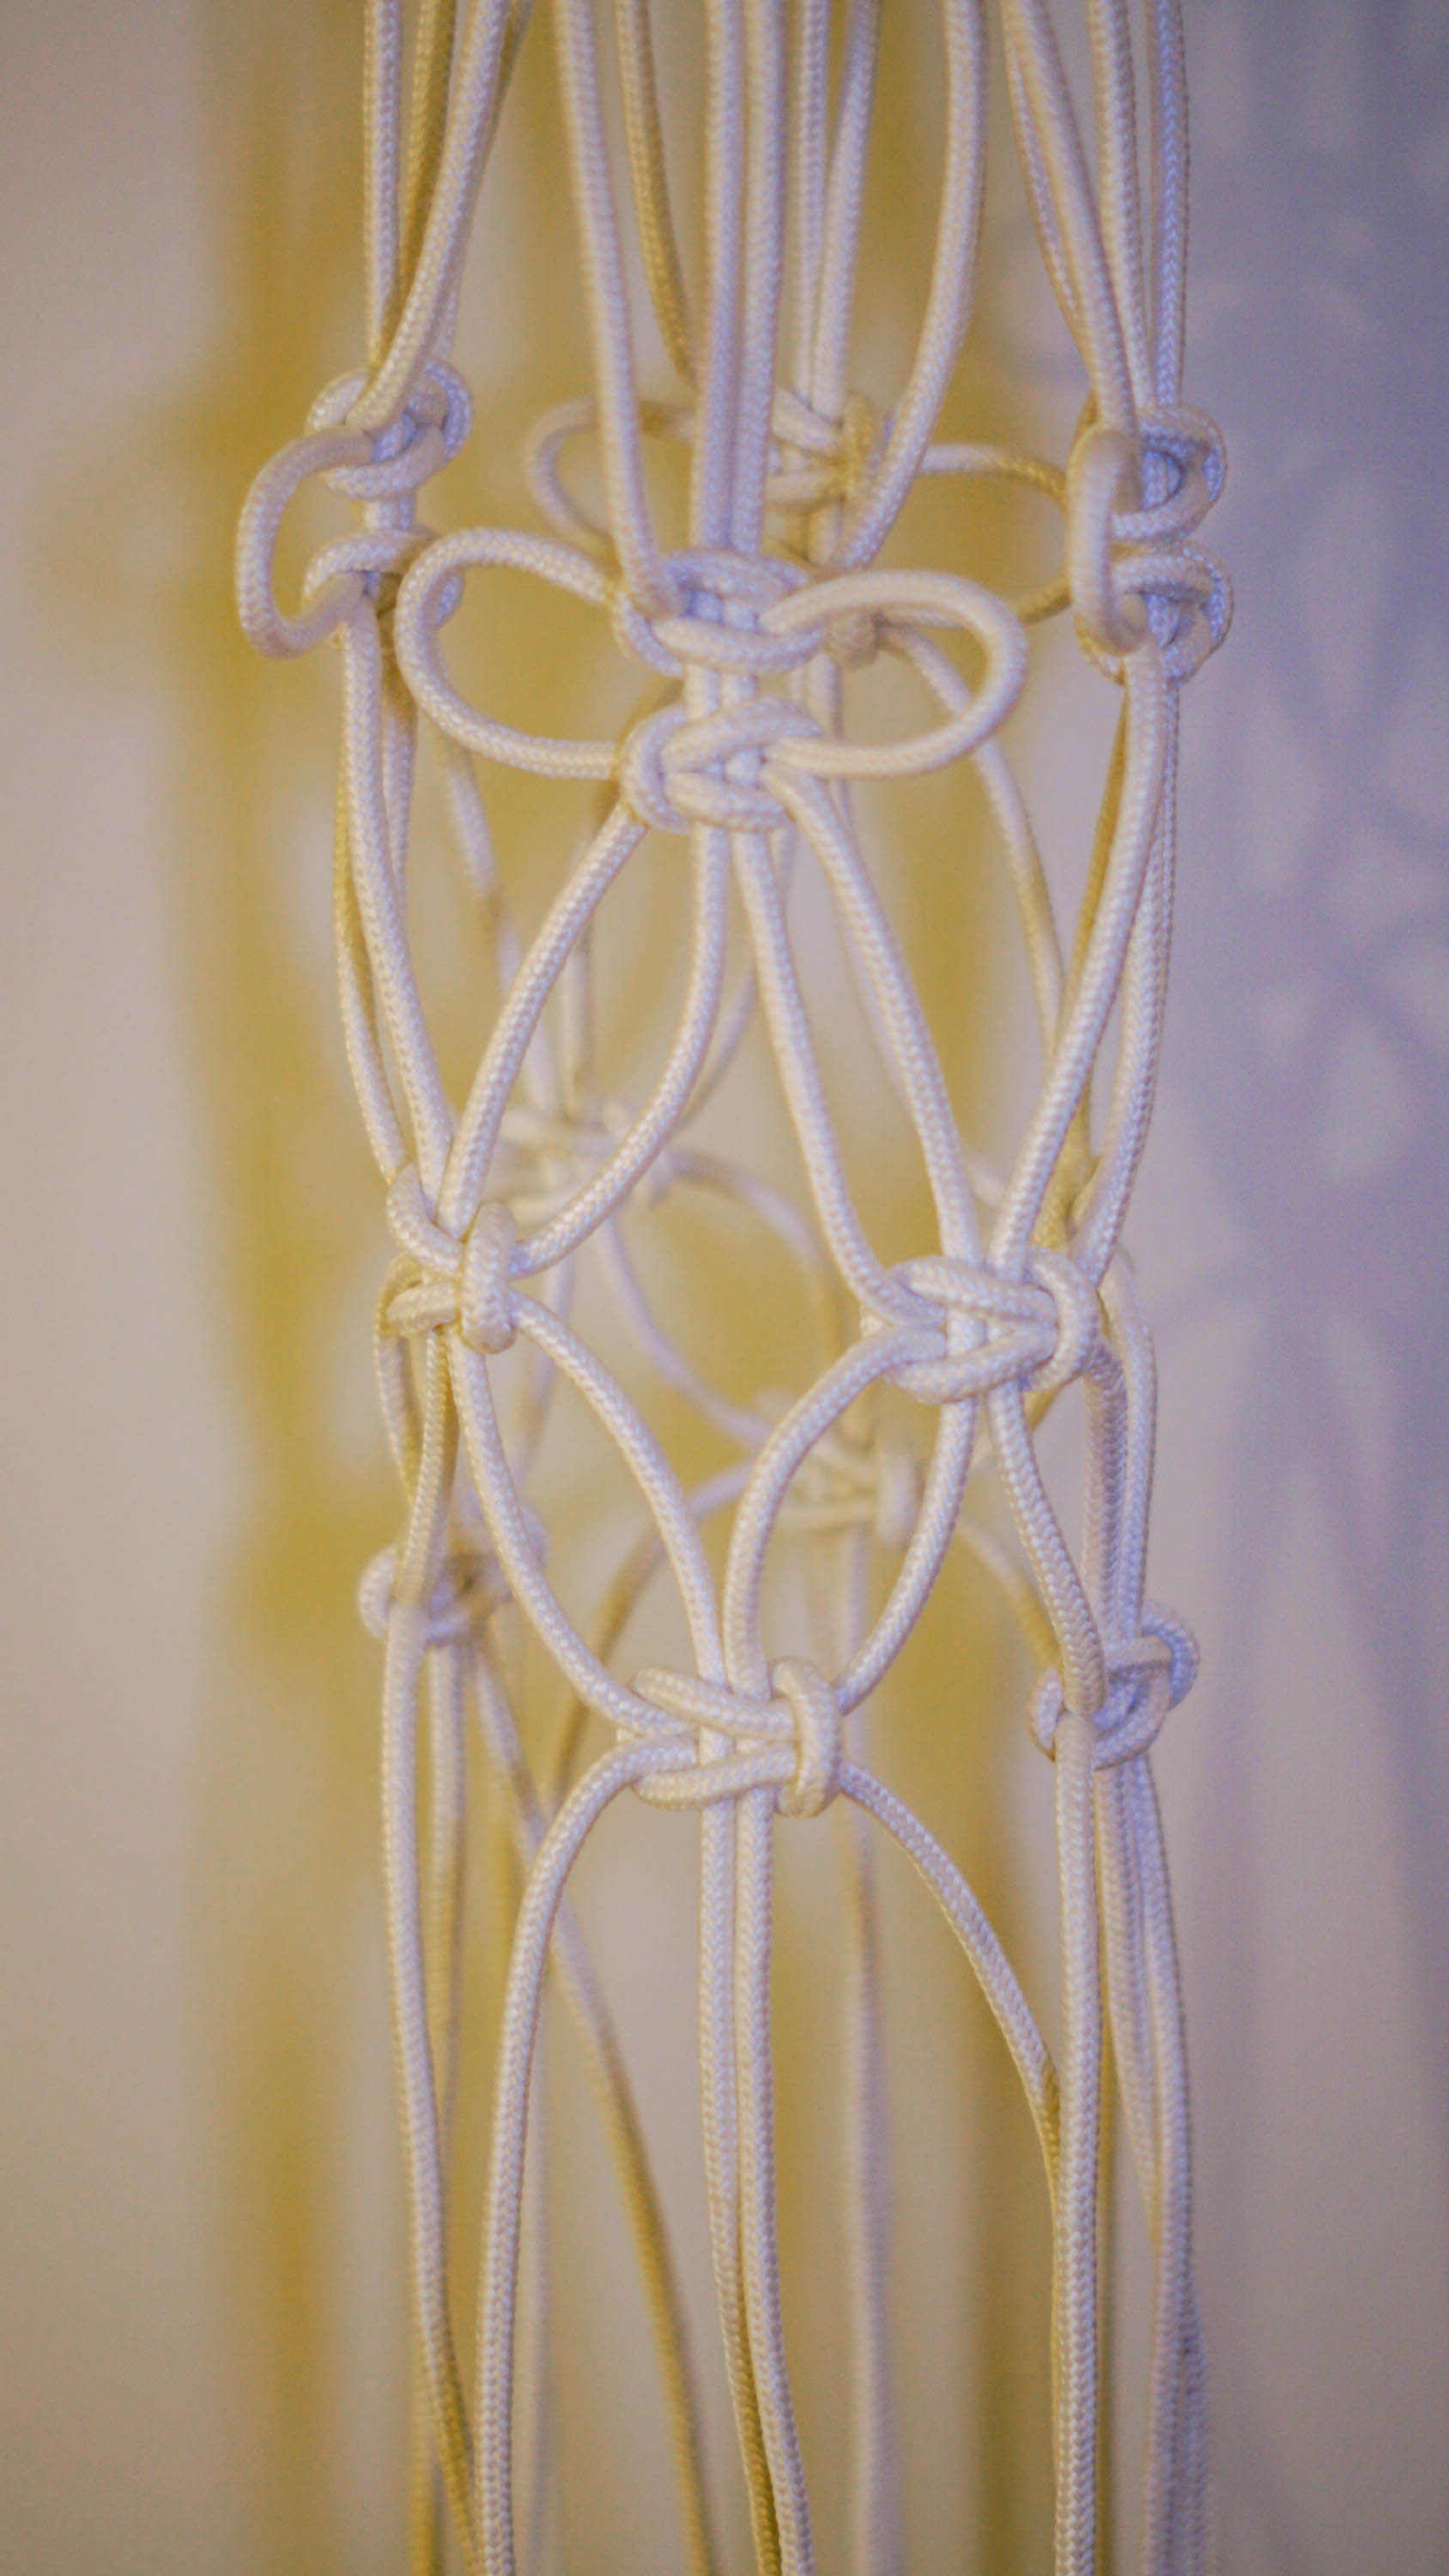
Before I finished off my macrame plant hanger I gathered the rope and tied it with a hairtie in order to mess around with the diameter of the basket. The knots are easy enough to bring more and take out length from in order to adjust for the size of the pot chosen.
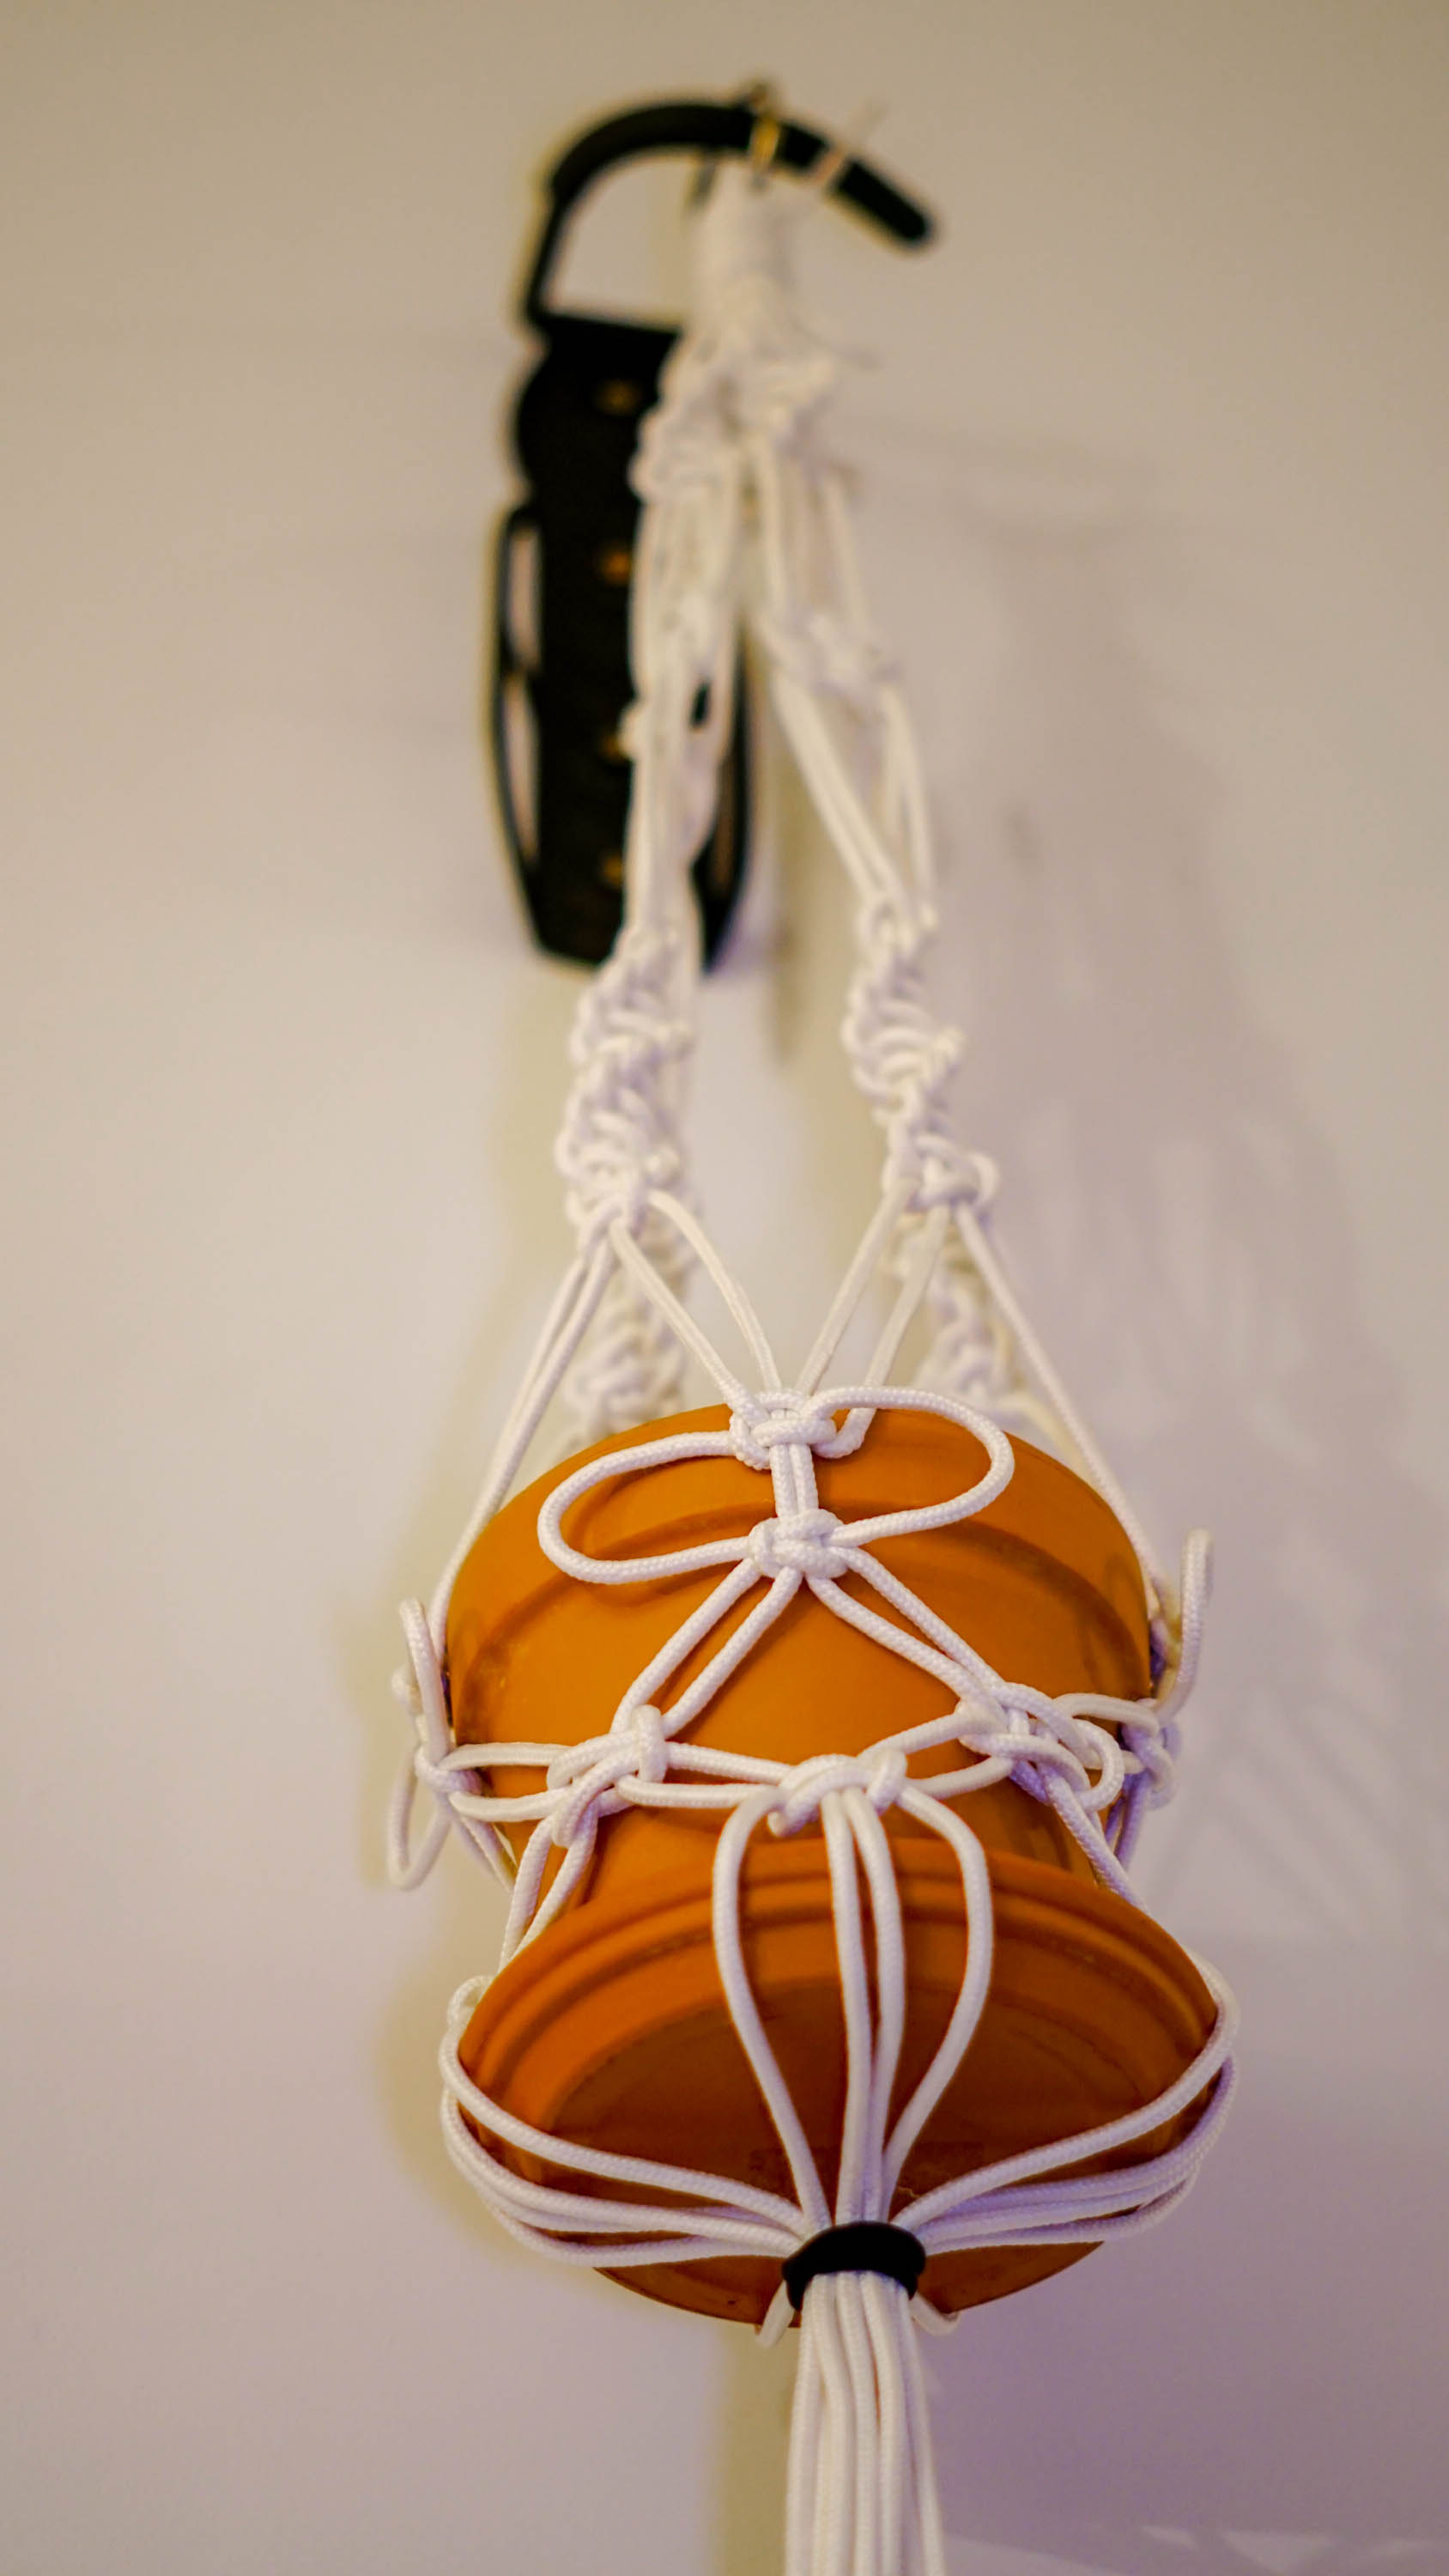
I must admit, I think this project would be so much cuter if I didn’t have the drainage plate. But as this was an indoor plant I am so happy I do have it otherwise I’d have a drippy plant hanging from my ceiling. If this was outdoors I would forgo the plate and just let it drain.
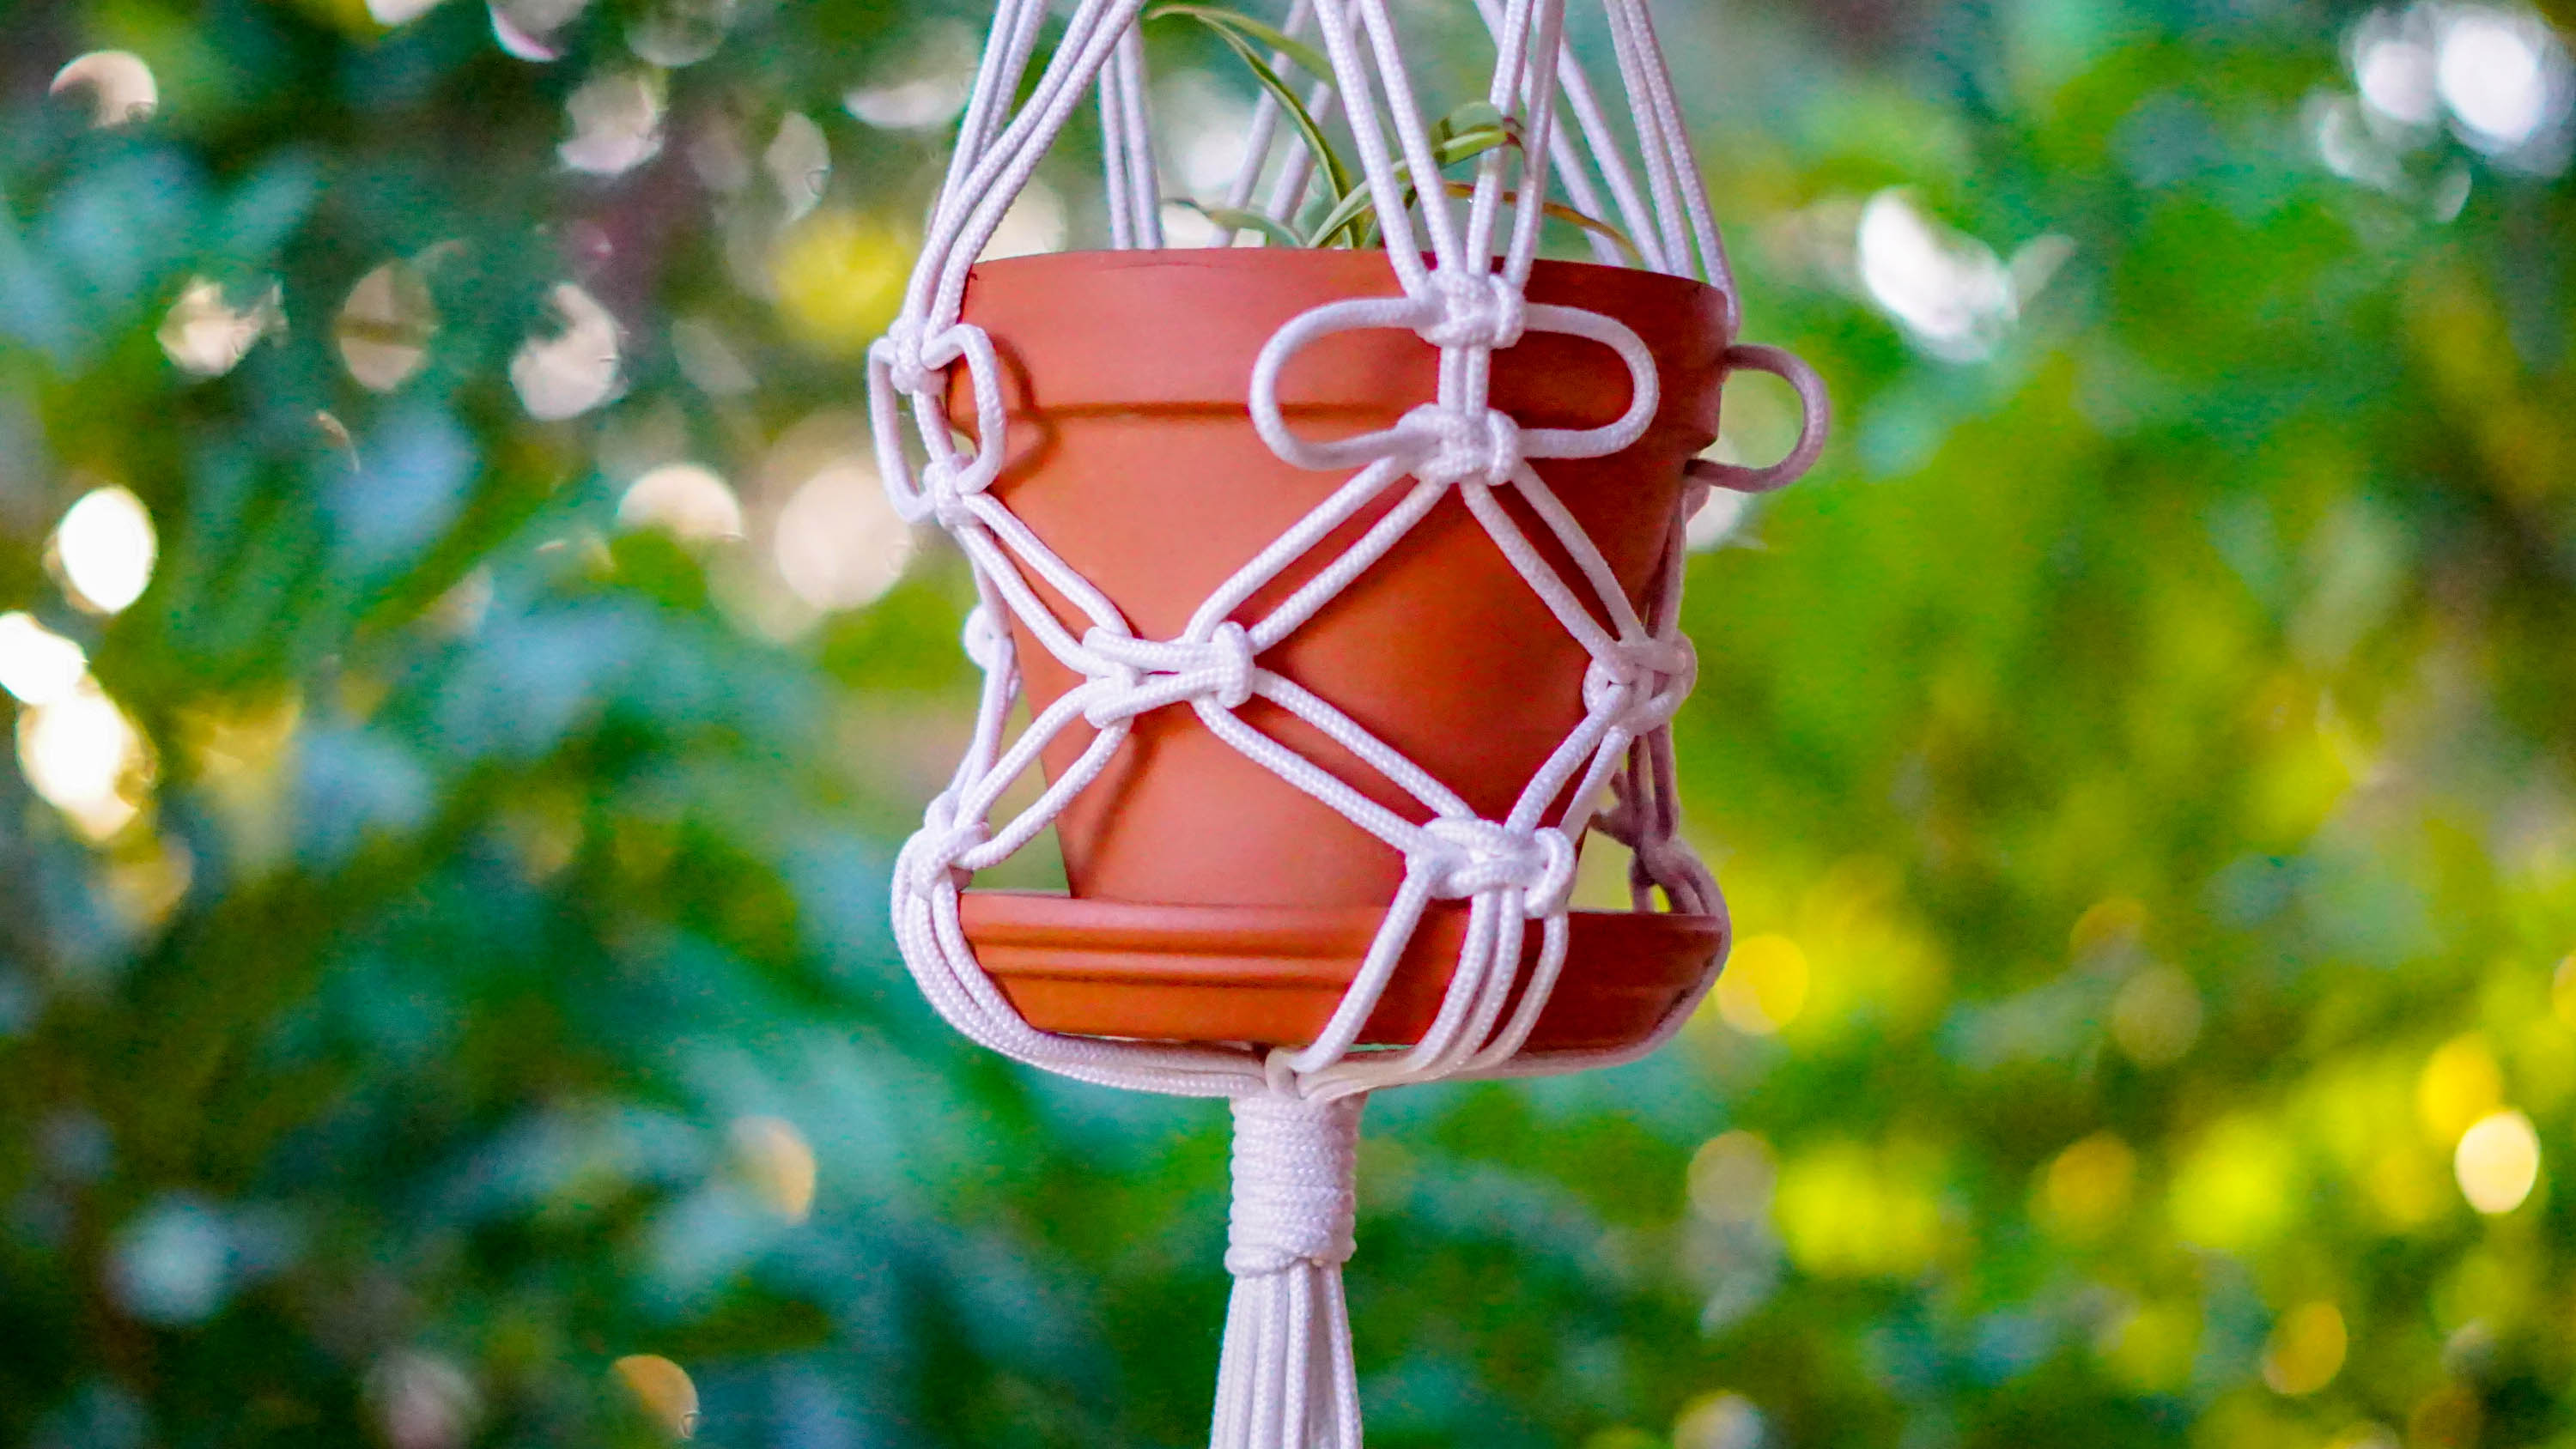
Finishing touches for the Macrame Plant Hanger
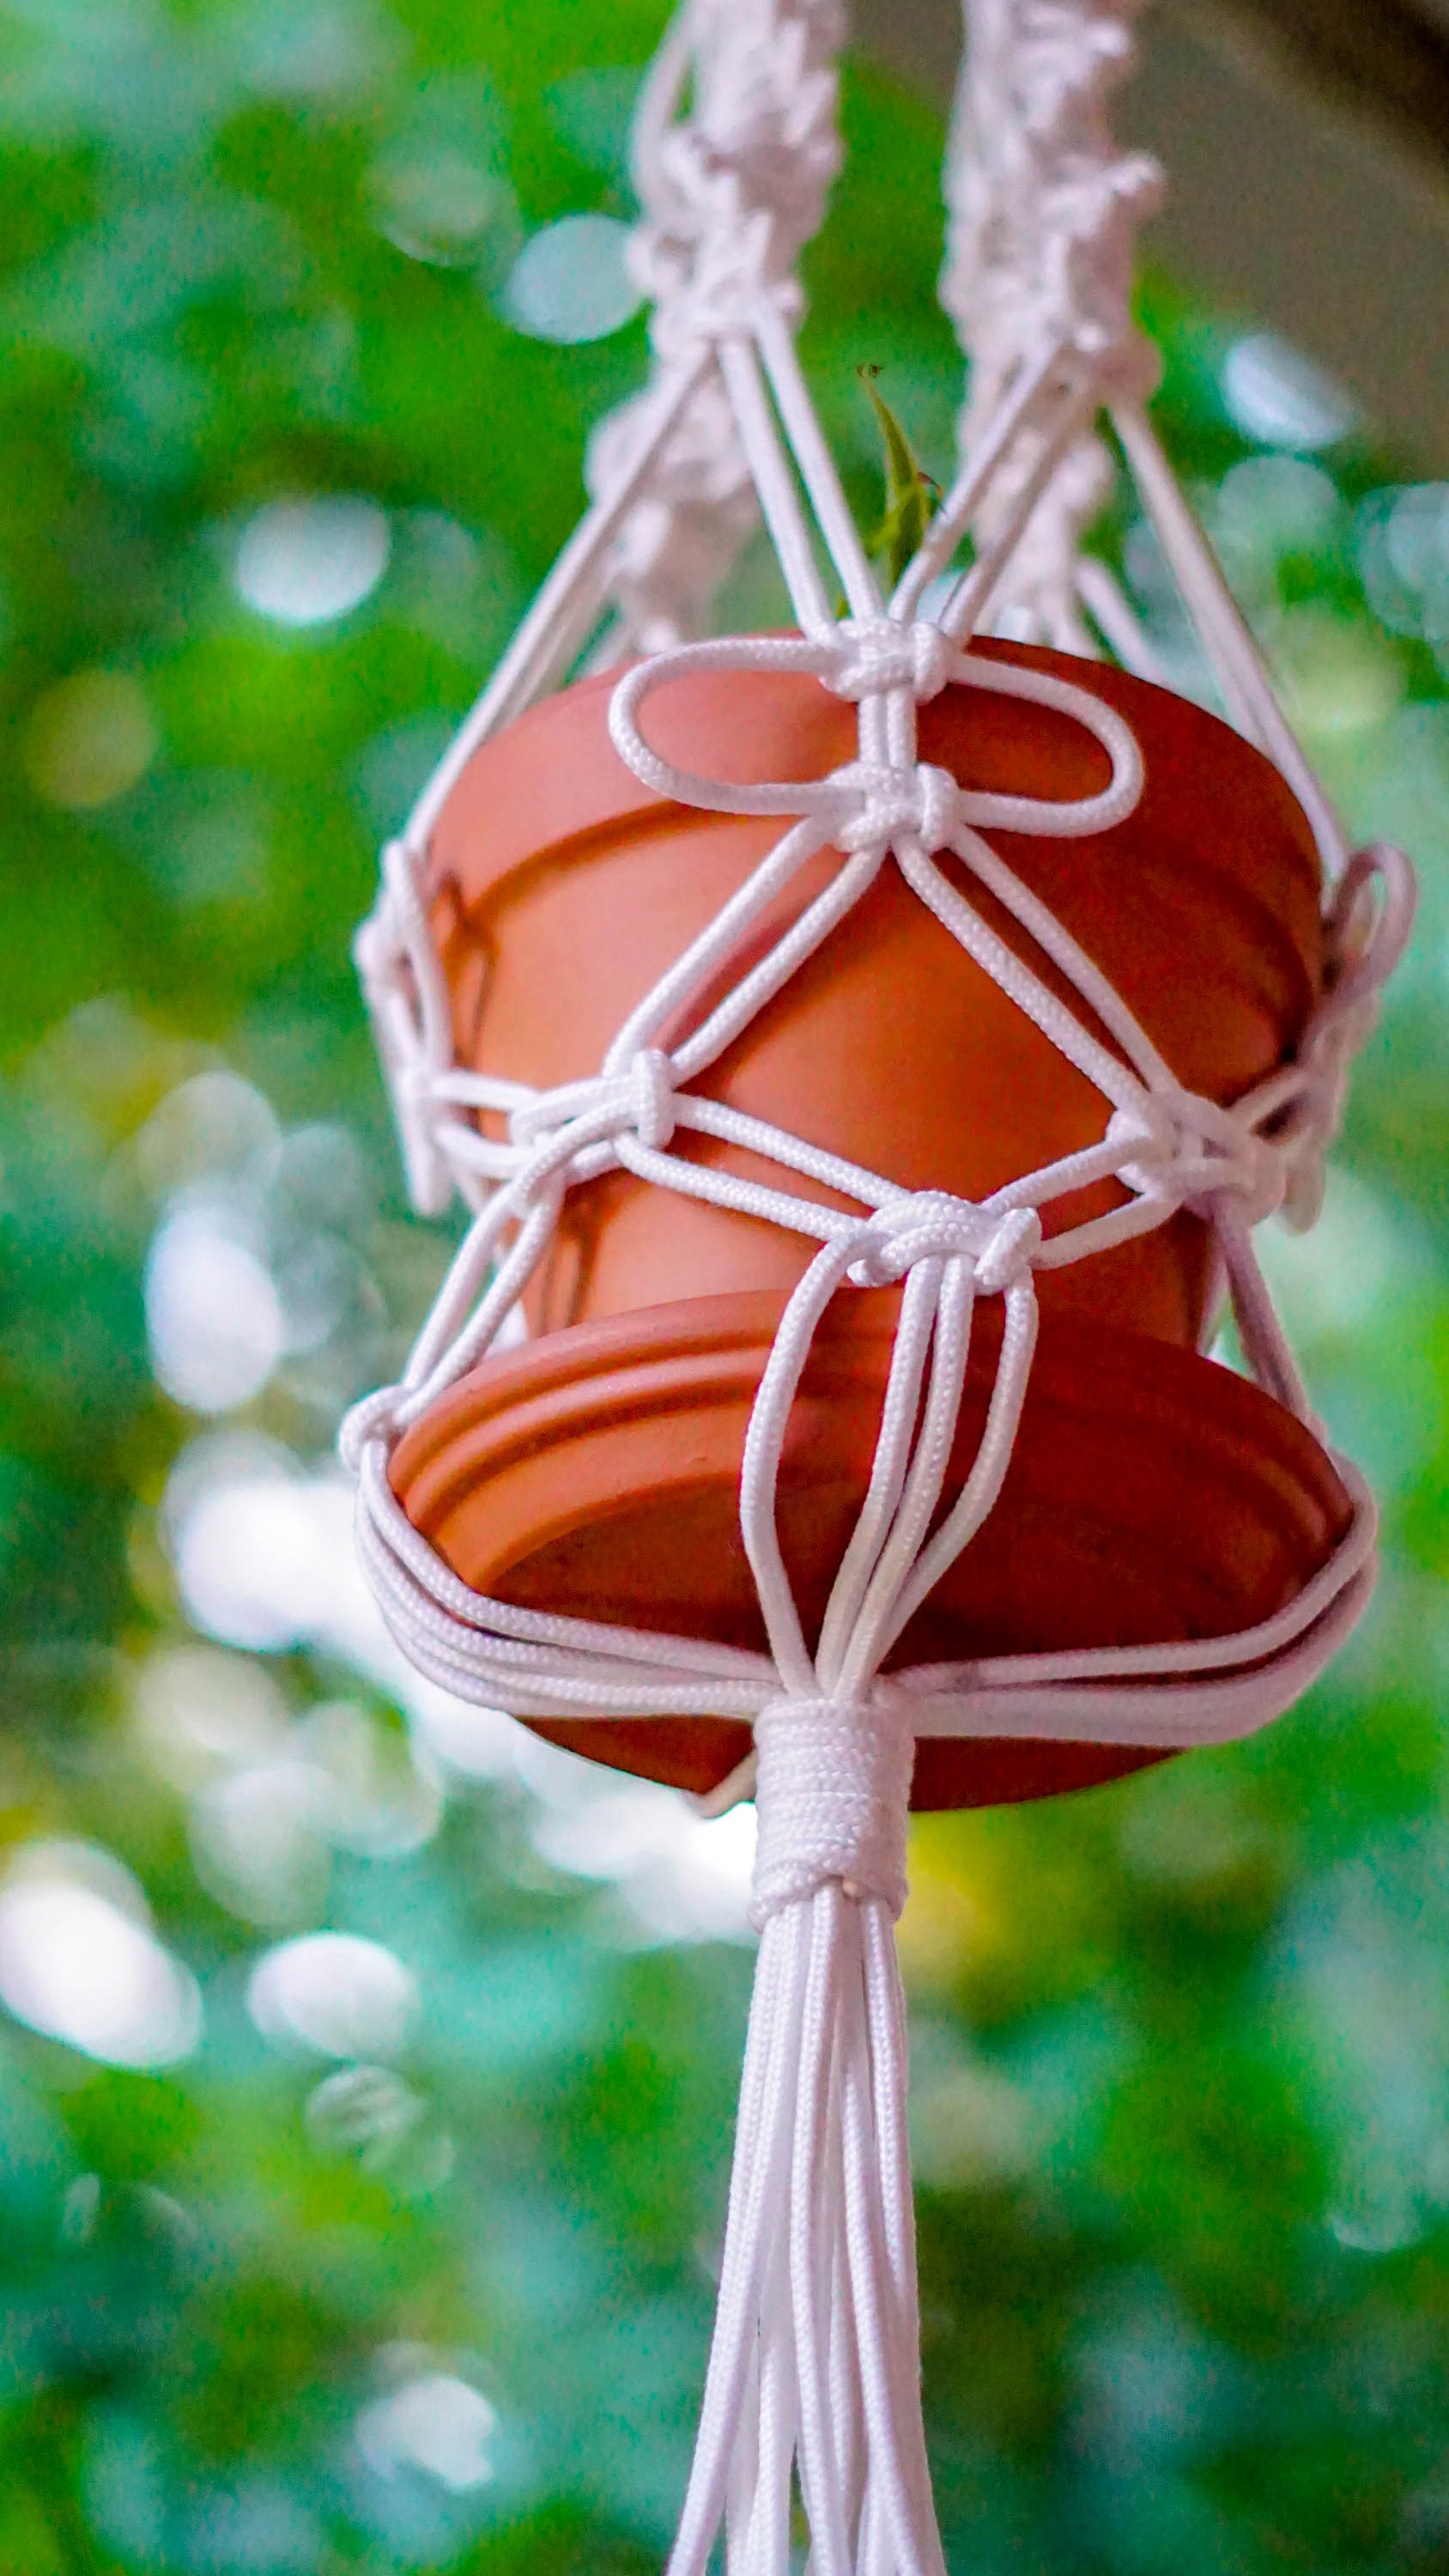
When the pot is settled to your liking the final knot is another gathering knot. After cinching it off and cutting the ends of the gathering knot I cut off the ends of the rope about 6″-8″.
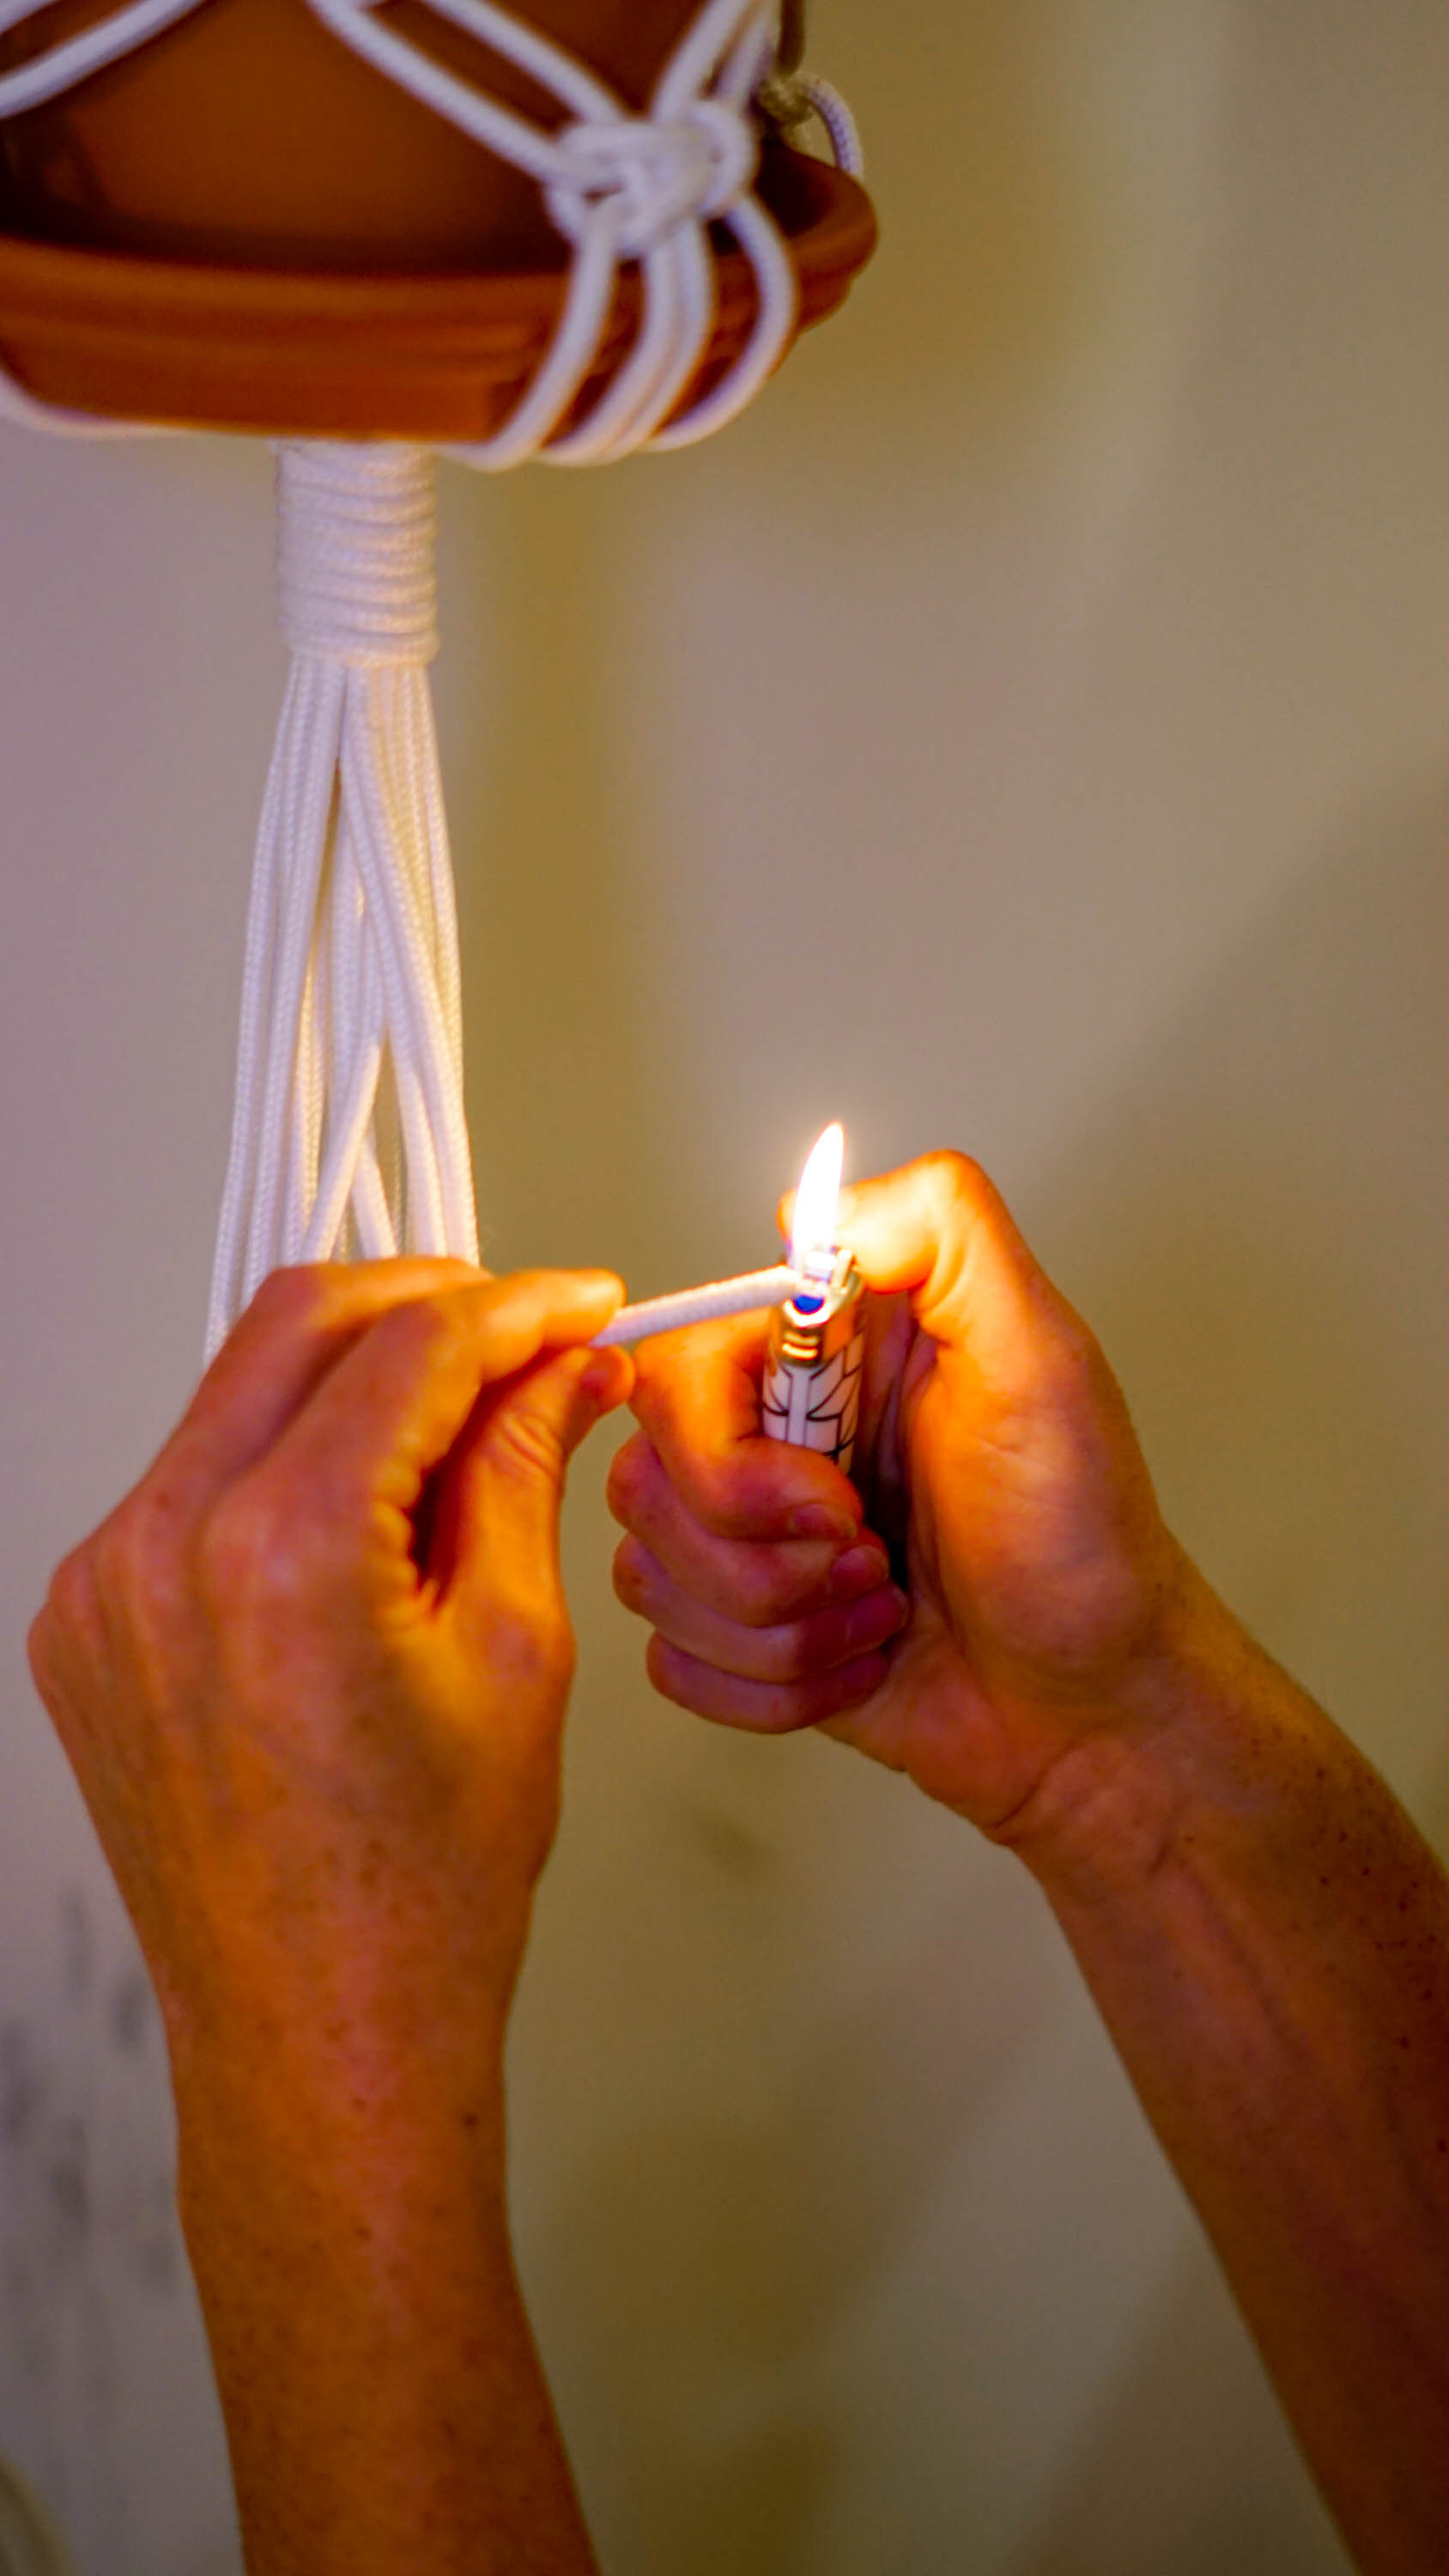
Because this type of rope would fray easily the best thing to keep the ends looking nice would be to pass a quick flame along each end of the rope to melt and seal the plastic.
Trial and Error for Macrame Plant Hanger
- Don’t use “Clothesline rope” – I originally bought some off-white cotton clothesline rope because I liked the color better. It turns out the interior of the rope is green, black, and all sorts of other colors that’s not connected to the cotton skin. What happened was that it would slip right out like an onion in an onion ring. I was really disappointed with how uncooperative that rope was.
- Measure before cutting. – Some of my ropes were shorter than the others because I didn’t measure right and didn’t have enough rope for my gathering knots. I also knew that the grounding ropes in the square and half square knots would tend to stay longer than the knotty parts. These shorter ropes were just used on the grounding sections.
- Macrame eats up a lot of rope – I wanted to make my planter all knots, and super complex. Because I just enjoy making my own life more difficult than what it should be. In reality, Macrame takes a lot of rope so I had to make it much more abbreviated. In the end, I think it is also nice. It makes each knot stand out and I have happy little moments rather than a complex nest of knots.
Thank you for looking at my DIY Macrame Plant Hanger. I hope you enjoyed it and stop by soon!


Hi Rachie😀
HI dad! 😀