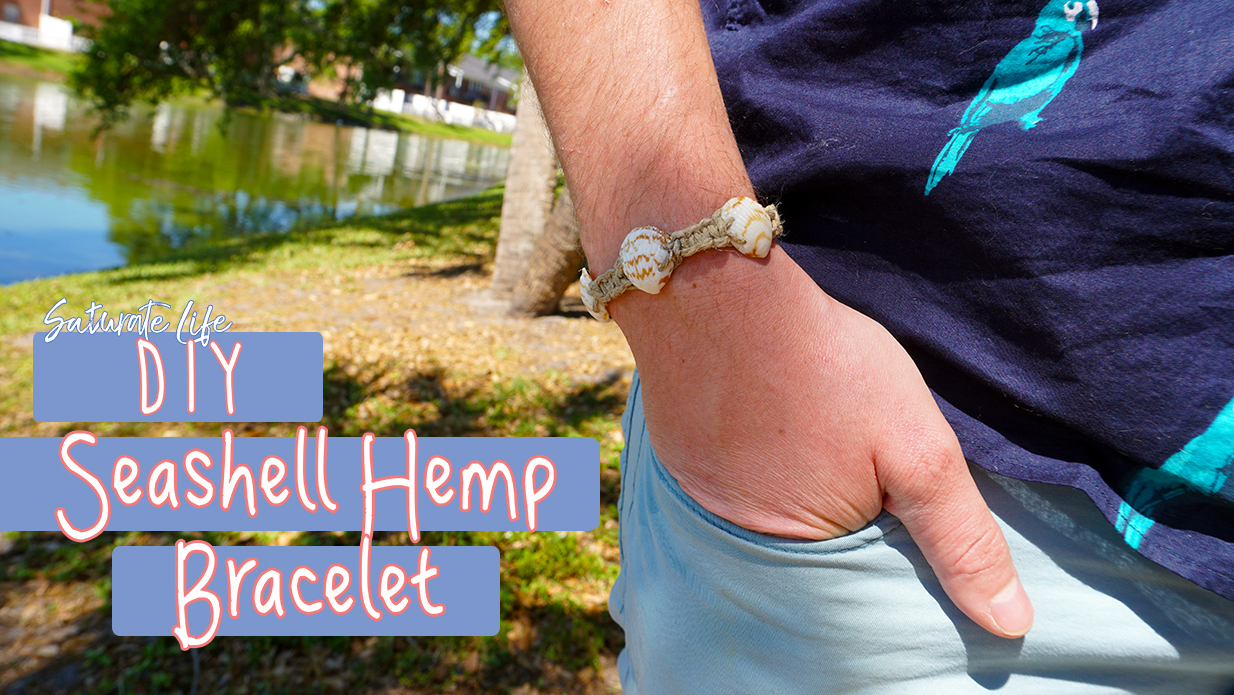
When wandering the beach there is a compulsion. I see little old ladies, little kids, couples, everyone does it. Everyone is drawn to these little novelties. Seashells. Even I have a habit of picking at them and now my home is littered with them. People like to give them away as little gifts. Yay, thank you! Okay, now what? It seems a little silly just to have them lying around. They look cute in a scene or a jar. But in reality, they are mostly just become dustables. The memory from Daytona Beach becomes an item on a shelf and forgotten.
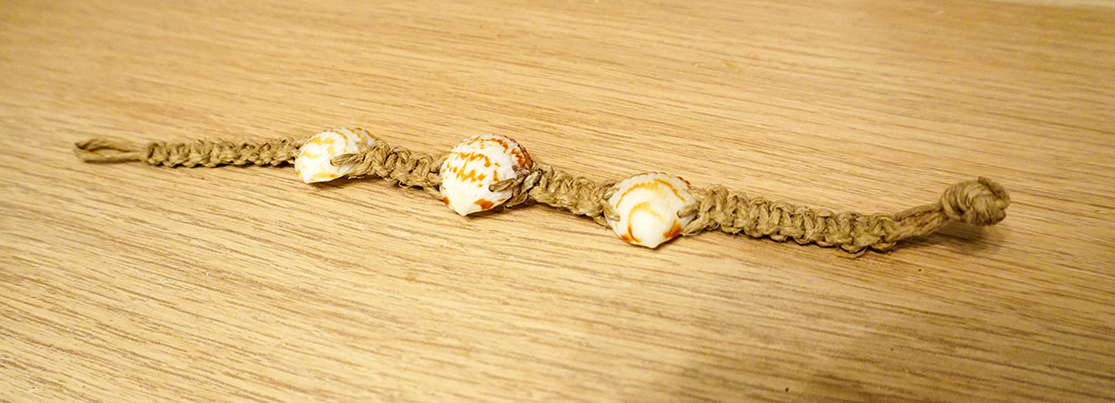
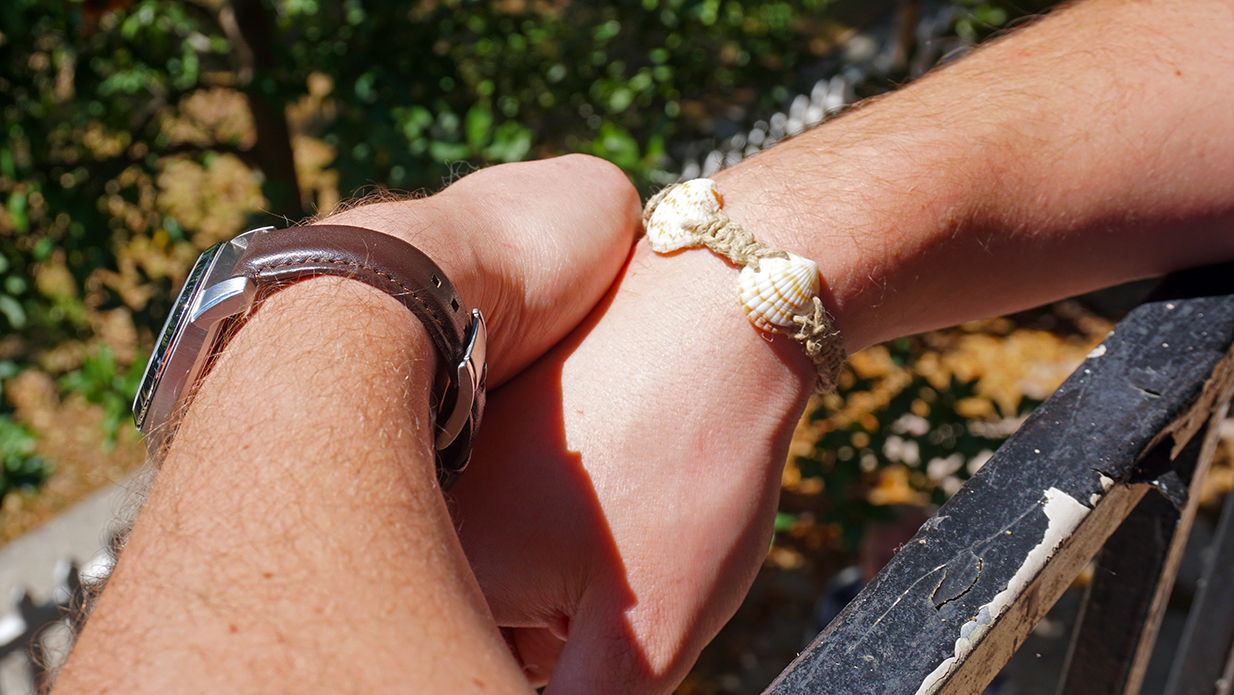
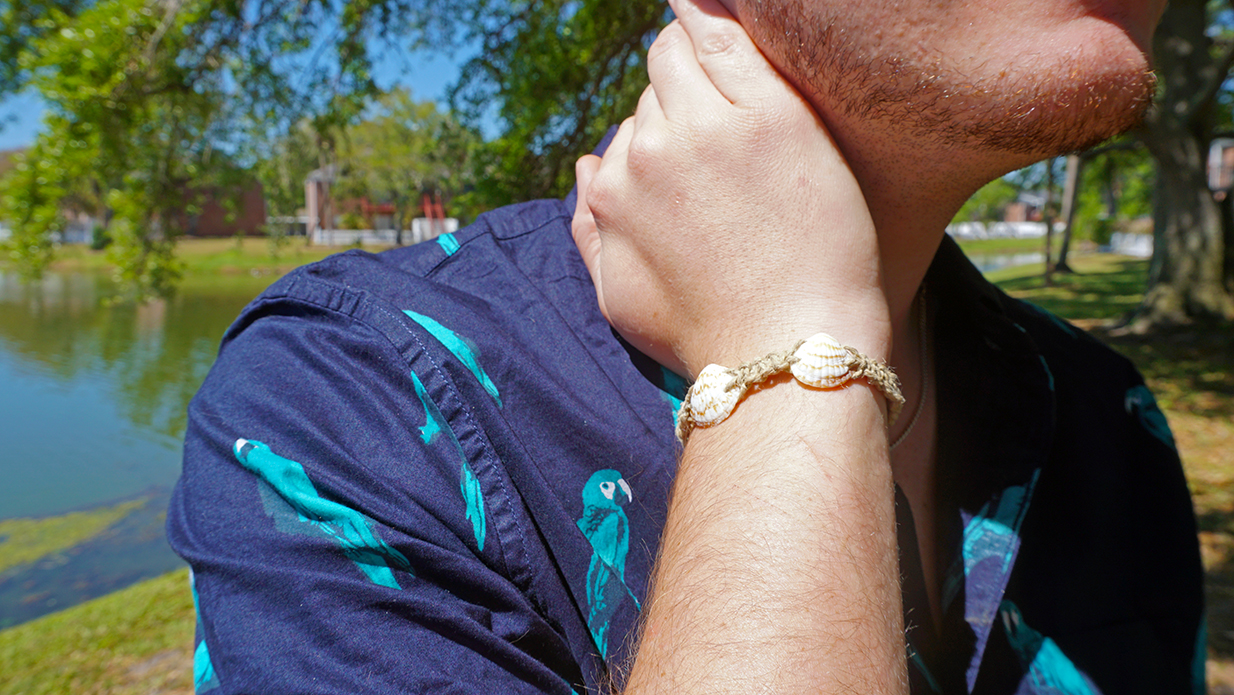
Instead, I’ve decided to incorporate the shells as free beads into a homemade seashell hemp bracelet. Now the trip to the beach can become a regular accessory and the memory of those shells can be carried with you long after you left the sand behind! So here is a quick guide to creating a basic hemp knot to extend into a DIY hemp bracelet or necklace with seashell accents.
Materials for DIY Seashell Hemp Bracelet
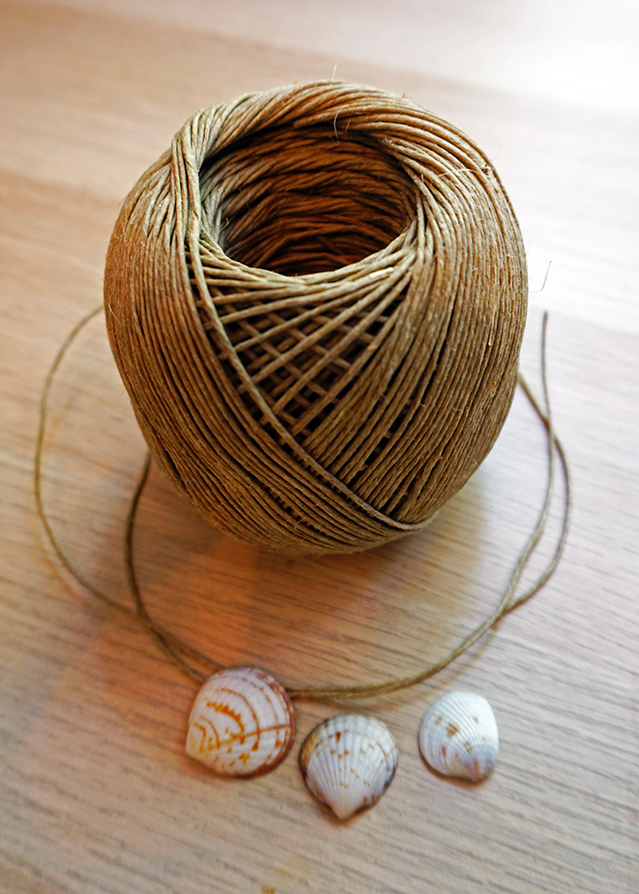
- Hemp rope (I used 1/16″ dia)
- Seashells
- Drill and appropriate sized drill bit (same diameter as hemp rope)
- (Optional) beads
Basic Hemp Knot
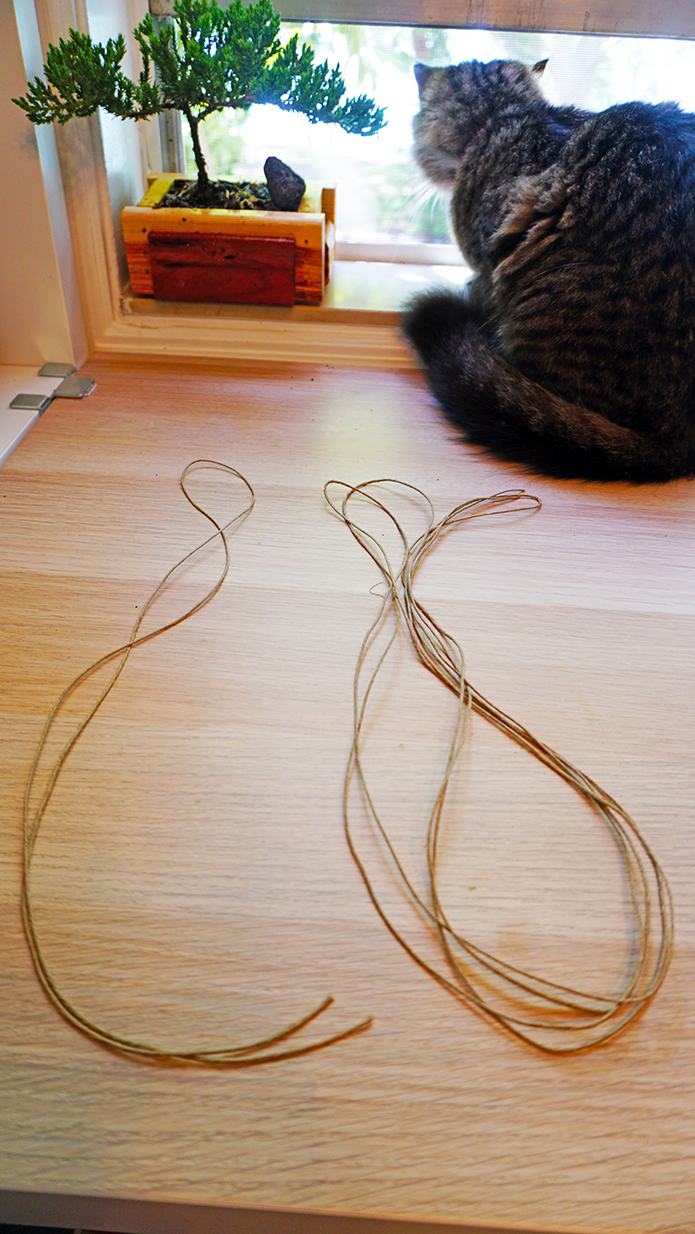
To start the seashell hemp bracelet I went through and bought a 1/16th” diameter hemp rope. While it looks fairly thin after the knotting is done it will come out to be a decent size. A chunkier rope will look great for a more masculine bracelet, however that may make preparing the seashells more difficult. To begin the hemp bracelet you will need two strands. 1 strand is double the circumference of what you wish to wrap plus a few inches on each end. In my instance, it was my boyfriend’s wrist.
The second rope will be significantly longer. Around 4x as long as the other rope. In other words. The first rope should wrap around the object twice. While the second one should wrap around 8 times (9 if you want to be safe) in length.
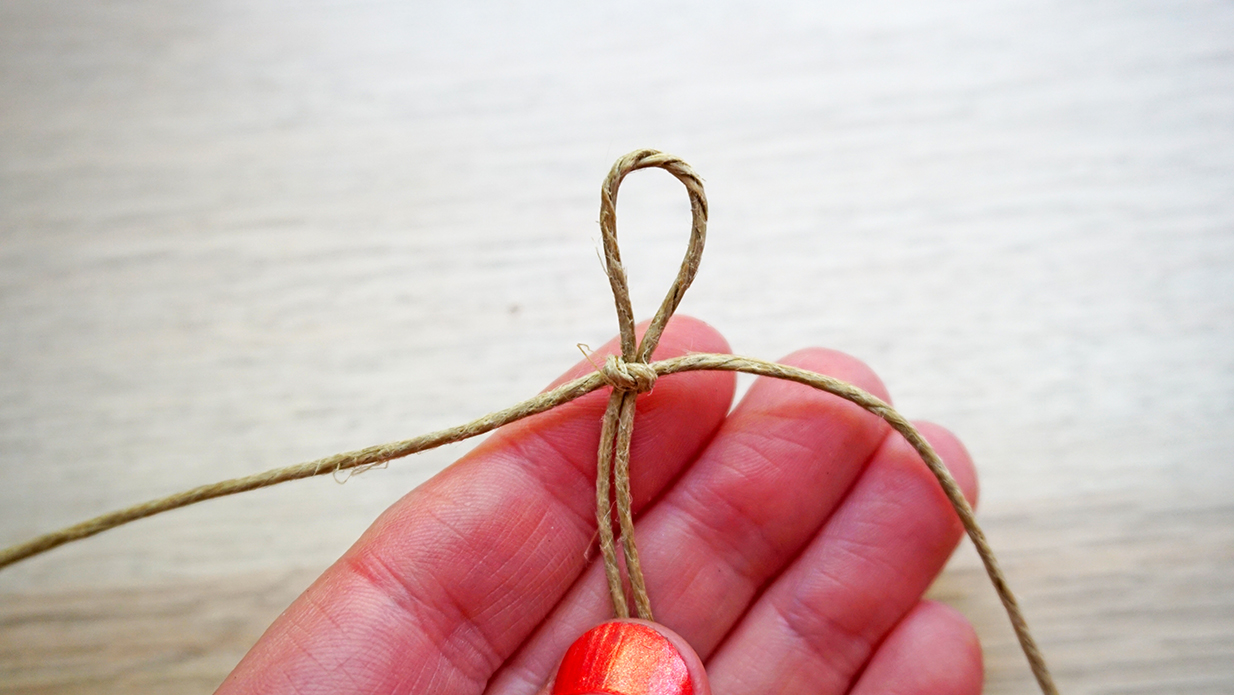
From here you want to take the shorter rope and double it. Next, take the middle of the longer rope and create a basic square knot around the unopen end of the shorter rope. In the end, you will have a small loop, the two, equal, open ends of the shorter rope and two, equal, long ends of the longer rope, totaling 4 strings just hanging around. This loop will eventually be used to help tie the bracelet together. So make sure it’s not too small that you couldn’t get a finishing bead or knot through, but not so big that the knot or bead will fall out all on its own. For my 1/16″ rope my loop is about 3/4″.
The 2 Kinds of Basic Hemp Knots
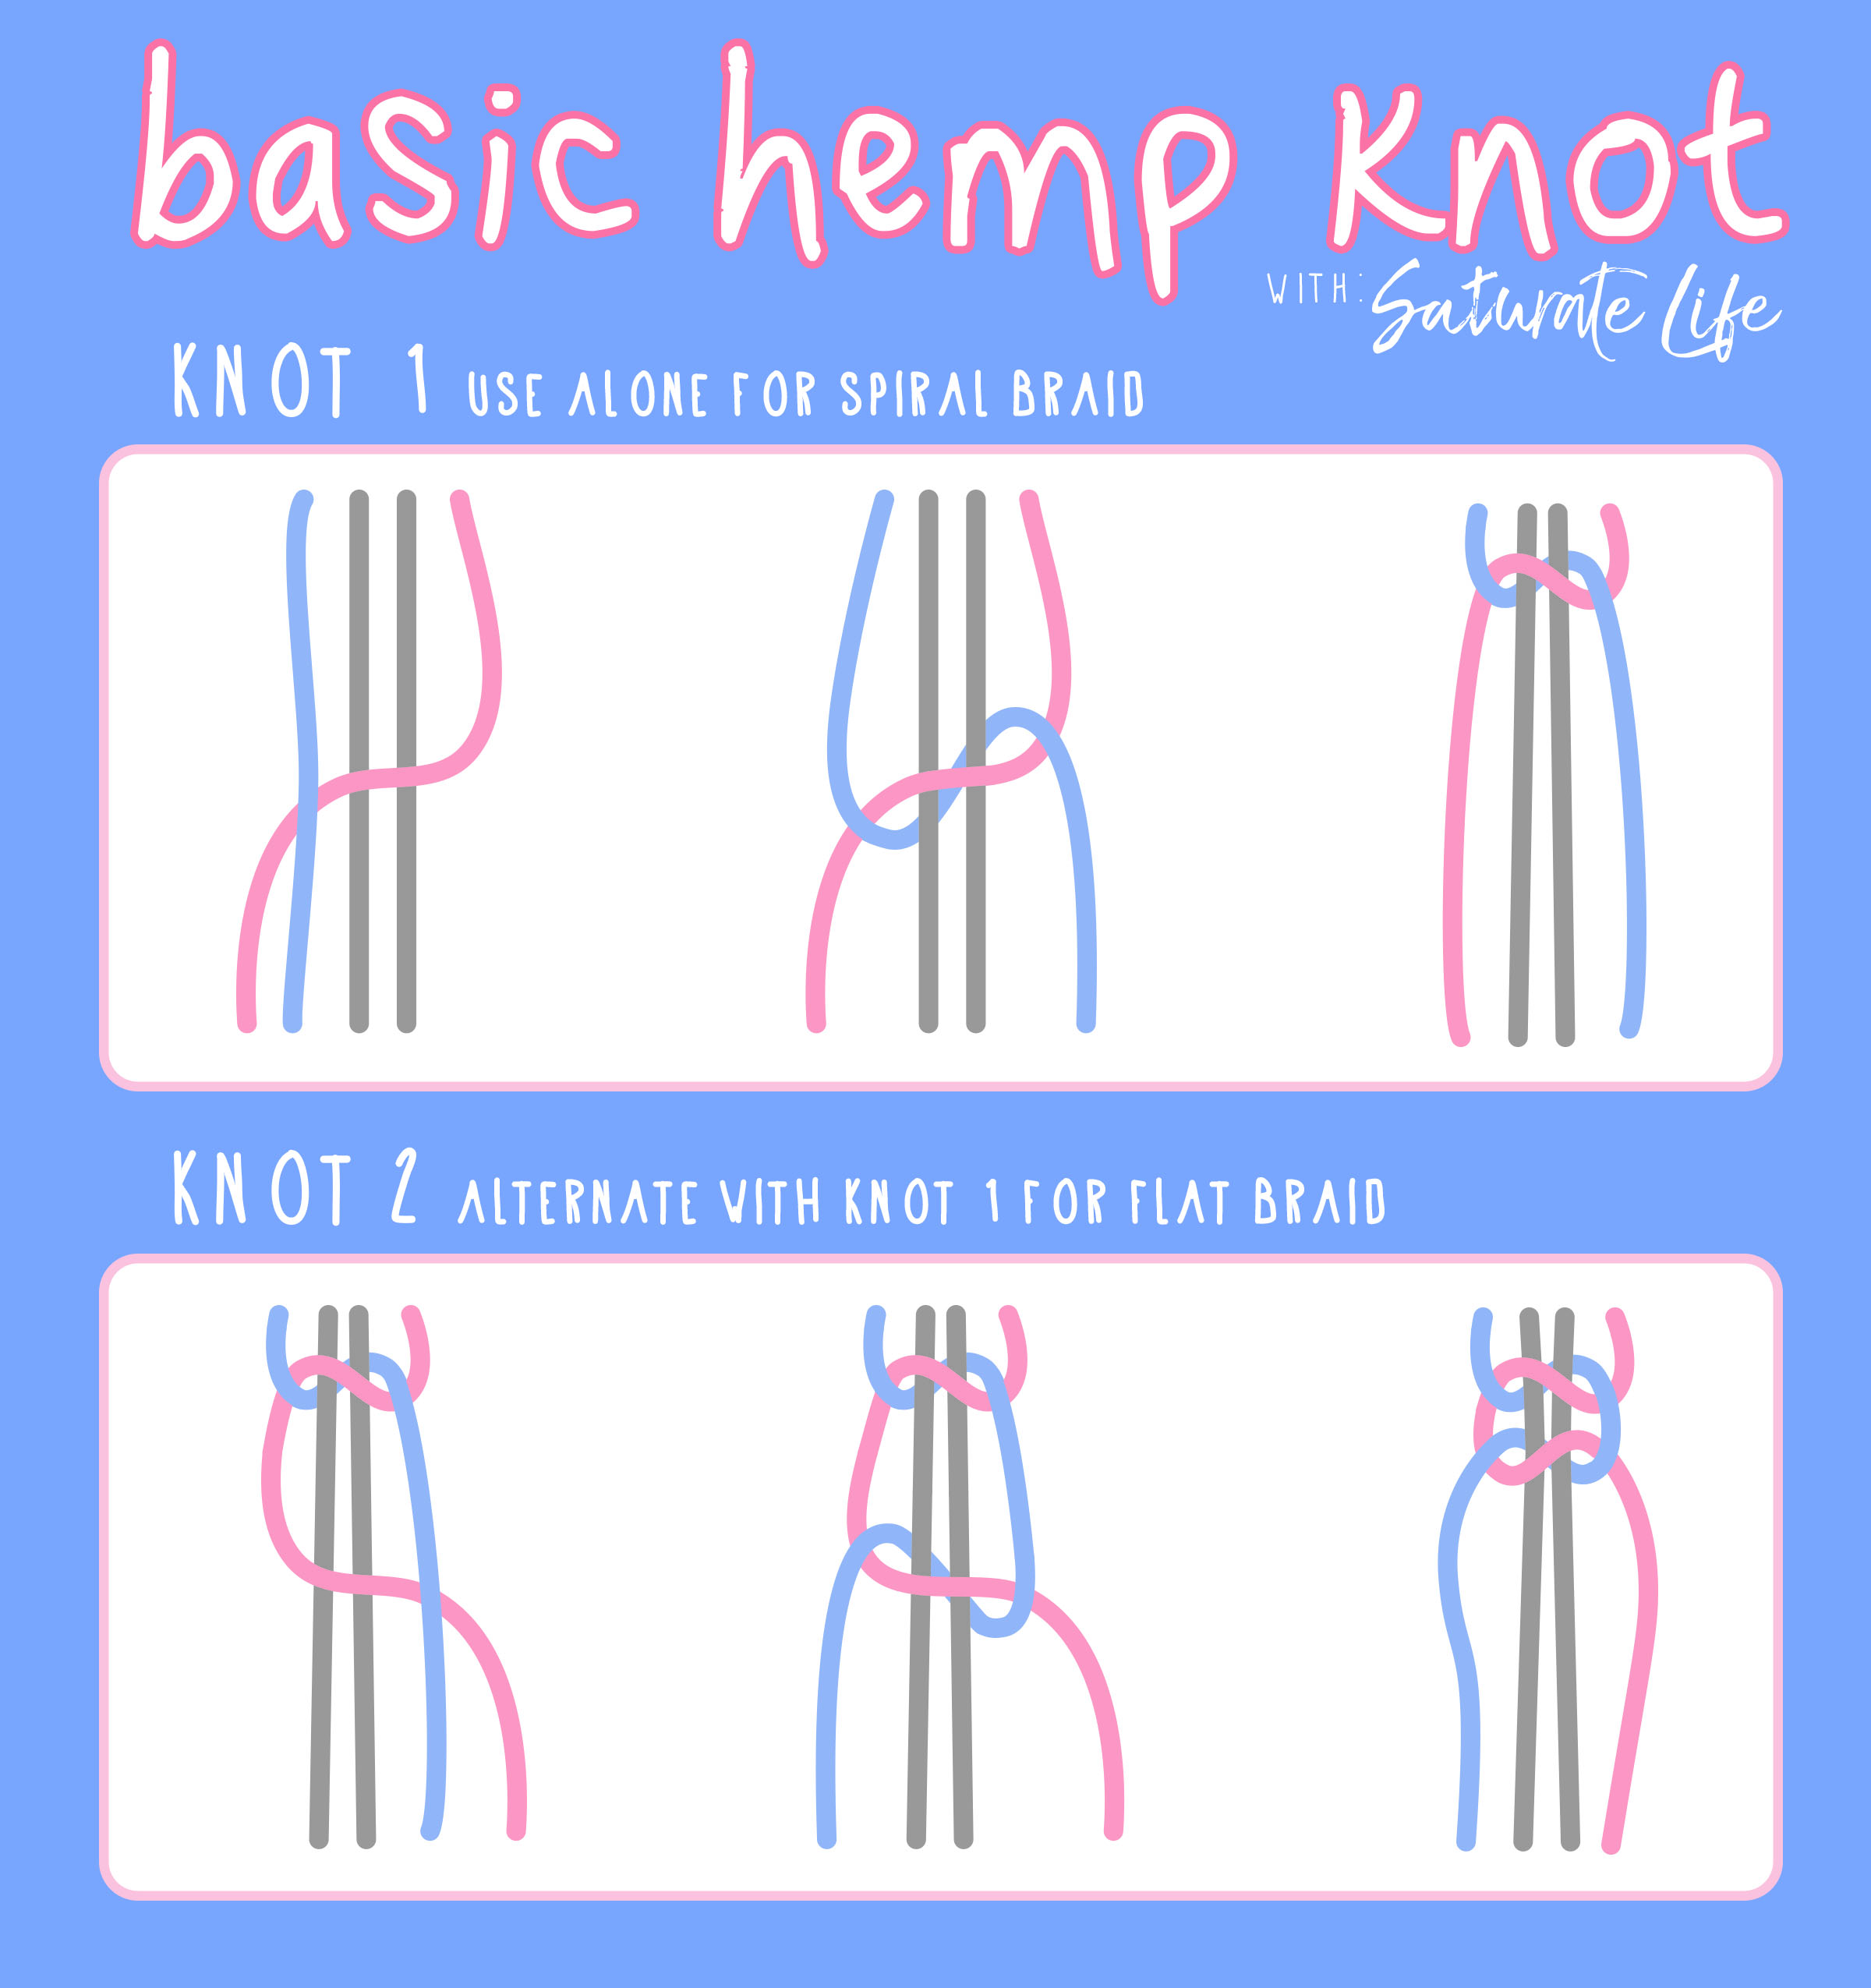
There are two basic kinds of hemp braid knots. One will lie flat, while the other does a neat spiral effect. Depending on the style you want your project to end up looking like each one will work out better or worse. The spiral is more for looser necklaces while the flat feels better for bracelets or chokers. I chose to have a flat braid so I alternated between Knot 1 and 2 for a flat braid. In the beginning, it is a little hard to tell the difference between the knots but once you get the hang of it the knots become much easier to distinguish.
Preparing the Seashells
This really depends on the shells you have selected. I really enjoyed some pretty little shells with white and orange accents. They are plentiful and have some really lovely markings. After collecting them we sanitized them with a bleach water solution and let them dry.

From here I had to make some holes. This is probably the most tricky and longest part of the process. I used a 1/16″ drill bit, developed a whole process to keep the drill from stabbing my desk and patiently spent an afternoon grinding away. These mollusks evolved to have an incredibly durable armor so drilling takes a lot longer than what I originally thought. The best piece of advice I have is: do not use force while drilling no matter how tempting it is. Although it will take much longer, not using force will keep the integrity of the shell and keep the shell from cracking while drilling or later when wearing.
I think the best option to use them as beads is to pull the two parts of the shorter rope through the shell in order to keep it from twisting, holding it firm and thus keep it from breaking as readily. This also means double the holes I need to drill, four for each shell. Put on some entertainment and be patient. It will eventually happen.
Threading the Seashells onto the Hemp Bracelet.
Once all 4 holes are made into the next is putting them on the seashell hemp bracelet. Once you knotted away and are at the point where you want to introduce the shells it’s not as daunting as one would expect.

I threaded the two ends of the smaller rope through two holes that I made on the side of the shell. Next, I took the longer ends of the rope and essentially ignored the shell. I went and proceeded with the next knot I needed to create.
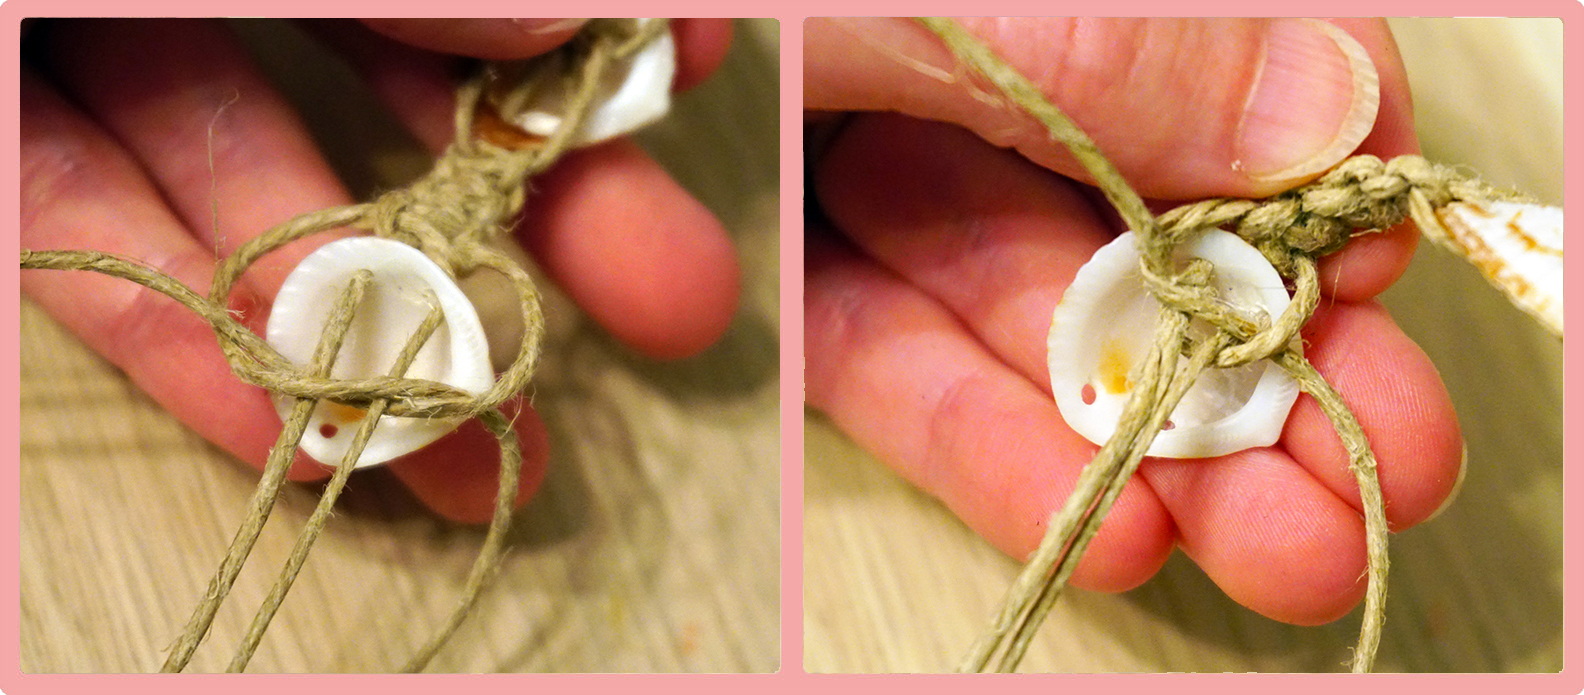
This automatically wrapped the shell edges in the rope incorporating it in the braid I tightened the knot to make the shell snug, but not too tight as it could break the compromised shell. Then I threaded each end the shorter rope to exit through the second pair of holes.
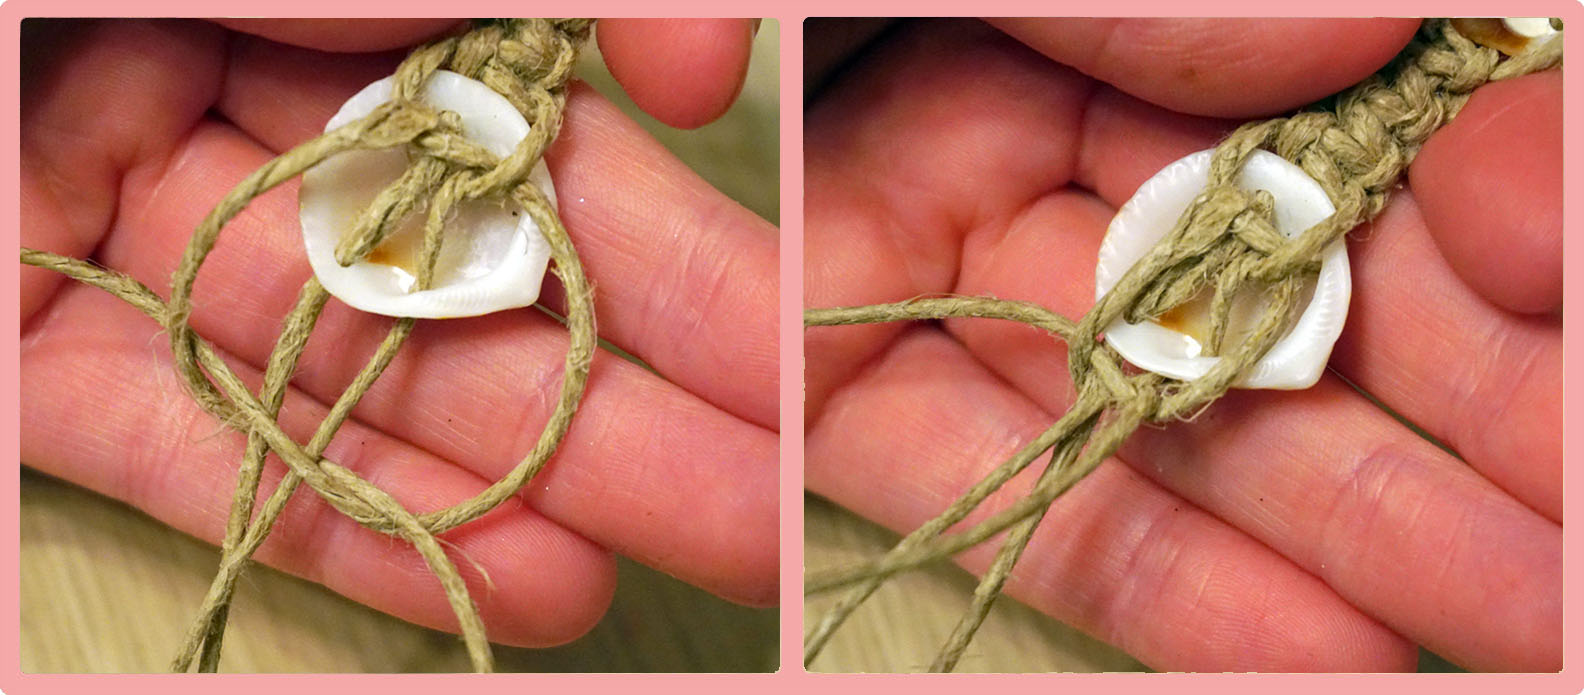
Again, I continued to ignore the fact that the shell was kinda in the way and created the next knot in sequence and tightening it making it snug. The shell is now wrapped within the braid without the likelihood of it sliding around. The less likely the shell is to be moved around, the fewer chances of it getting broken. From here continuing knotting as normal.
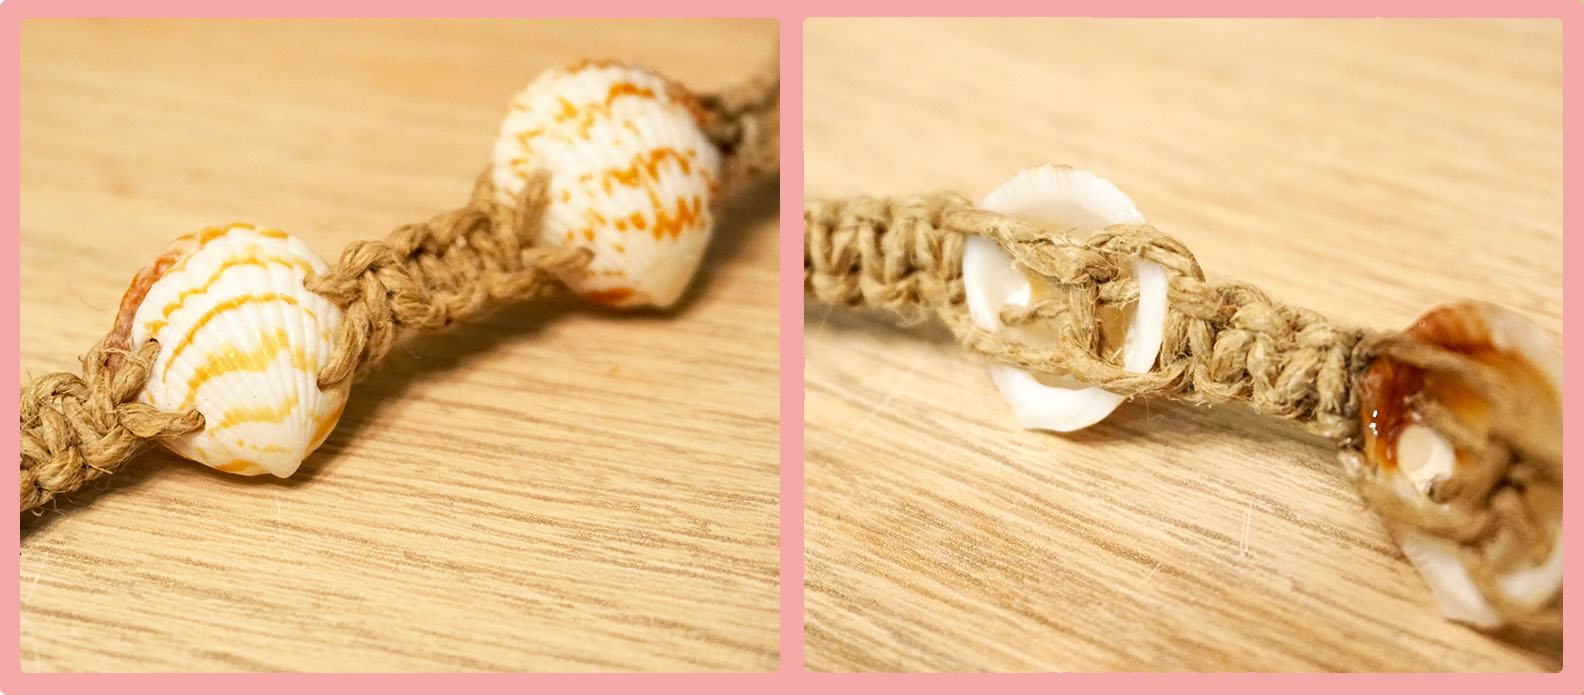
Once the bracelet is to the desired length I took all four strands and created a double knot, being sure that they layered over each other to create a sizable ball and cut off the excess. The alternative is to substitute a bead for this ball, but it is not necessary. This ball will go through that loop that was made at the beginning and the tension of wearing it will keep it from falling out easily.
Trial and Error with making Seashell Hemp Bracelet
- There is such a thing as “Too Long.” The first time I made a hemp bracelet, my longer rope was super long. While this did not ruin the integrity of the bracelet, it just made sure that it was kinda a pain to actually make the bracelets. The cats loved the extra flinging rope though.
- Take a few times to get the hang of the knotting. While not hard, it took me a few times to get the knotting process going.
- It really does take much longer to drill into the seashells than originally anticipated. I’m used to drilling through wood or similar substances. The grinding process was just tedious.
- Don’t force the drill. I accidentally cracked the shell when I forced the drill too much. I repaired it with superglue but it’s better to just be patient.
- Snug, not throttling. When tightening around the shells, make sure that it’s not too tight. I accidentally cracked one the shells because I really made it too tight for the shell and it cracked.
Thank you for taking the time to follow my directions to make a Seashell Hemp Bracelet. Please send any questions or comments over to saturatelife@gmail.com and thank you again for dropping by!
![]()