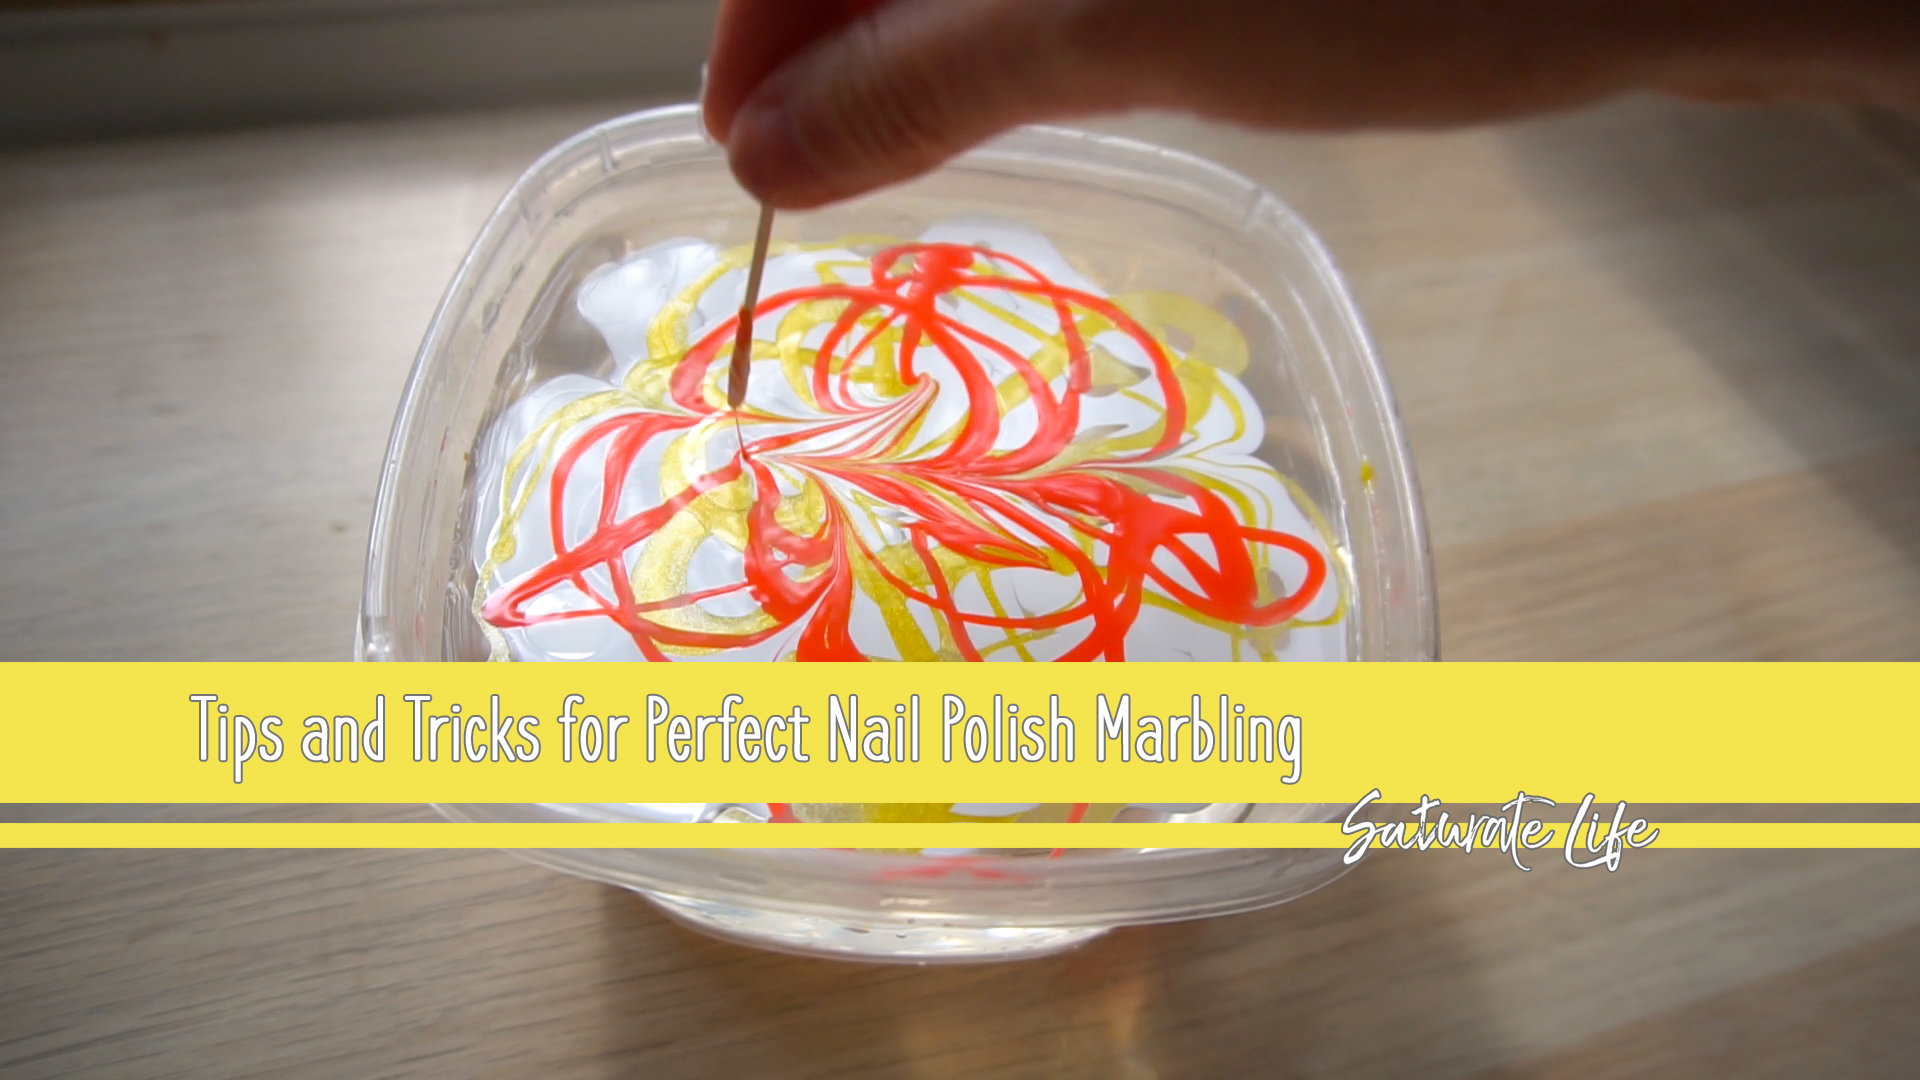
There has been a lot of buzz about the DIY nail polish marbling that is everywhere on crafting sites. People have been most commonly putting it on mugs, nails, and pretty much anything they want to add some fun patterns too. I’m not going to pretend I invented it. But, like many others, I enjoyed dappling in it. It seems also extremely straightforward, but after playing with it there seems to be a little more to it than what meets the eyes! I’m going to take some time to clear up some things in order for others to not make the same mistakes I did.
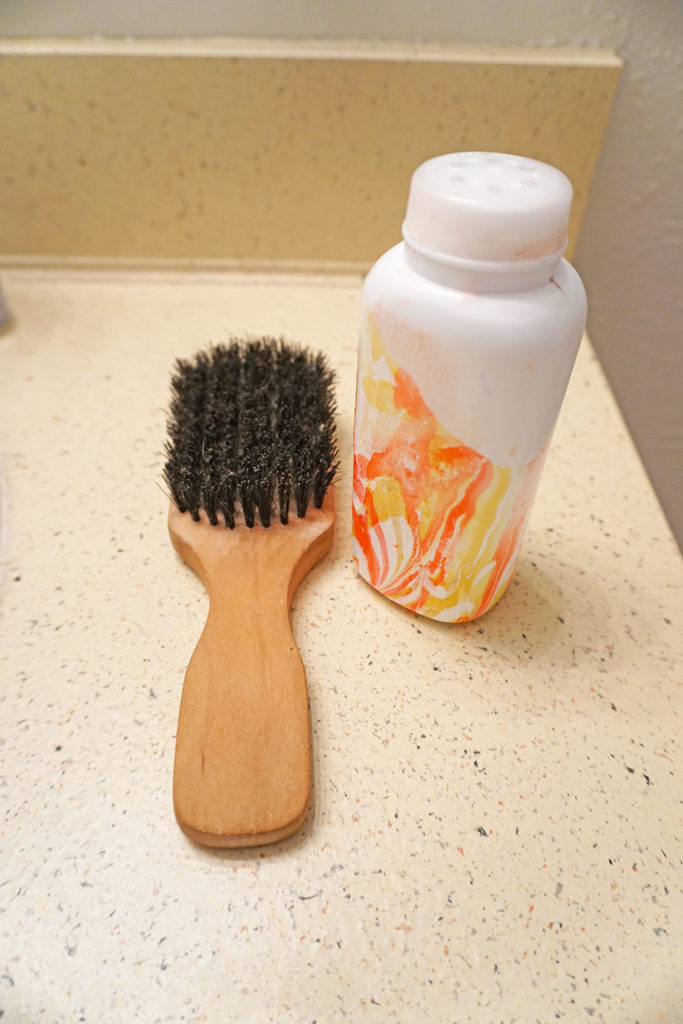
This is also a two-part project. The object I’m decorating will be used in next week’s project; an all natural, TSA Friendly, 3 ingredient Dry Shampoo for light and dark hair. Please go and check it out!
https://youtu.be/LtWi6luWc48
Nail Polish Marbling Materials
- Container
- Water
- Nail Polish
- Object to Color
- Toothpicks
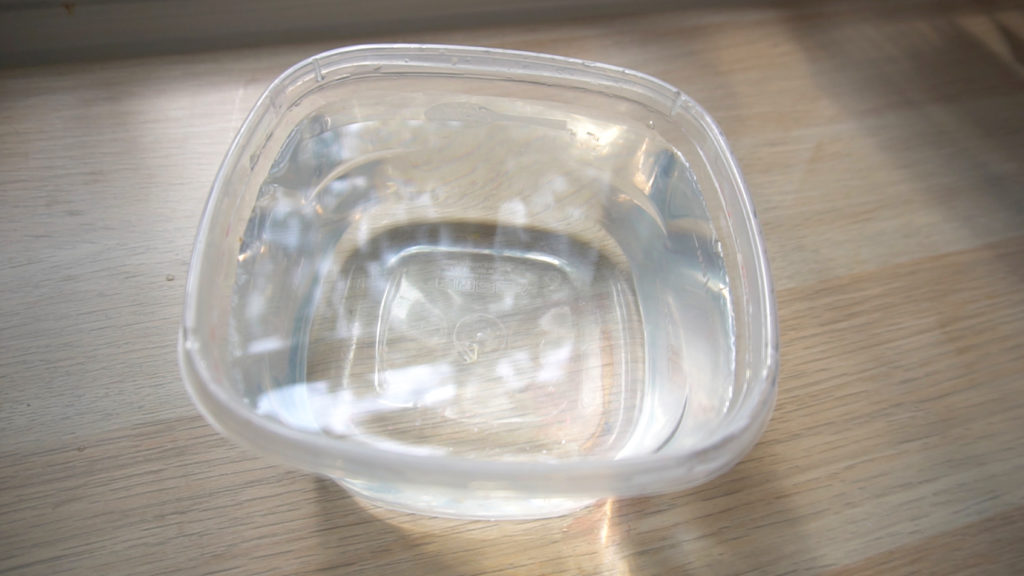
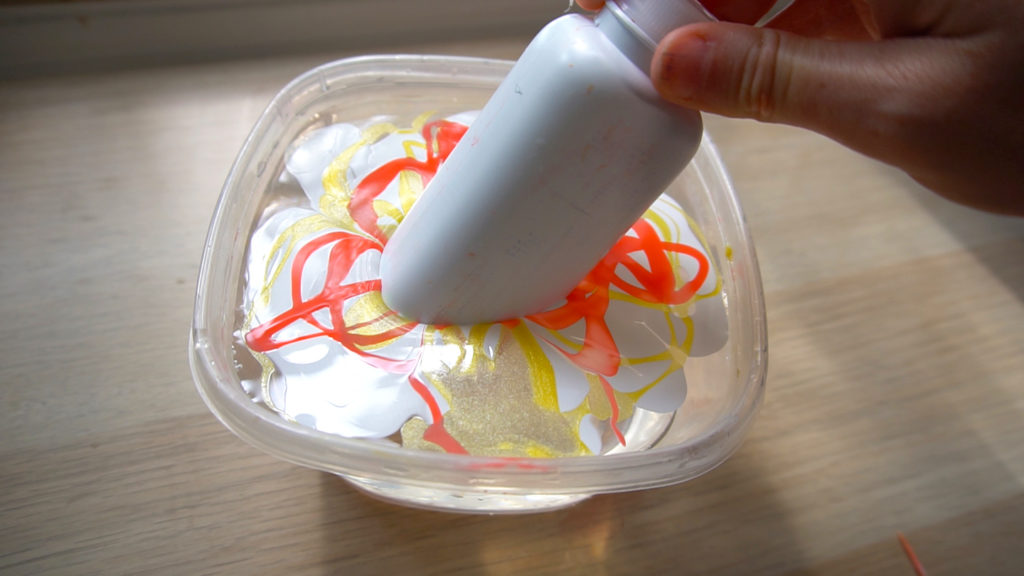
Nail Polish Marbling Tip: Depth of container
Make sure your container is deep enough for how much you want your object to be covered. When the nail polish marbling covers the surface of the water it creates a film that will cling to the object like a wrapper. If you only want it to cover only a shallow portion then use a shallow container, but if your object is long use a long container.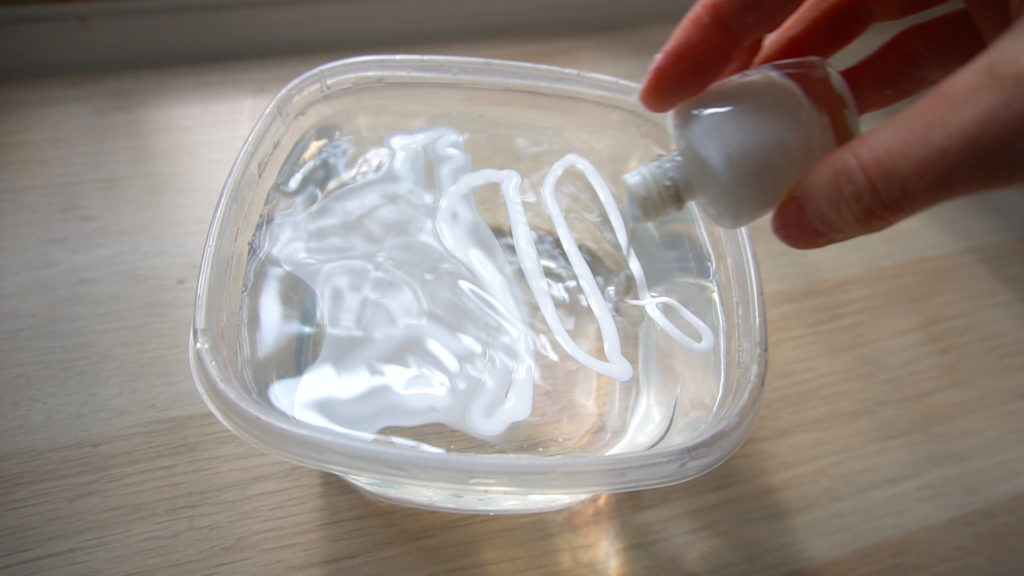
Nail Polish Marbling Tip: Don’t expect to keep the container
This project gets a bit messy. I used some old Tupperware that I got from the dollar tree to color mine. Don’t expect to keep the container afterward. The nail polish marbling gets everywhere and then cleaning it is a pain. I wound up dedicating a container to it and disposing of it afterward. The waste is sad, but I figure for how much acetate I had to use to clean it off I wasn’t going to be able to use it as Tupperware afterward anyway.
Nail Polish Marbling Tip: Cold Water
I found it helps to have cold water when working. It makes the nail polish marbling not as tacky and not dry as quickly so it gives a little bit more time. If need be, go ahead and put an ice cube into the water to help cool it down.
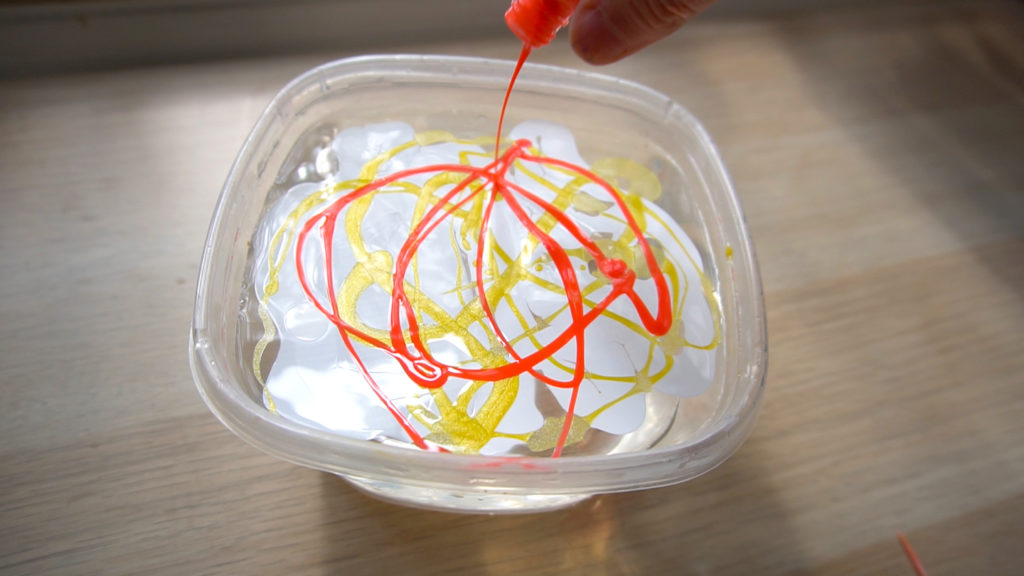
Nail Polish Marbling Tip: First Color is the Base
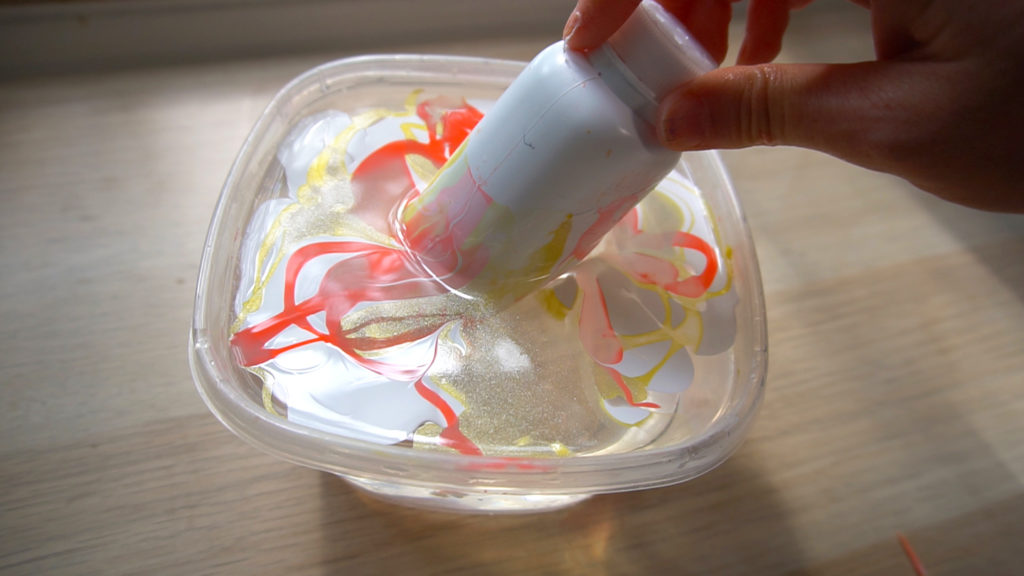
The first color placed in the nail polish marbling is going to be the base background color. It is the one that will spread over the entire surface of the water the most and should be a somewhat neutral color or one that is intended to be the predominant color that will dictate the entire color scheme of the project. I chose the most basic background color: white because I wanted it to be a light color scheme.
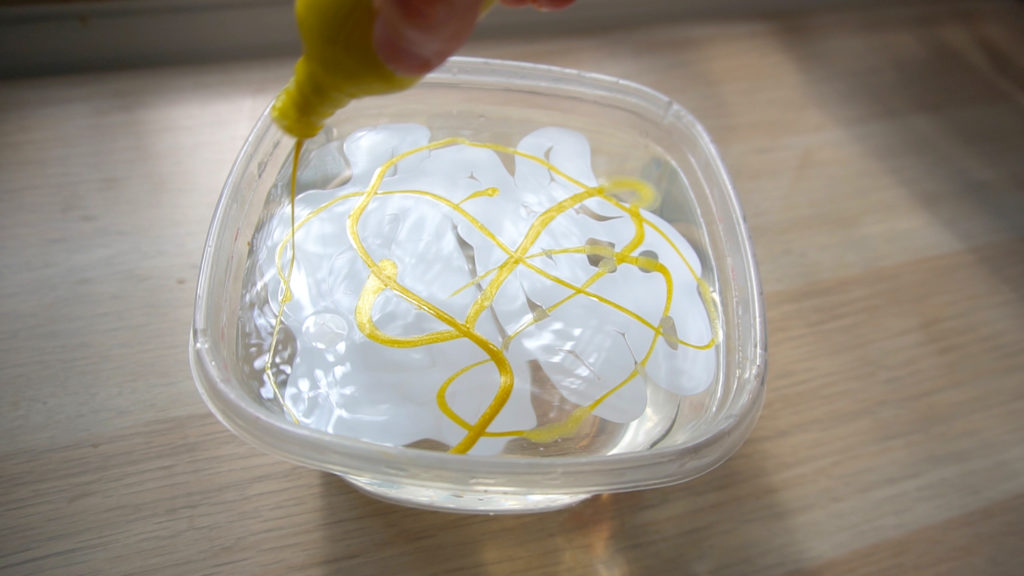
Nail Polish Marbling Tip: Use Cheap Nail Polish
I don’t know why I need to say this: but there really is zero reason to use the $9 bottle of nail polish. There tends to be a lot of excess nail polish left over when the object is coated so there is no need to throw out the expensive polish. Save the fancy polish for your fingers.
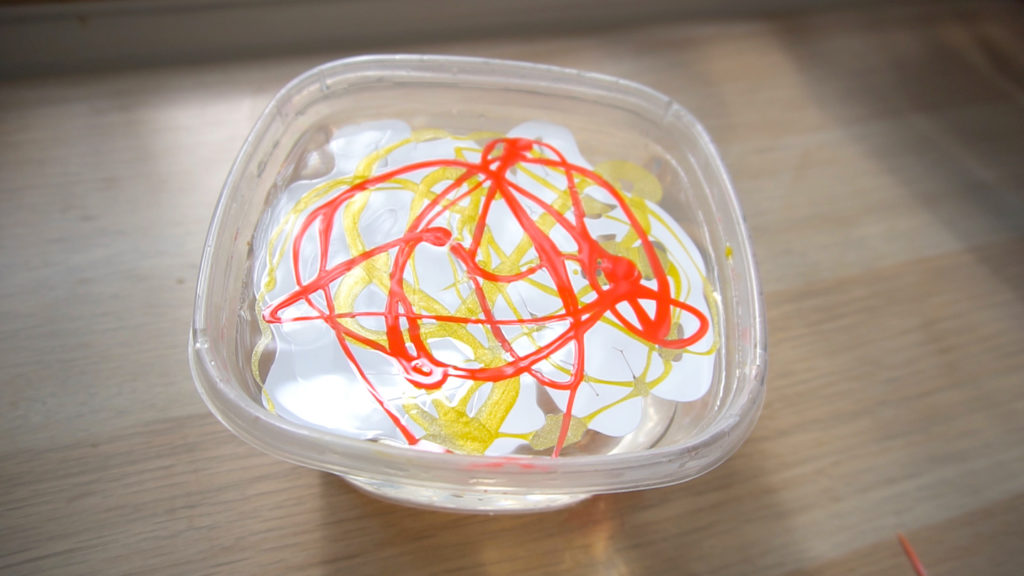
Nail Polish Marbling Tip: Move Quickly
Eventually, I reverted to just shooting a video because everything needed to be done quickly. The thin layer of marbled nail polish will dry quickly; too quickly for me to take photos and make the project a success. Keep everything within reach, unscrew the caps from the nail polish prior and don’t dilly dally. So that makes it a quick project which is awesome; but it’s something to keep in mind.
Nail Polish Marbling Tip: Don’t Double Dip
There was a lot of leftover nail polish marbling the first time I dipped my container. Okay! Let’s just dip it again, one was great how about two? Uhhhh. No. The overlays of the patterns did not yield a very nice looking pattern and looked like a textural mess without much clarity. Just leave the excess be or dip something else. But the doubling up on the patterns just does not do any justice to the project.
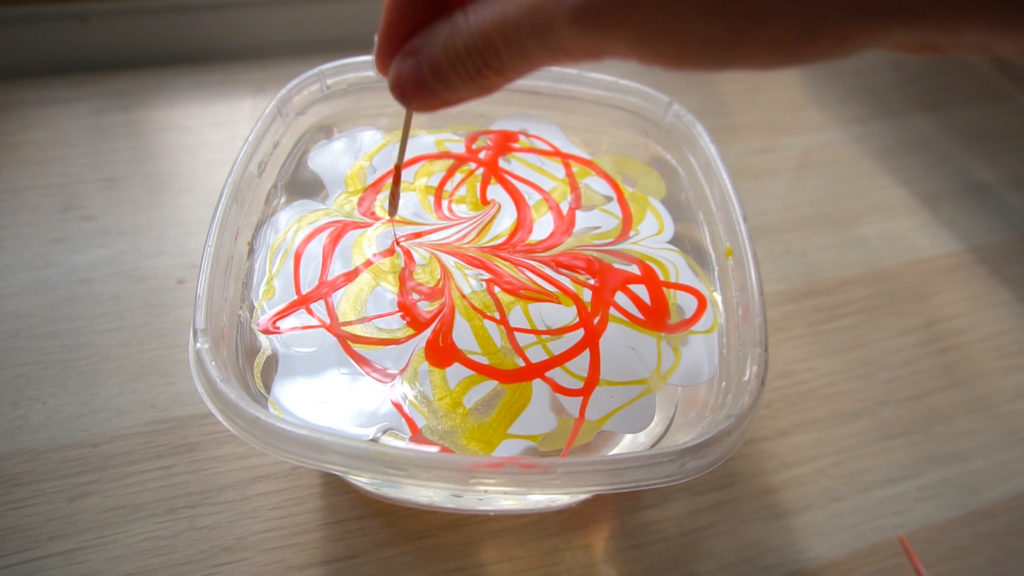
Nail Polish Marbling Tip: Don’t over mix
Right before dipping your object into the nail polish marbling it’s advised to drag a toothpick to make more of a textural difference in your project. This is a time where less is more. The first time I drug the toothpick too much and it came out as a mess of color more than marbling. Just a few swipes in a specific pattern like one direction, alternating directions or radiating is all that is required.

Nail Polish Marbling Tip: Texture with the Water droplets
This didn’t bother me too much but it was moderately unexpected. I just let my nail polish marbling dry as is. There were water droplets on my container and the water droplets dried as a texture on my container. I like the textural difference but I can see how someone would find that less than desirable. It would mean that the structural integrity of the paint is moderately compromised.
Thank you for reading through my tips for your Nail Polish Marbling. Please let me see what you have done with your nail polish marbling at saturatelife@gmail.com and thank you for coming by!
![]()