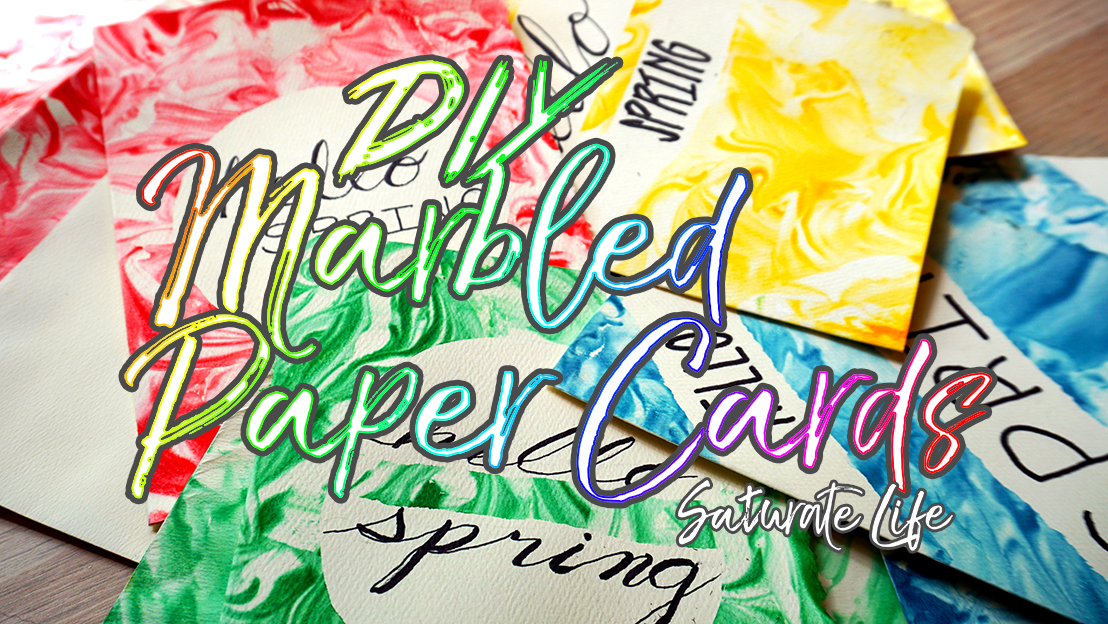
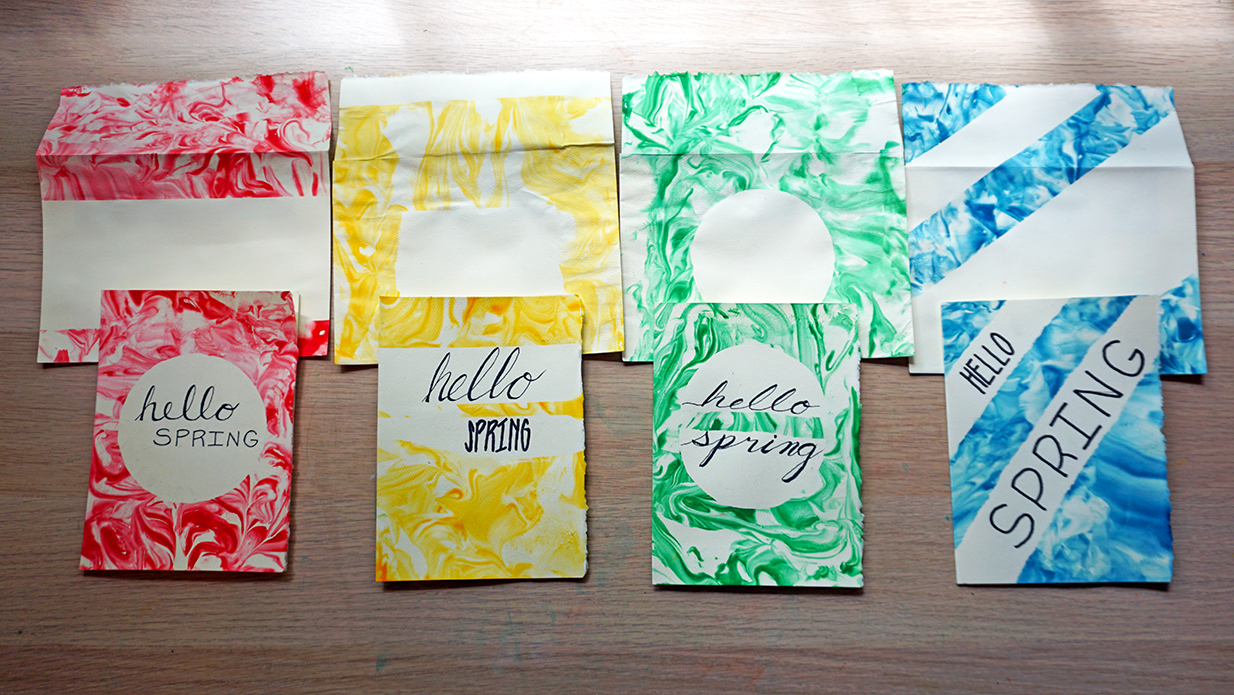
Just in time for Spring Greetings! This weekend I made some Marbled paper greeting cards to send out to my grandmothers, mom, and Fitzi’s mother. This little project makes for unique and personalized cards for whatever occasion (not just for holidays) if you want to try to make something just as unique for the people in your life. They were a ton of fun for your inner kid or actual kids. I’m in love with these textures, colors, and how much they pop!
Materials for DIY Marbled Paper Greeting Cards
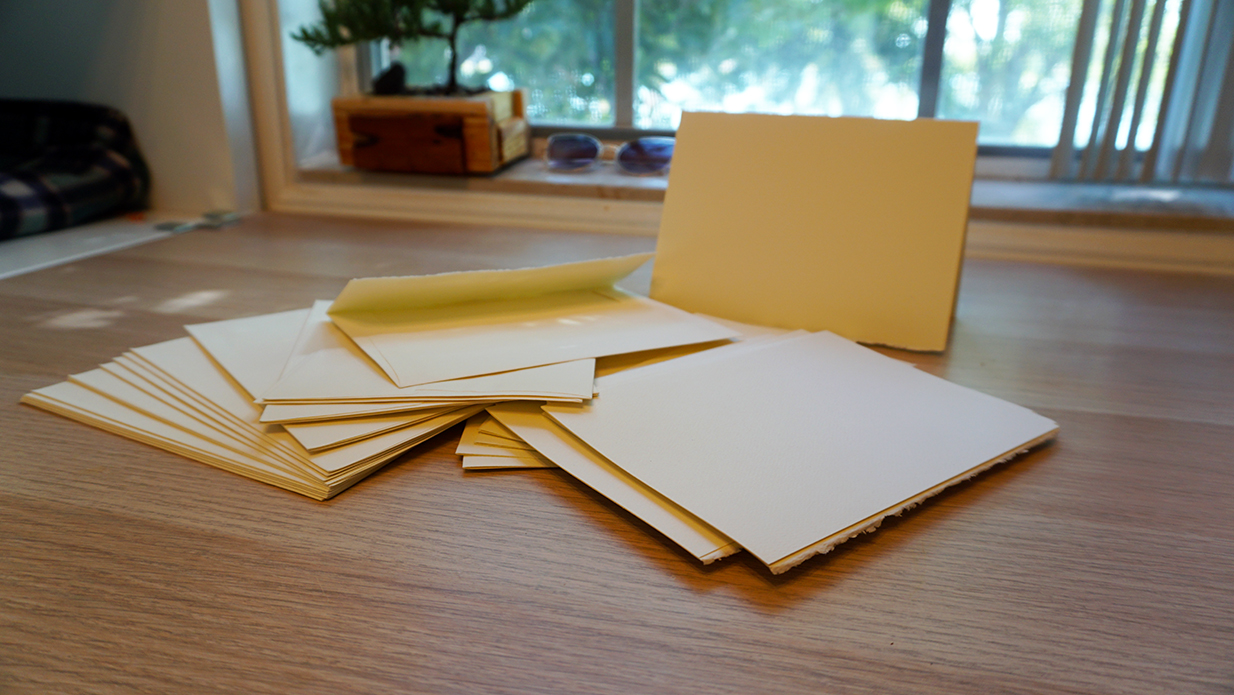
- Heavy duty paper or watercolor paper (I had some leftover watercolor cards I bought eons ago and haven’t had the bravery to taint… until now!)
- Food Coloring
- Foam Shaving cream (Not the gel)
- Dull knife, putty knife, or old gift card
- Painter’s tape
- Container larger than your cards (baking sheet works well)
- Clean up supplies
Prepping the Cards

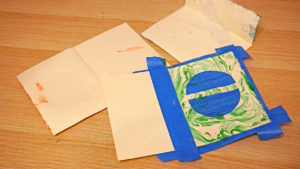
I first took my cards and put painters tape around where I didn’t want colored. I traced my painter’s tape for a circle, just taped out stripes. Played around with torn tape. If I was more ambitious I could do letters. Just whatever I wanted to remain white I outlined in tape.
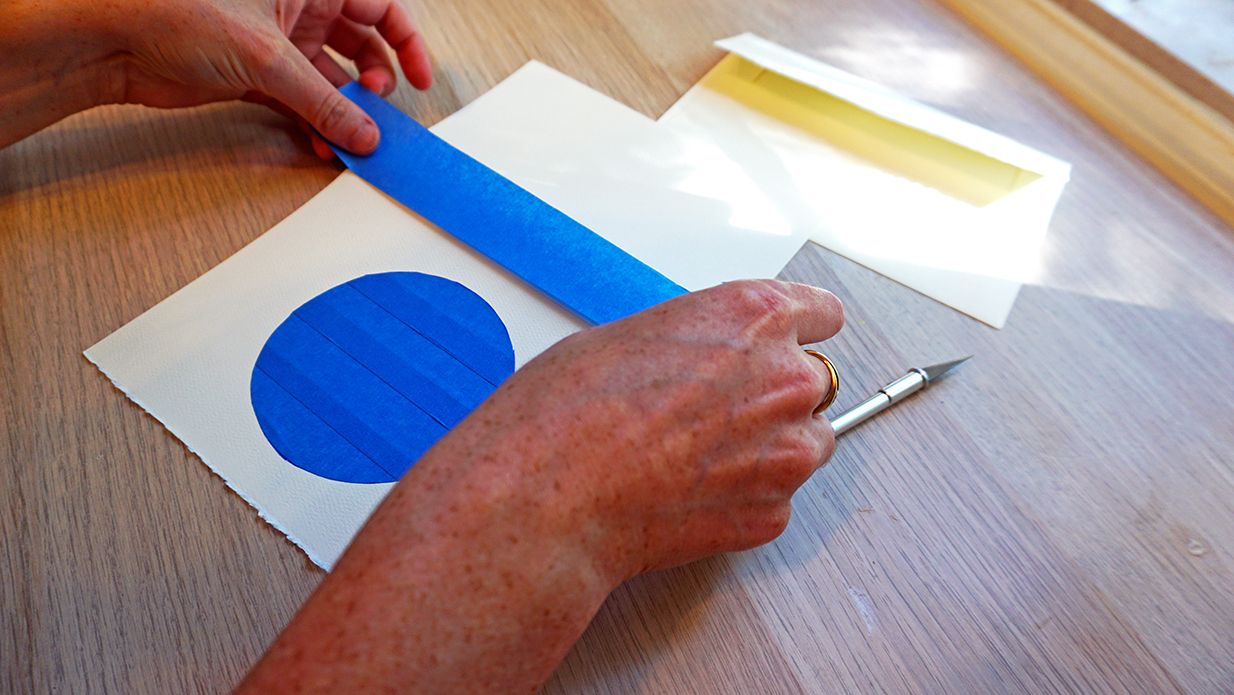
Then I even outlined the back/inside of the card in tape. This is important. For my first few cards I didn’t do this and they did not turn out nearly as clean looking on the interior. Don’t fold the tape over, just let the sticky side hang out to the sides. It won’t matter, as well as giving your interior some extra barrier of color.
Making the Marble Coloring
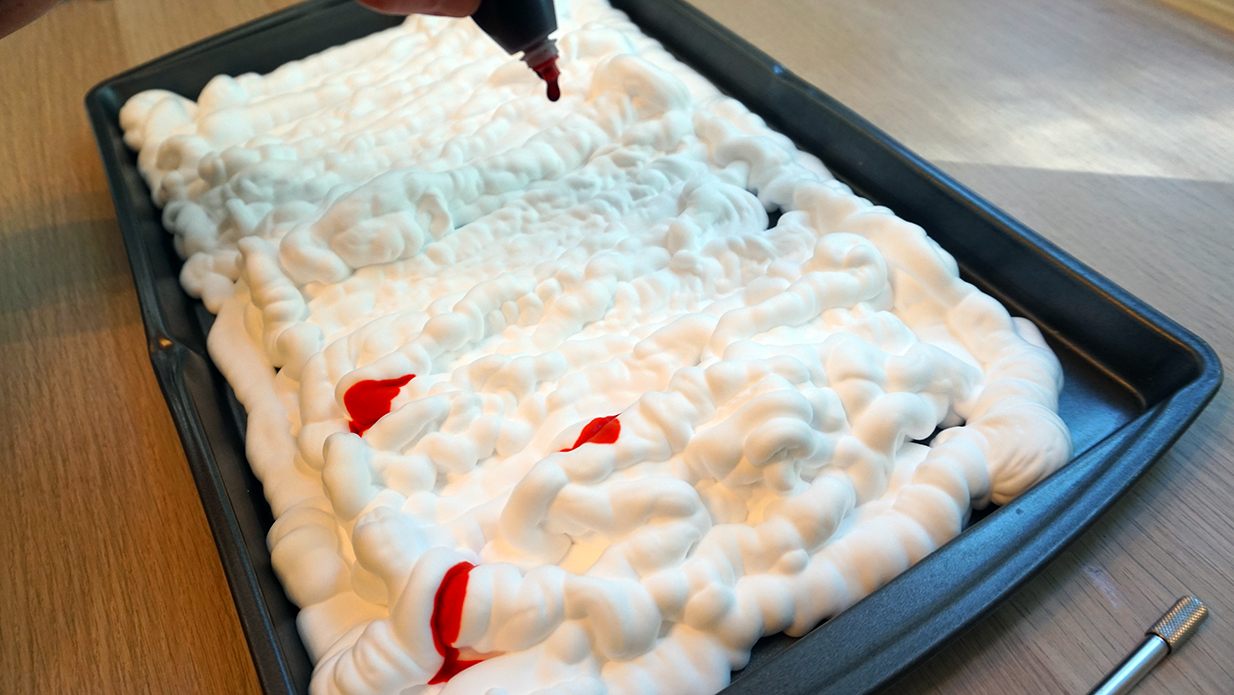
This is the fun part. I sprayed the shaving cream foam all over the inside of a baking sheet. It doesn’t have to be super thick. Next I dripped a bit of food coloring around. How many drops depends on how bright you want the colors to pop, how dense the marbling to appear, and how big the paper is. I used about 5-7 drops for the darker colors, but yellow I used closer to 10.
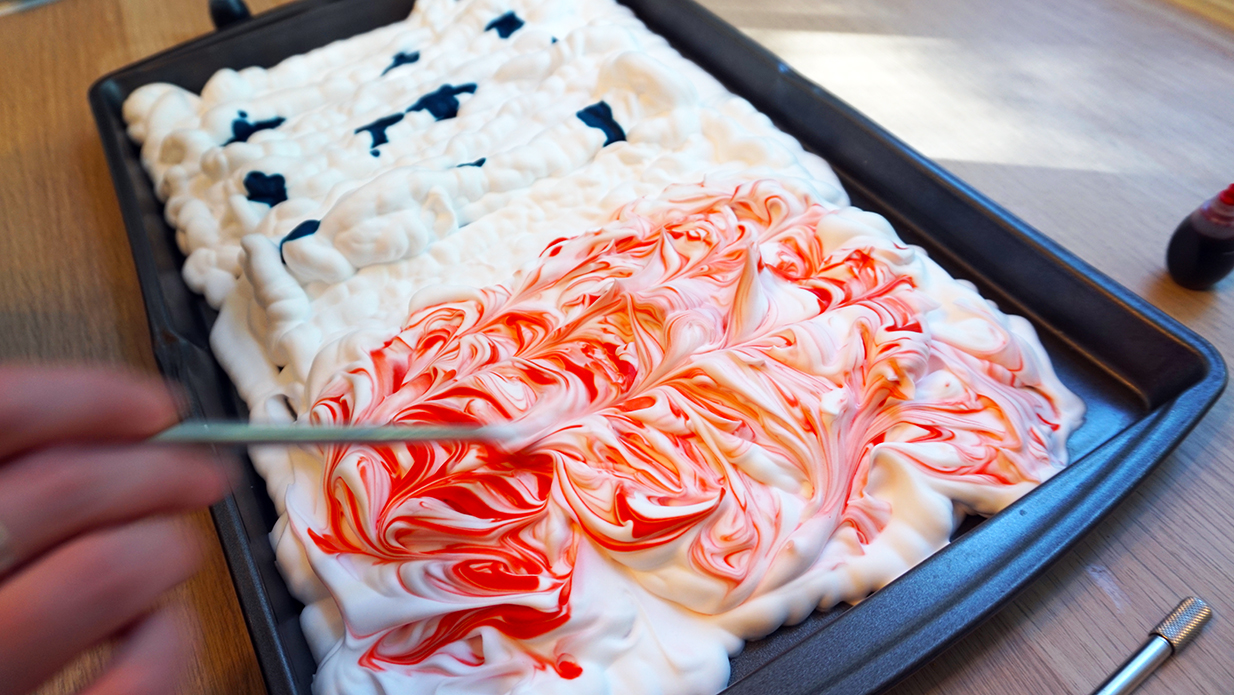
I took a dull knife to swirl the color through. Keeping with one direction will lead to more precise designs. I got too excited about how pretty it looked so mine came out with all sorts of swirls. Be careful not to mix too much. You want the colors to still be defined from the shaving cream, not incorporated.
Making the Marbled Paper
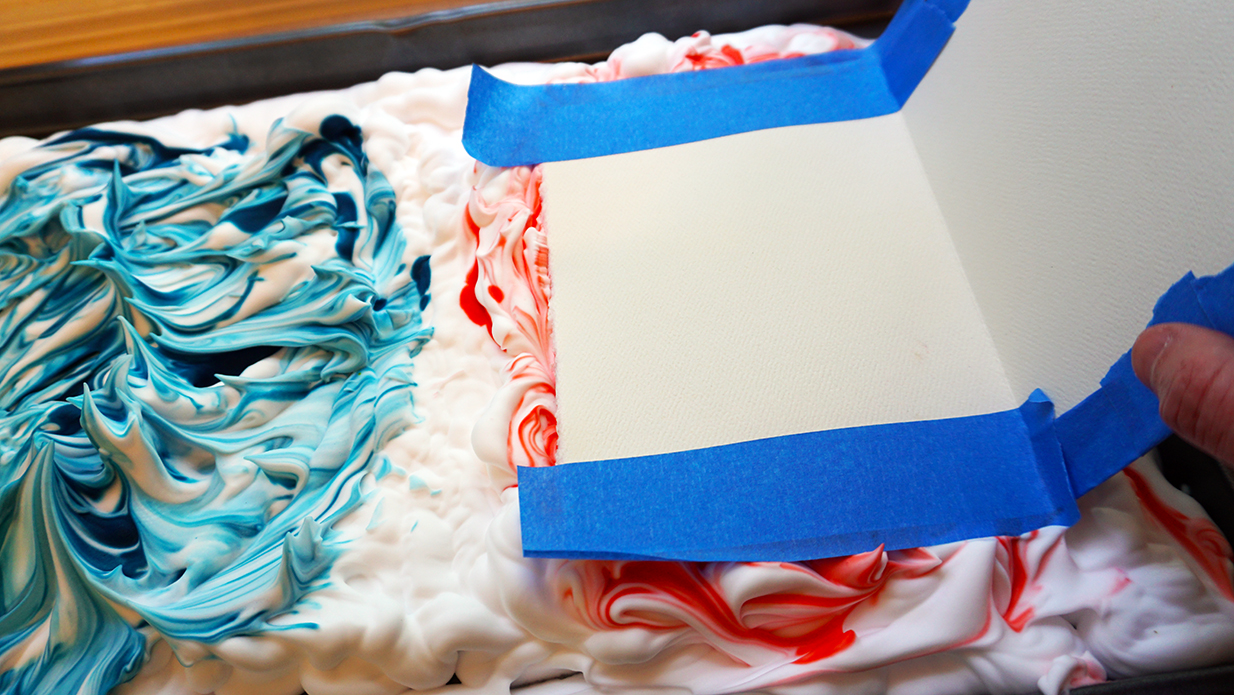
Clean off the knife and pick up your taped off paper or cards. Taking the side you wish to have the marbled texture, press it into the marblized shaving cream. Make sure all parts of it make contact by massaging the foam slightly.

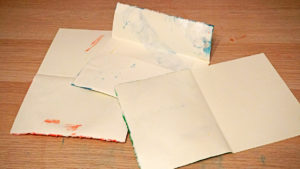
Next peel the paper away. Some marbled shaving cream will come along for the ride just take your knife and scrape it off. Be careful to not let the foam get anywhere you don’t want it to go. This includes on your hands because it’s too easy to forget as you’re handling the paper and leave little dabs of colors where your fingers were. The food coloring has already done it’s work as soon as you pressed the paper so leaving the foam on for long time will only render the paper water warped.
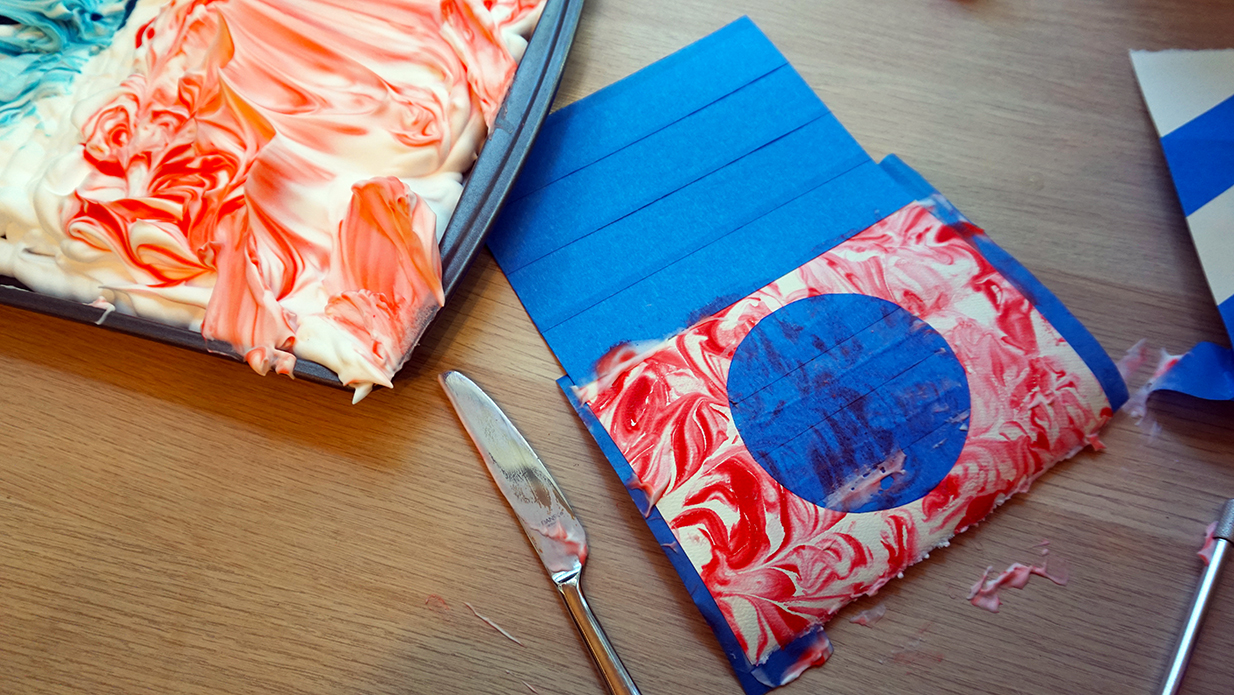
If there are blank spots, it’s okay to double dip. There won’t be any harm unless you have a specific directional design intent.
Final Touches for Marbled Paper Greeting Cards
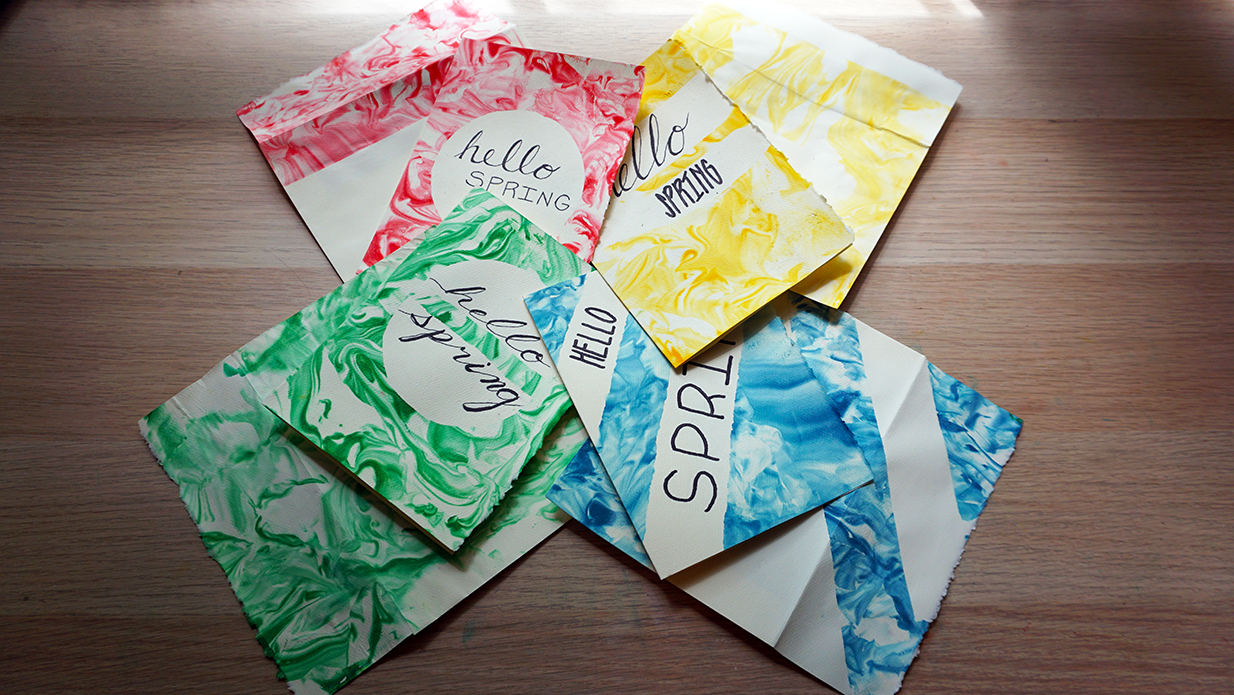
Set out the cards to let dry then peel off the tape. The cards are finished! Use the background for some unique stationary or write on the front for some unique messages. For some ideas on how to make some beautiful hand lettering for your cards go ahead and check out my other post about hand lettering techniques for Bullet Journals.
Trial and Error with Marbled Paper Greeting Cards
- Be meticulously clean. Food coloring will dye everything, your skin, clothes, working surface. Everything. Put down wax paper onto your surface, keep paper towels handy. Any foam that gets on your hands, wipe off. It will help keep color from getting where you don’t want it to go.
- Don’t be stingy with the tape. I used so much tape. Halfway through I decided to tape out the back side of my cards because the shaving cream will bubble over the edge and get on the backside. Taping our an extra barrier helped immensely.
Thank you for looking at my DIY guide on how to make your own Marbled Paper Greeting Cards! Please email your cards and questions to saturatelife@gmail.com
![]()