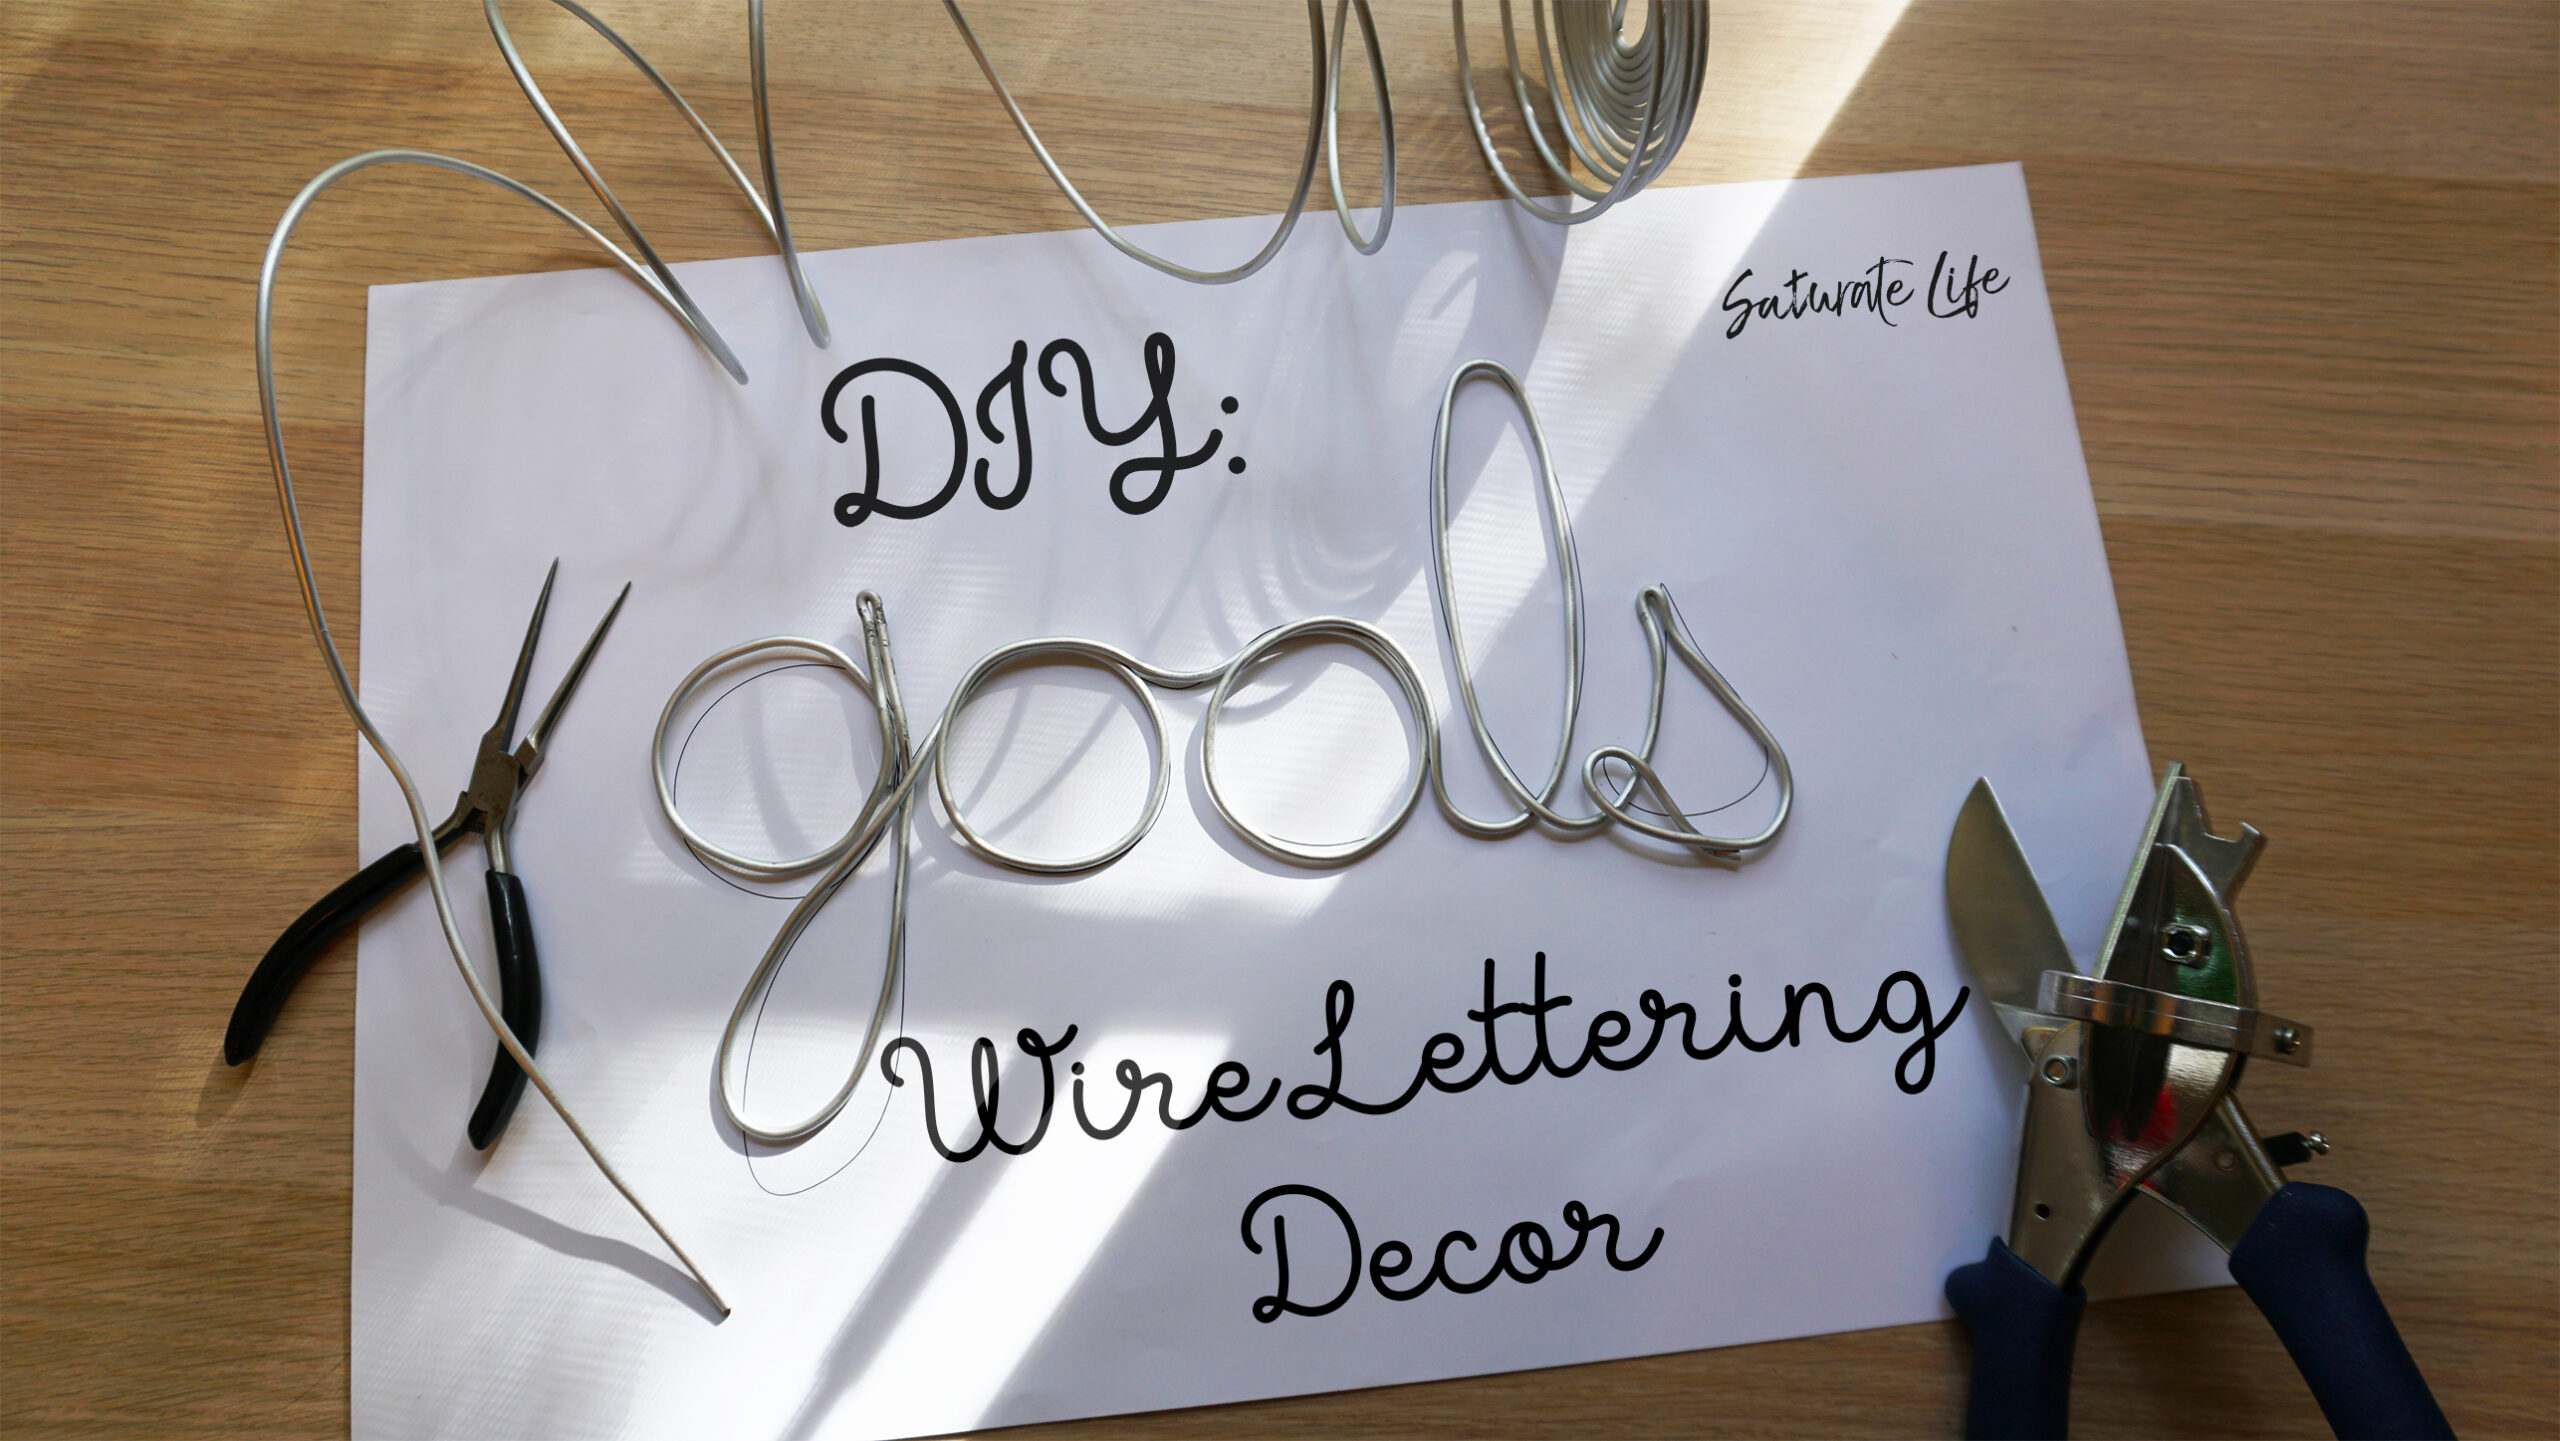
I’ve been seeing this wire lettering décor everywhere. They’re simple, clean, and straightforwardly inspirational. I also have a terrible time with sticker shock. $20 for a bunch of wire that says Explore? In conjunction with the I have a habit of finding something that I like but refuse to purchase it because: I can make it myself! This is one of those times.
I really enjoyed the simplicity of the wire lettering and to top it off I can make it say whatever I want. It would be really cute to personalize for a baby’s room, quick something for the upcoming holiday season, or simply have “Bitch Please” grace your walls if you’re sassy like that. This time I settled to make some wire lettering as a title for my full height push pin wall. The wall is a running spread of visual queues and reminders of the goals I have in mind for my future, for the blog so started off with a simple wire lettering script title of “goals” to place at the top.
Materials for DIY Wire Lettering Decor
100% Not Optional for wire lettering decor
- Sculpting/Armature Wire – but if you’re he-man any wire will technically work.
Will definitely help with wire lettering
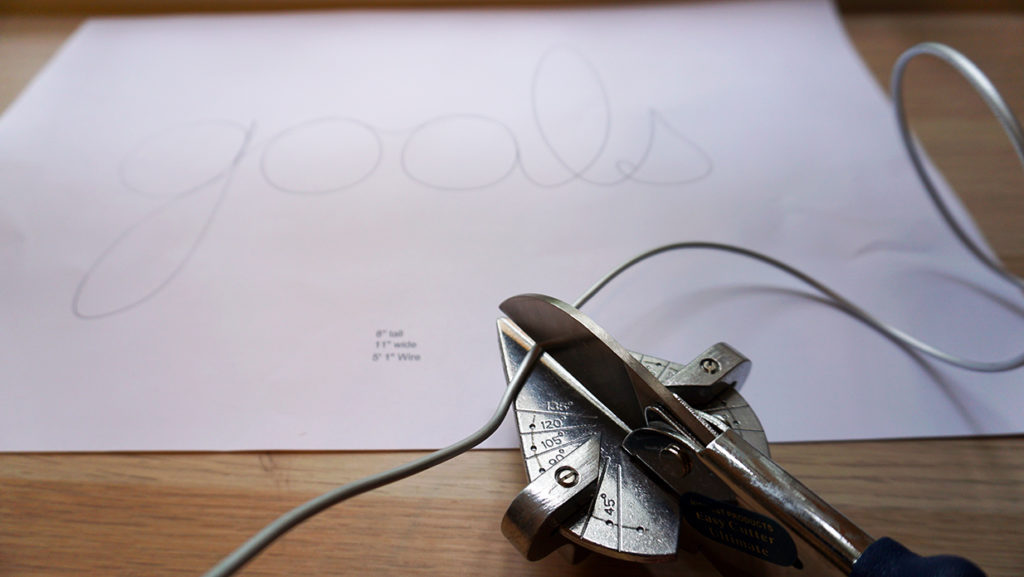
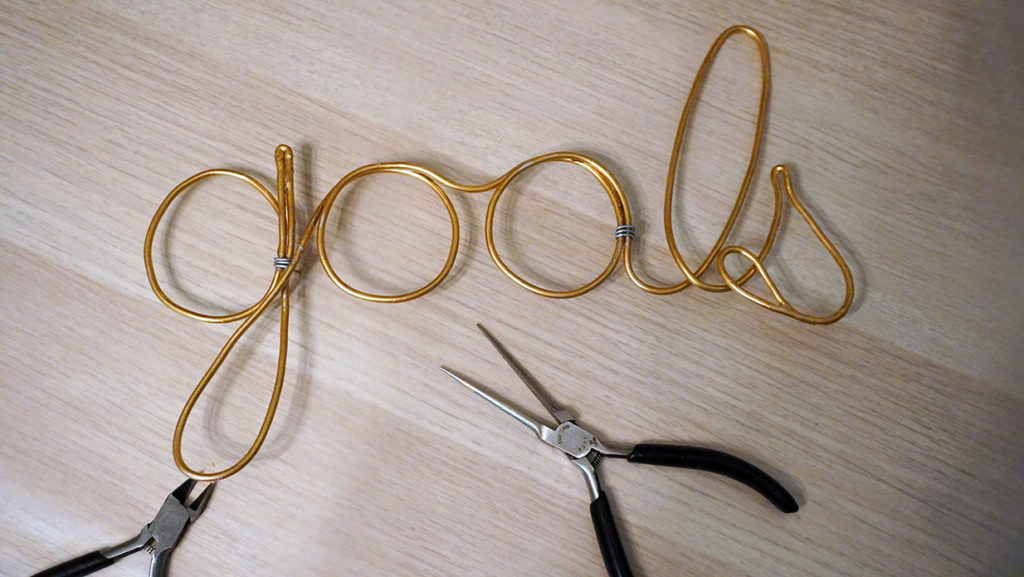
- Wire Cutters
- Needle Nose Pliers
- Script written out to scale
For Shits and Giggles
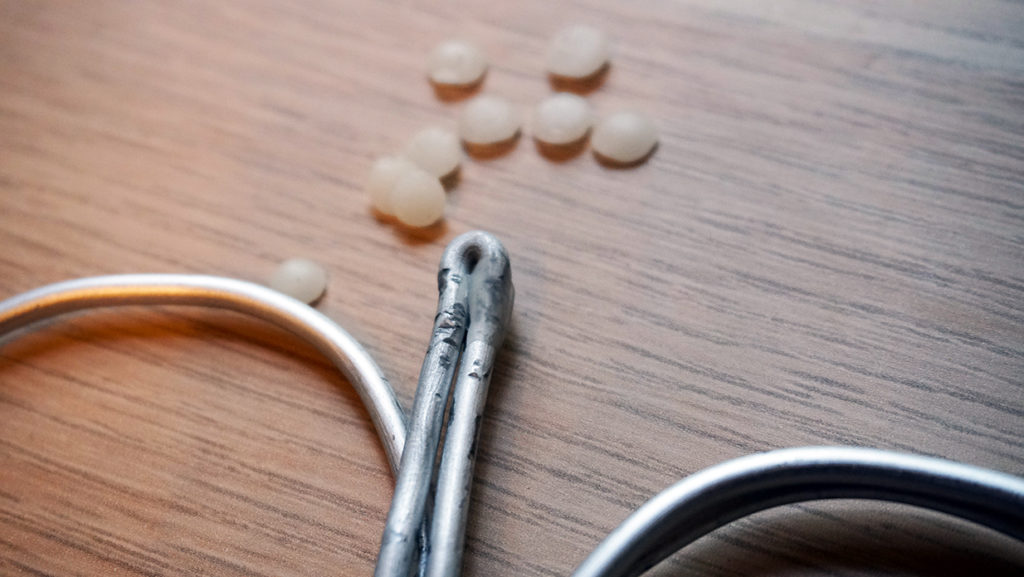
- Beeswax Pellets
- Paint – I used Guilding Paint
- Smaller Gauge of Wire
- Glue
- Soldering knife
- Soldering wire
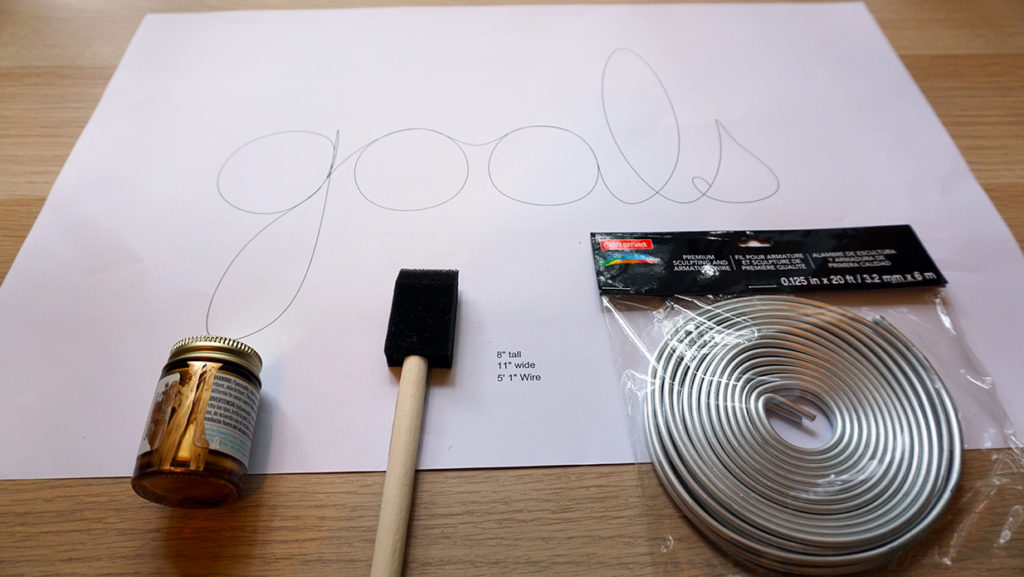
Preemptively Planning Wire Lettering Script
I highly recommend planning out the chosen script. This helps with making sure everything is spelled right, gives a gauge of how it will look in the end, the ratio size of the letters, and most importantly how much wire is being used. The package of wire I bought was 20 feet long. If your goal is to inform others of your ever increasing Hippopotomonstrosesquipedaliophobia 20′ will probably be not be enough wire. For my small 1′ wide wire lettering I needed 5′. I was fortunate enough to calculate this out in the computer program AutoCAD. However, some pen and paper and string along a tape measure will yield the same results.
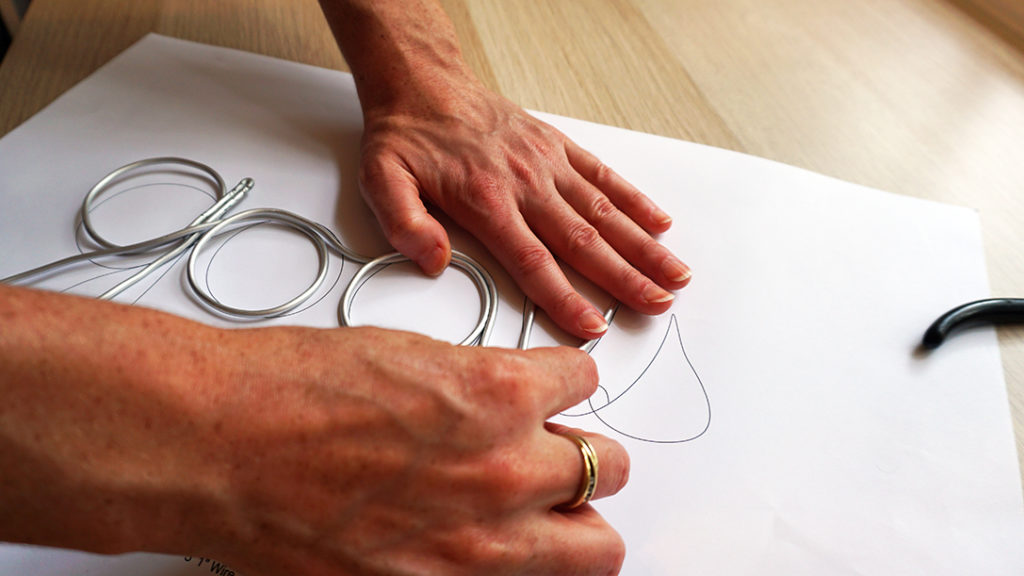
Armature Wire for Wire Lettering
Armature wire, or sculpting wire is available at many craft stores. It is a much softer aluminum wire than what can be found in spools at the hardware store. It is non-corrosive, easily malleable, and lightweight. I was surprised by how easy it was to bend it, this is a gift and a curse. Yay my letters came together extremely quickly. Oh boo it’s so touchy that any “improvement” in one part means that another part is messed up.
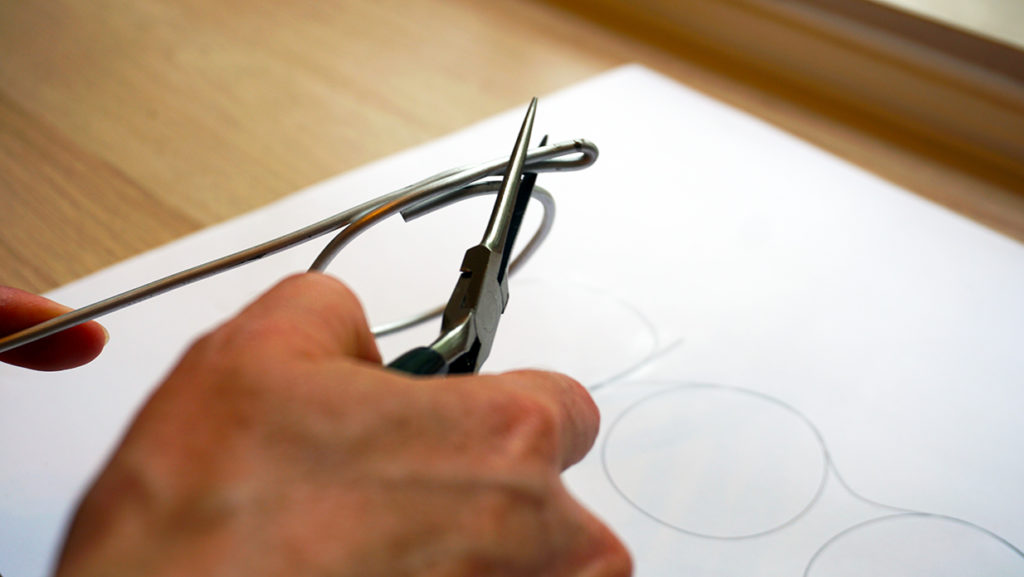
If using needle nose pliers to help achieve the more intricate parts of your wire lettering this wire will show every crease where the pliers were. I swear it is so soft that I could give it resting bitch face and it will be hurt. To do some really tight bends I used the pliers which made the wire really look boogered up. To patch it up I took some leftover beeswax pellets from my previous project, Homemade Eco-Friendly Beeswax Food Wraps. The wax melted enough in my hand to be come pliable and I smoothed out the edges.
Finishing touches for Wire Lettering
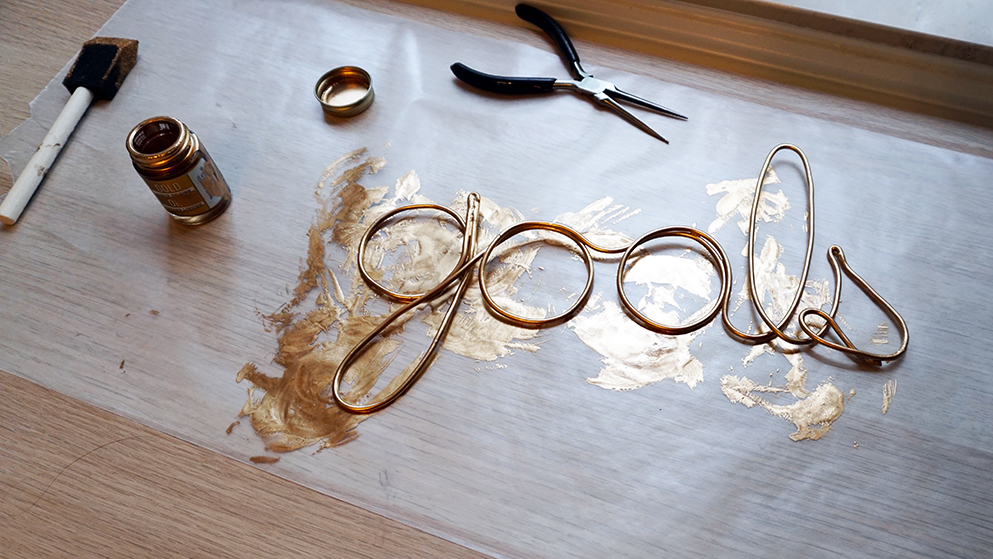
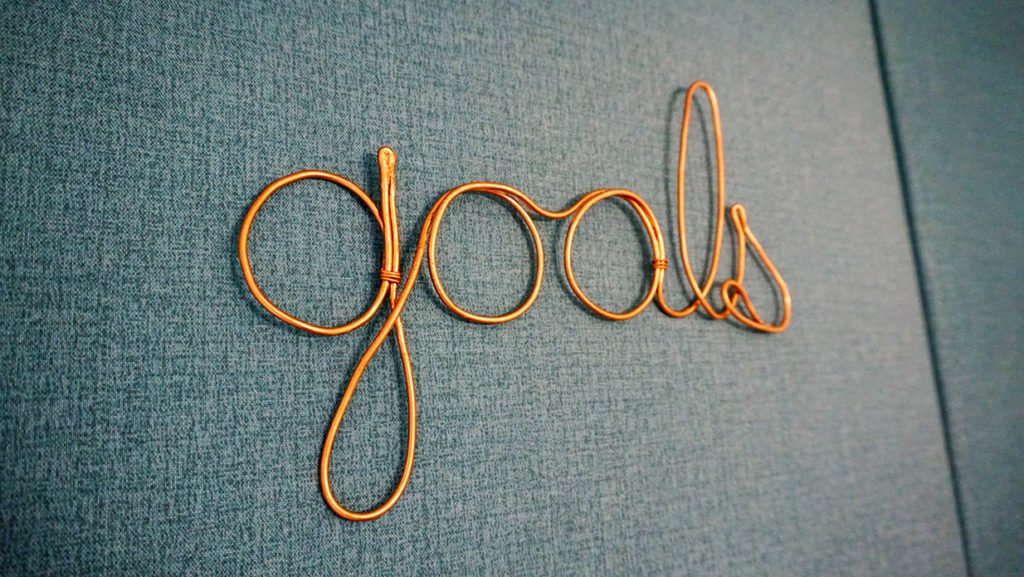
I used the beeswax for my wire lettering because I knew I wanted to paint it. I had some old gold gilding paint. Technically this step is completely optional. However, even if silver is the end goal, I would still suggest investing in some silver paint to make the silver color pop more than the matte silver the wire is. I wanted to match the brass screws I used in the wall I kept with the gold.
Displaying the Wire Lettering
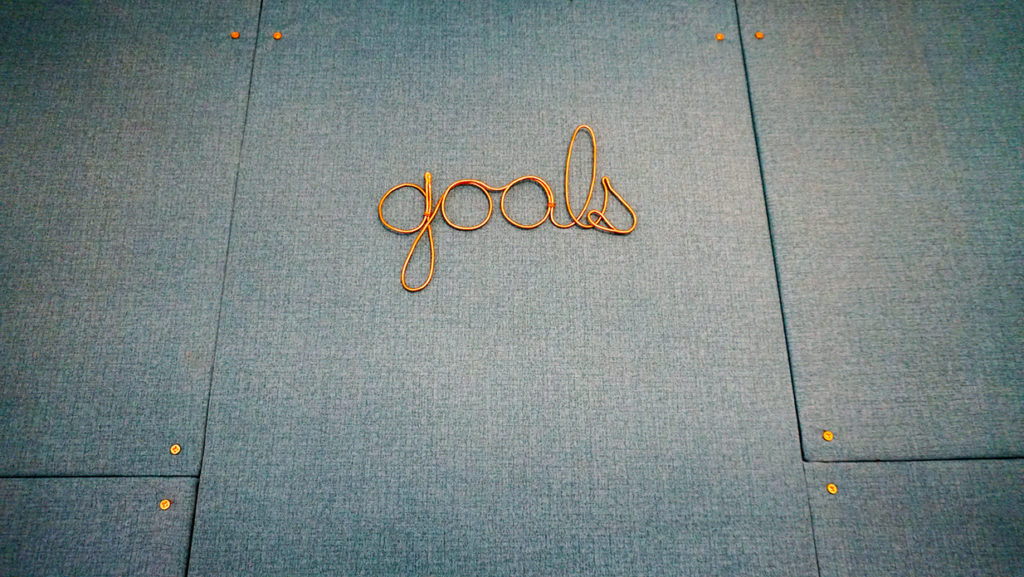
Displaying the wire lettering can be tricky. If each letter is individual each letter will need to be supported. If it’s a full word it can be as easy as wrapping in an arc at an radius deep enough that it will support itself. It would be really pretty wrapped around a large candle. Otherwise there are options to glue or solder it to a background or stand.
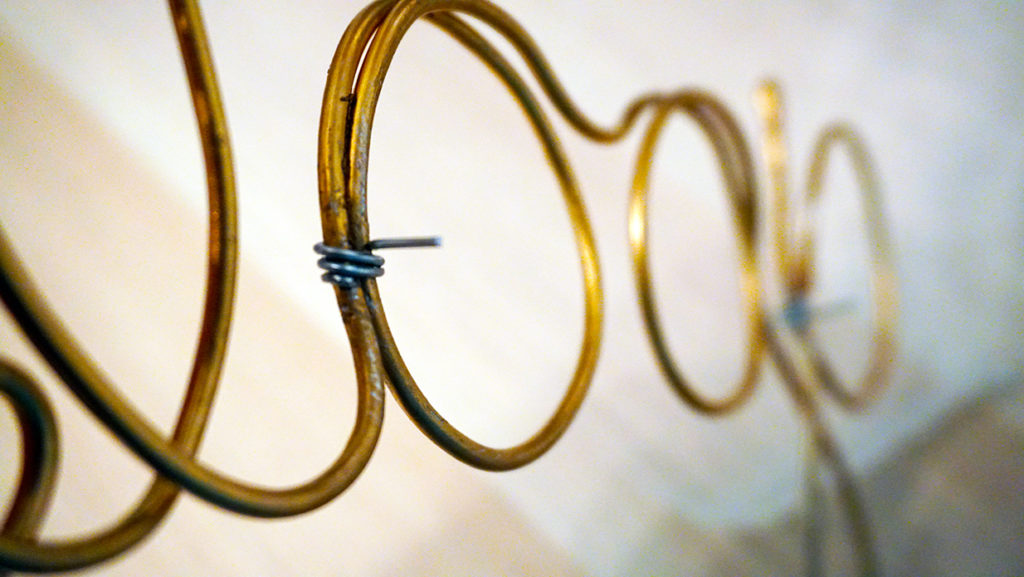
I chose to wrap two points of the letters with a smaller gauge wire to pin mount my work into my wall. It would also be possible to solder it on if I didn’t want the wire to show. I enjoyed the small wrapping. It seems to be like a knot tying it all together.
Learn from my Trial and Error with making Wire Lettering
- The armature wire comes in a coil and no matter how easy it is to bend the actual wire, straightening it out is a challenge if you want it perfectly straight for long stretches. I suggest using a different type of wire if that is your goal.
- If painting I would suggest painting both sides even if the other side won’t be visible. This helps get the interior edge of the wire that may be missed if only the front is painted.
- Gilding paint stains, of all things, red. It will also bleed through wax paper… and won’t come up even with acetate. Be sure to adequately protect the surface you are painting on if you are worried about that.
Thank you for looking at my DIY Wire Lettering Guide! I would love to see your scripts and unique words. Please email photos to saturatelife@gmail.com!
![]()