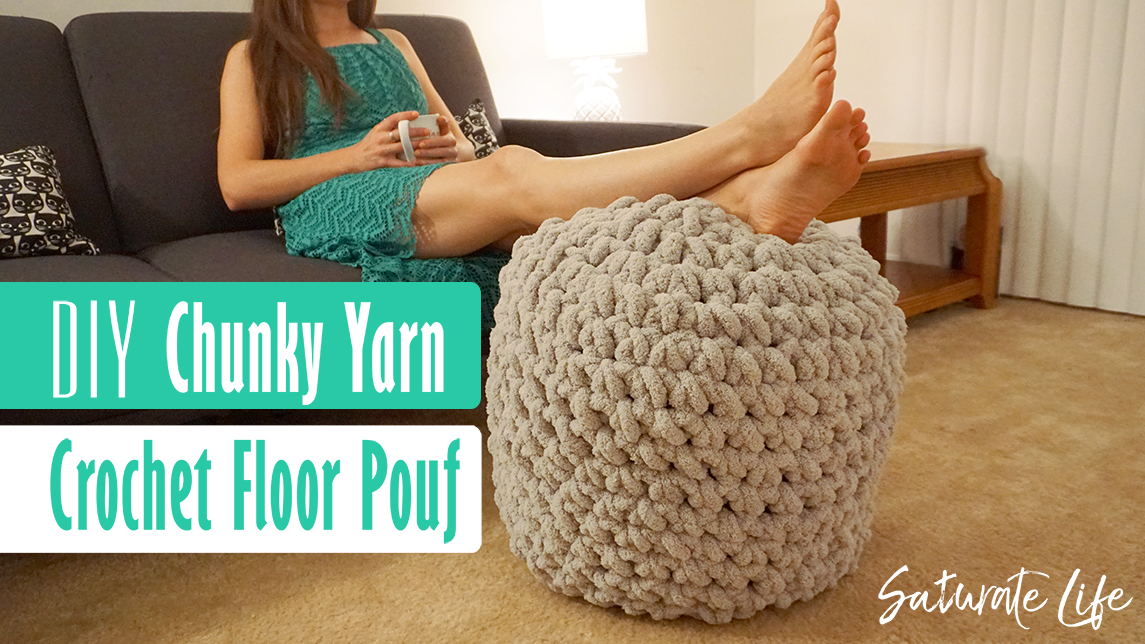
I have always wanted to work on working with some of these infamous chunky yarns that have been circling around. I really enjoyed the enlarged texture of the oversized knitting. The secondary bonus is that the time to make some of these large-scale projects suddenly became a lot shorter. One chain line goes from hundreds to only a few dozens in the same amount of space. I decided to splurge on some of these chunky yarns and make a fun chunky yarn crochet floor pouf.
Materials needed for Chunky Yarn Crochet Floor Pouf
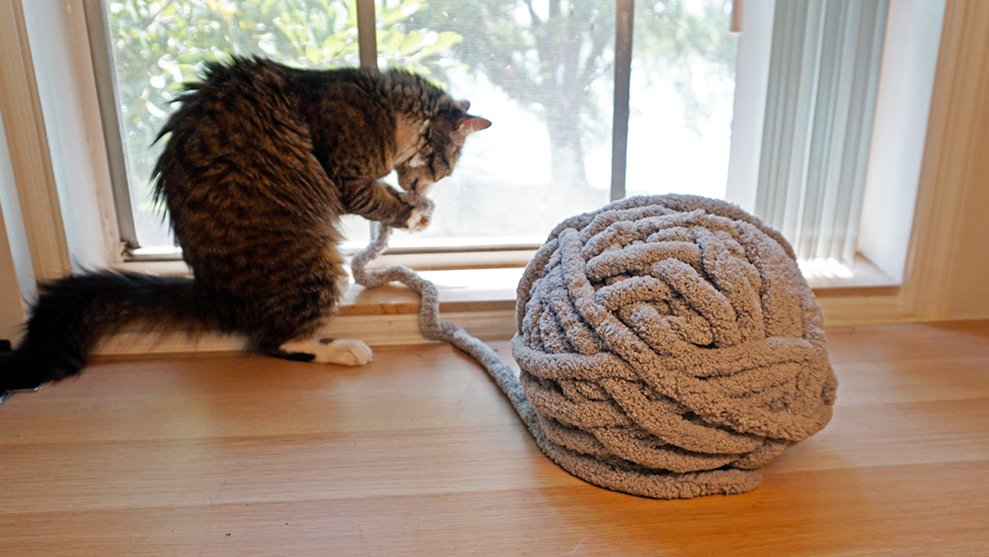
- 4-6 skeens of Chenille Chunky Yarn – Depending on the diameter of your project
- Polyester Stuffing
- Laundry Bag (min 28″ width if using exercise ball)
- 45 cm Exercise Ball (optional)
Basics of Crocheting
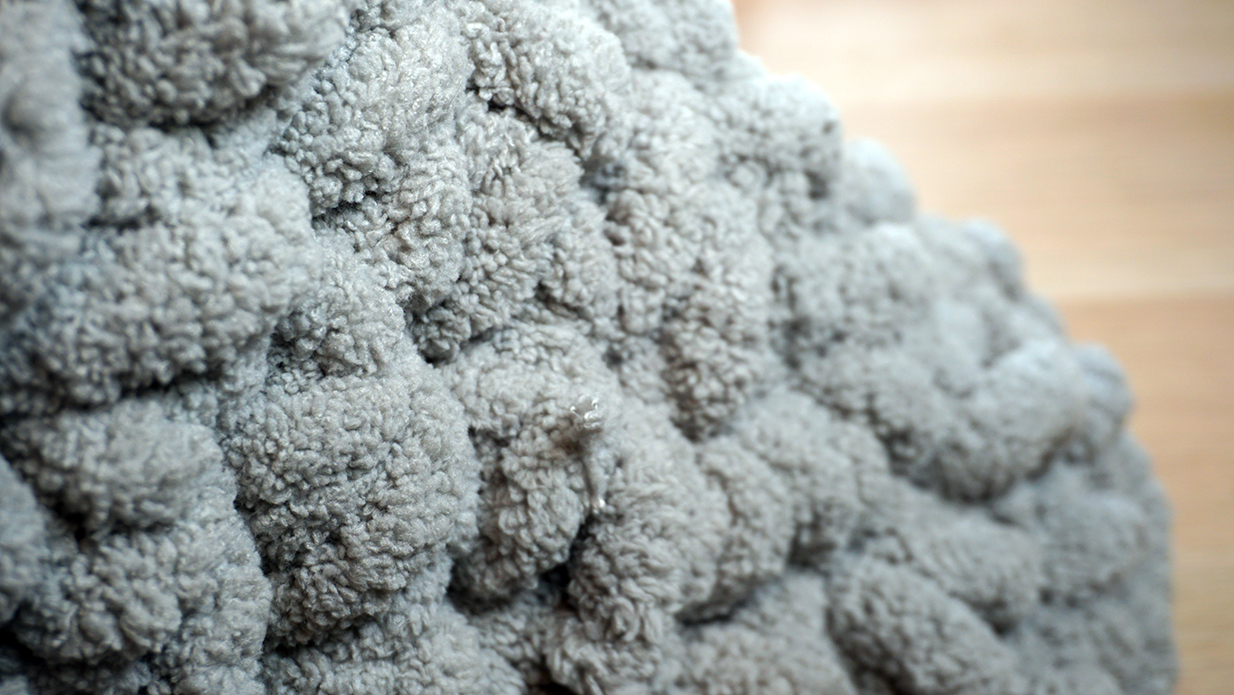
For this project, it’s no big secret. I literally crocheted a ball cylinder (see the section titled Acceptance below). Crocheting is like this magical process that seems daunting. However, it’s really quite easy. It’s a repetitive series of knots that arrange a pattern. Crocheting a ball is a beginner’s level project so having a high level of skill is not necessary. If you have heard of amigurumi this is the most basic form of crocheting a stuffed animal. Once you get the hang it’s actually quite easy to graduate to bigger projects. The hardest thing about crocheting this project is keeping track of stitches. Which, as long as you can count, really isn’t that hard, just tedious.
The second hardest thing is reading a pattern. It’s more about learning shorthand what they mean. So here is a key to help you out with this basic process.
- 1. 2. 3. … (etc) – Round number
- CH – Chain
- HDC – Half-Double Crochet
- HDC2TOG – Half double crochet two together (a Half-Double crochet decrease)
- SC – Single Crochet
- ST – Stitch
- (#) – Number of stitches in the finished round
- :Repeat: – Repeat instructions for a specified number of times
Crocheting a Ball for the Crochet Floor Pouf
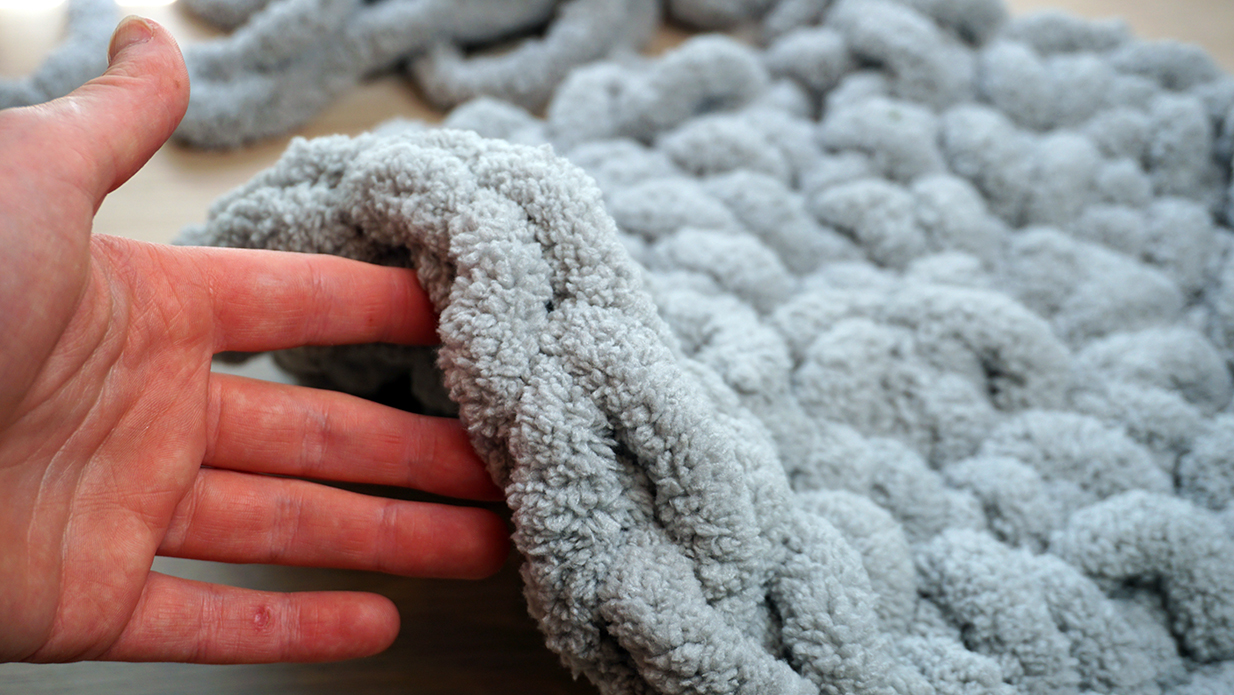
These are some general instructions for creating a crochet ball. I am giving this advice because it is all depending on how large or small you want your pouf to be. Perhaps I made my a bit too large, or too small for your tastes. This is so you can customize your pouf to be as large or small as you want. The biggest thing you want to keep in mind is to keep count of the stitches in the rounds. This is like keeping stitches in a line, except the line is going in a circle. Loosing or gaining stitches will have an effect down the line. I like to just use a bit of string or a hair tie as an indicator.
Increasing Stitches of the Chunky Yarn
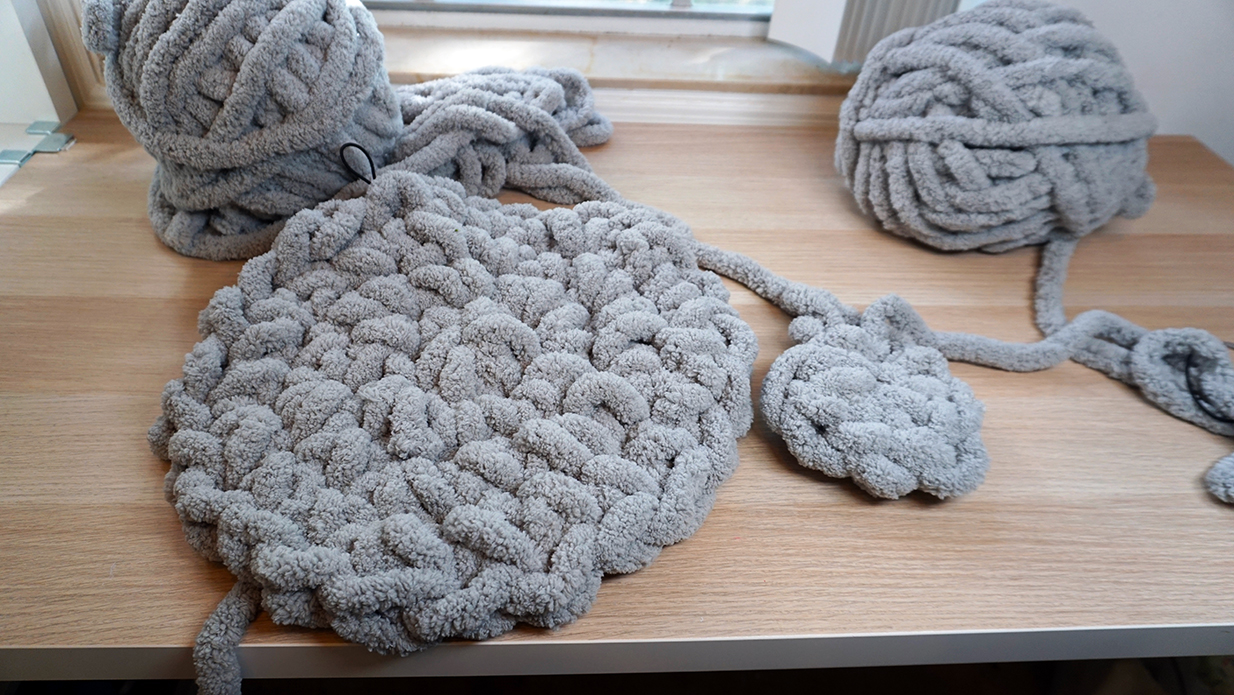
- Create a magic ring – 1 CH – 7 SC into magic ring (7) Here is a quick tutorial for a magic circle as done by MJ Carlos.
- 2 HDC in each ST (14). Here is another tutorial on how to create a half double crochet stitch by Knit and Crochet Ever After
- :2HDC in next ST – 1HDC in next 1 ST: 7 times (21)
- :2HDC in next ST – 1HDC in next 2 ST: 7 times (28)
- :2HDC in next ST – 1HDC in next 3 ST: 7 Times (35)
The final round created here will be the full diameter of the ball/cylinder. This is the point where my diameter was around 20″ which is where I wanted to be. Depending on how large or small your crocheted chunky yarn pouf you could add an increase row or omit an increase row. If you wanted to add an extra row continue the bolded pattern. In this instance, the next round would house 1 half-double crochet in the next 4 stitches to add an additional 7 stitches for a total of 42. The row after is 5 stitches for a total of 49. It is a gradual increase.
Stagnating Stitches
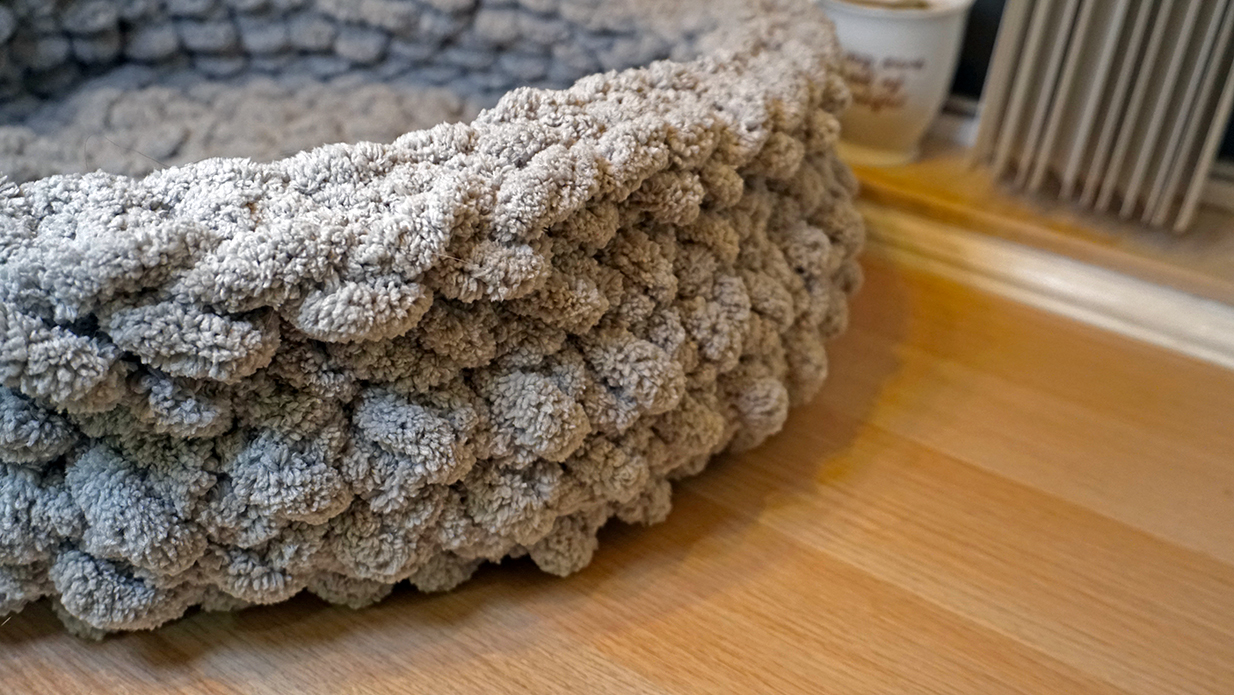
From here we will be making the full, roundness of the ball rather than an oblate object. The general rule of thumb is that there will be 1 stagnate round for each increase round in a ball. The easiest way to know exactly how many rounds to continue up is to divide the total number of stitches by 7. In my instance, I had a total of 35. I will divide that by 7 (the amount I increased each round) to get 5 rounds where I don’t increase, or decrease. If you ended earlier and only have 28 you will only do 4 rounds. If you made yours larger and have 42 total stitches you will have 5 rounds of 42.
- : 1HDC in next ST : (35)
- : 1HDC in next ST : (35)
- : 1HDC in next ST : (35)
- : 1HDC in next ST : (35)
- : 1HDC in next ST : (35)
± rounds as outlined above
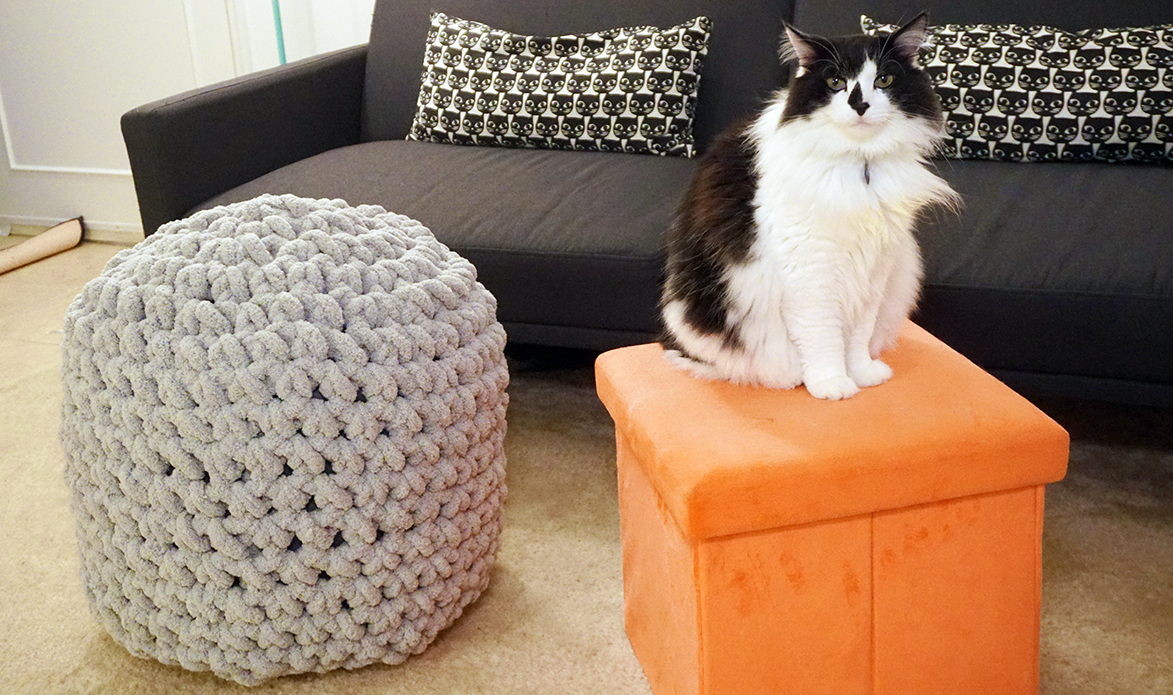
This was also the point where if your pouf was a bit oddly shaped to keep adding rows to fit the filling of the floor pouf. I’ll be honest. I was a bit cranky and tired so I didn’t keep track. I just kept going until I knew when I would decrease the rounds they would cover my filling.
Filling the Crochet Floor Pouf
At this point, we can prepare to fill the crochet floor pouf. Because of how large the stitches of the crochet pattern set amongst each other I highly suggest adding some sort of lining. I purchased a laundry bag because of the size of this project. I made sure to sew the bottom two corners together to keep the stuffing from getting lost in the corners.
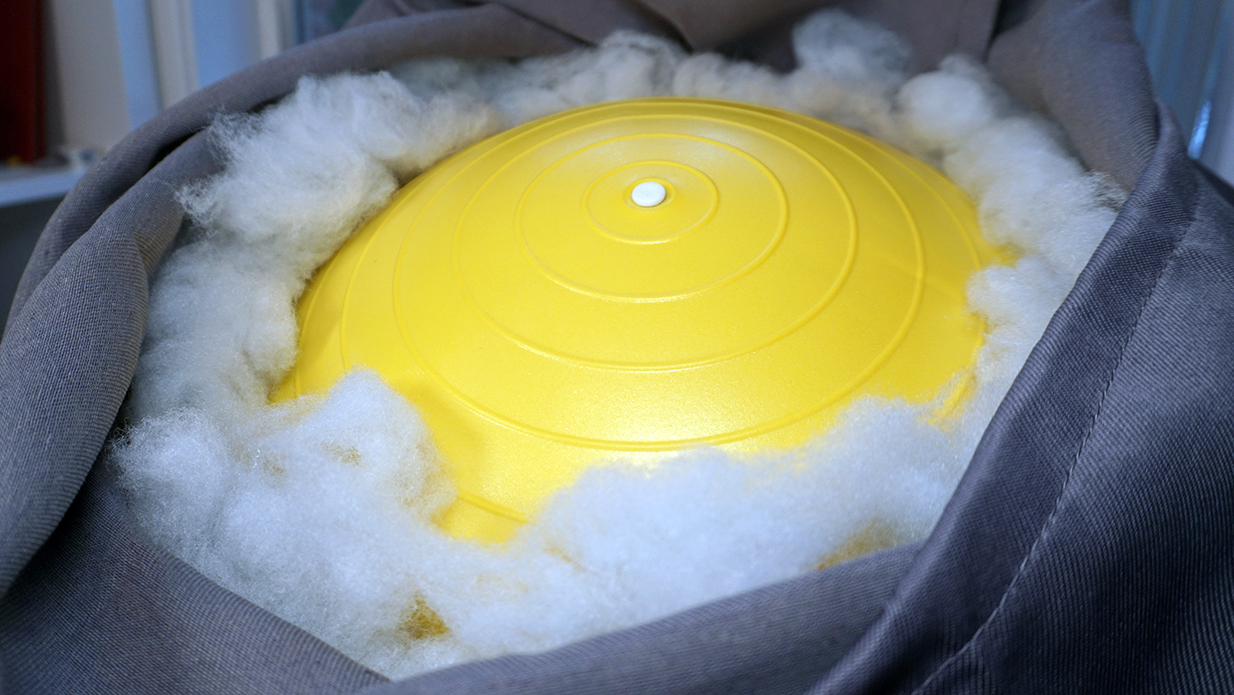
I also wanted a more firm pouf that I could also sit on as needed. So I also added in a 45 cm exercise ball. If you are also adding in the exercise ball I recommend the laundry bag to have a minimum dimension of 28″ on the short side, otherwise, the ball won’t fit. I placed some stuffing in the bottom of the bag before placing the inflated ball inside of the bag. I made sure to have the point of inflation at the top in case if in the future I need to inflate or deflate the ball. From there I put stuffing on all sides of the ball inside the bag so it can be plusher.
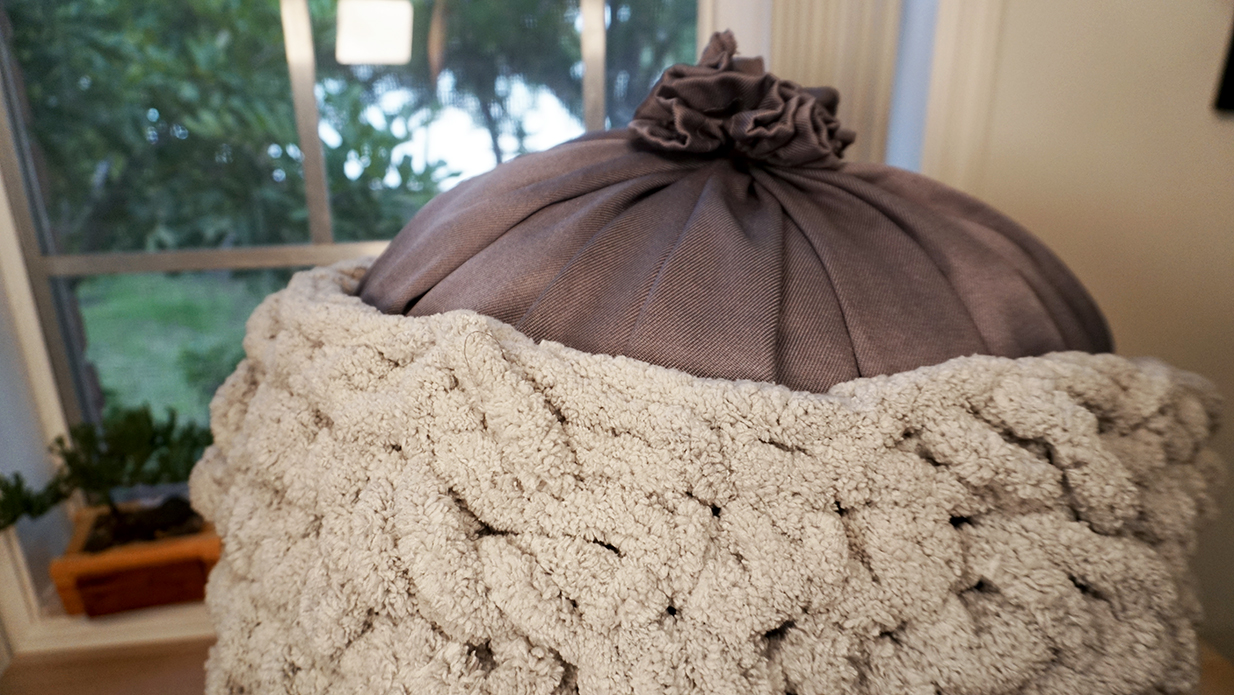
The laundry bag may be lumpy, but that is okay because the chunky yarn will hide it. Since the stuffing will not fill the entire bag I tied off the bag with a hair tie and wrapped the excess around the edges.
Decreasing the Stitches
The next step is to keep going down in stitches. Here is a nice tutorial on how to create a half double crochet together by New Stitch A Day.
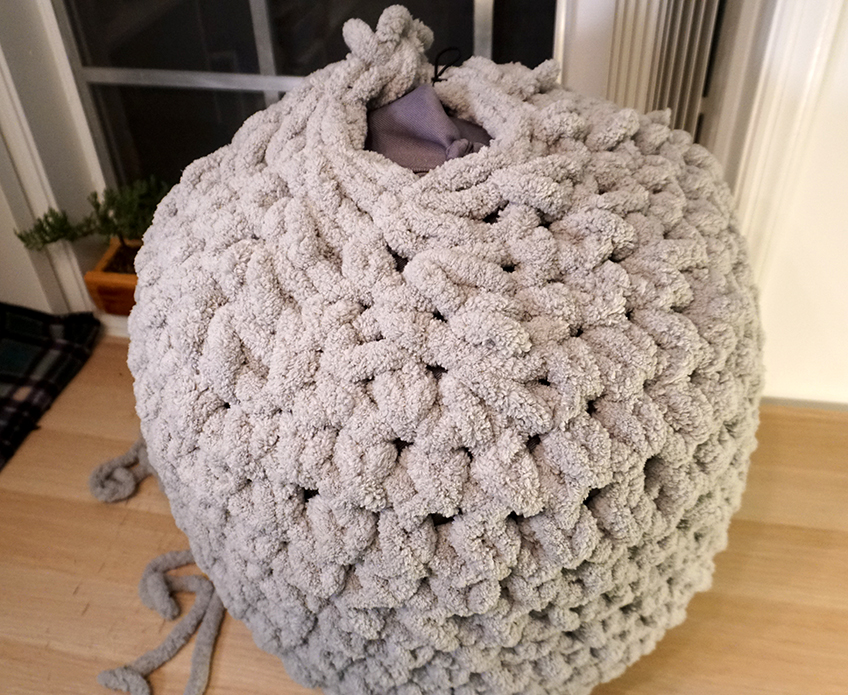
- : HDC2TOG in next ST – 1 HDC in the next 3 ST : 7 times (28) This is the time to start stuffing the laundry bag of stuffing into the pouf.
- : HDC2TOG in next ST – 1 HDC in the next 2 ST : 7 times (21)
- : HDC2TOG in next ST – 1 HDC in the next 1 ST : 7 times (14)
- HDC2TOG 7 times (7) K eep stuffing the bag if needed
- HDC2TOG 3 times (4)
Fastening off the Crochet Floor Pouf
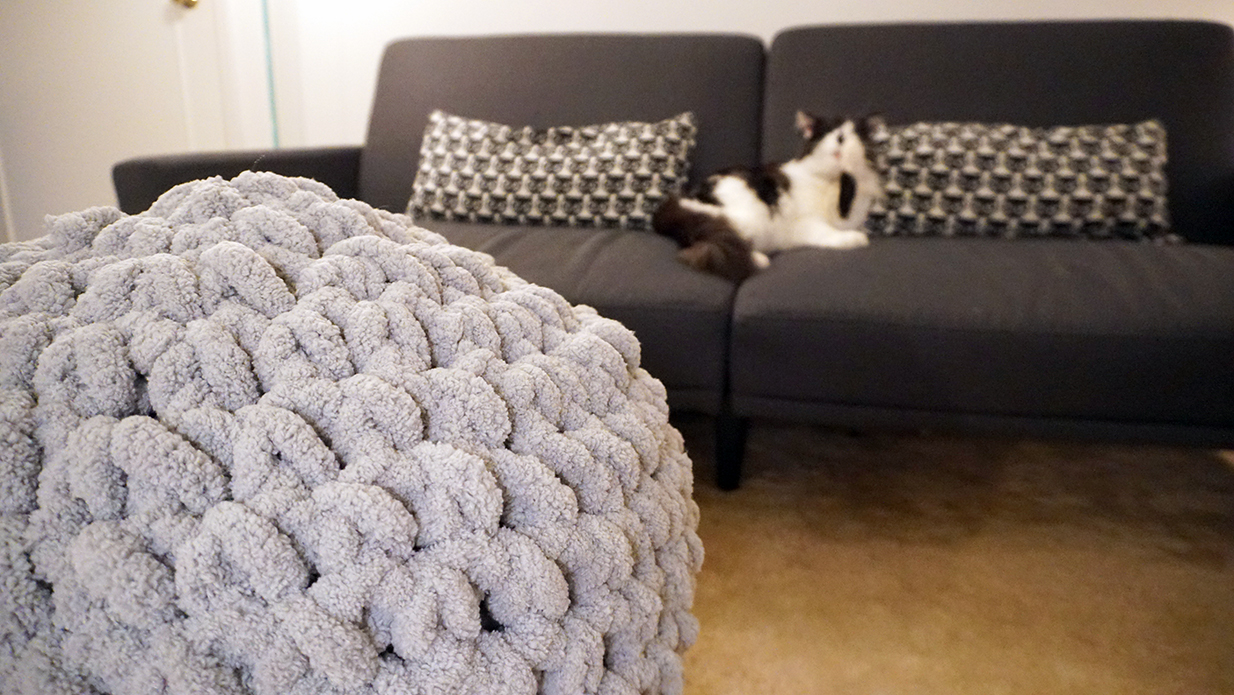
Finally, we will be fastening off the crochet pattern. June Gilbank created a very nice tutorial on how to fasten off the crochet floor pouf. First, we want to make sure all parts of the laundry bag are inside of the ball before we completely finish. Poking all parts inside and keeping the ball smooth. Because of how large this project is we will cut off around a foot of extra line and pull it through the final loop. From here we pull this excess line through the last four stitches still making our way around in a circle. Once the tail has gone through all the stitches it’s pulled taut and the circle closes. the final step is to push the excess string inside of the ball, be sure to leave a generous tail for future repairs. Aaaaand, that’s it!
Acceptance
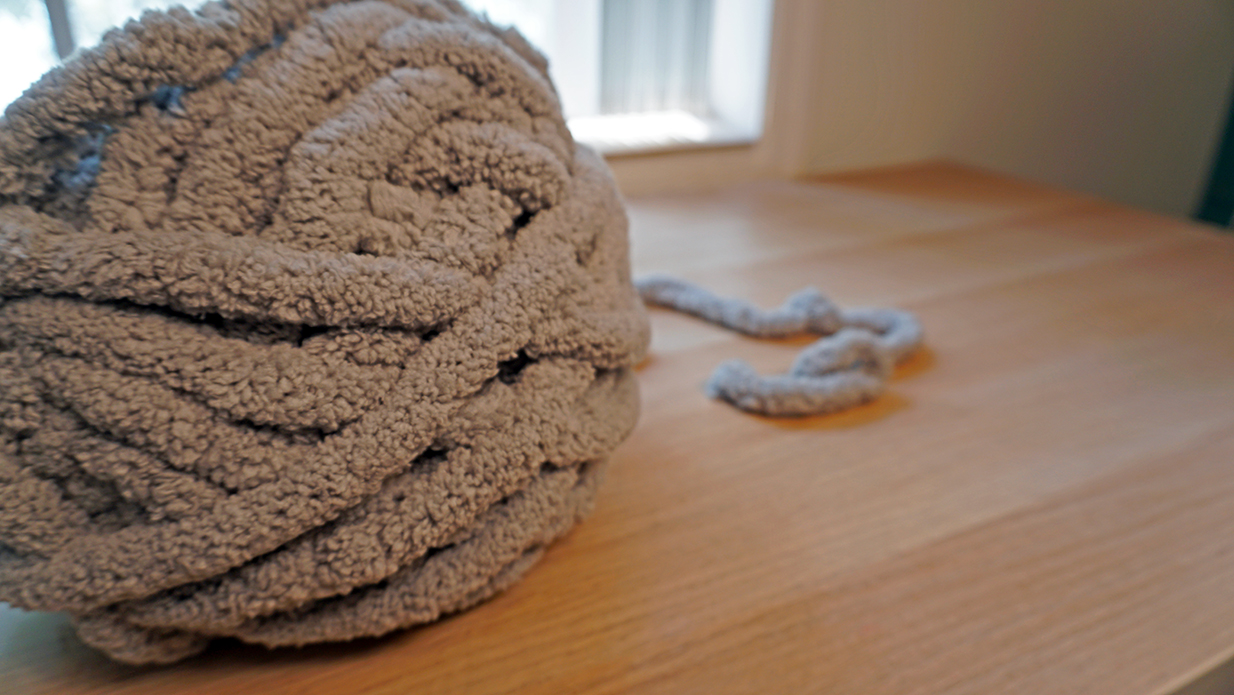
This project was a bit of a challenge in the sense of trying too hard to control something. While the crochet floor pouf wasn’t difficult to actually make, it was difficult for me to try and to force something to behave in a way it didn’t want to. I desperately wanted this pouf to be a ball. Just a goofy object to roll around on the ground and look decoratively nice.
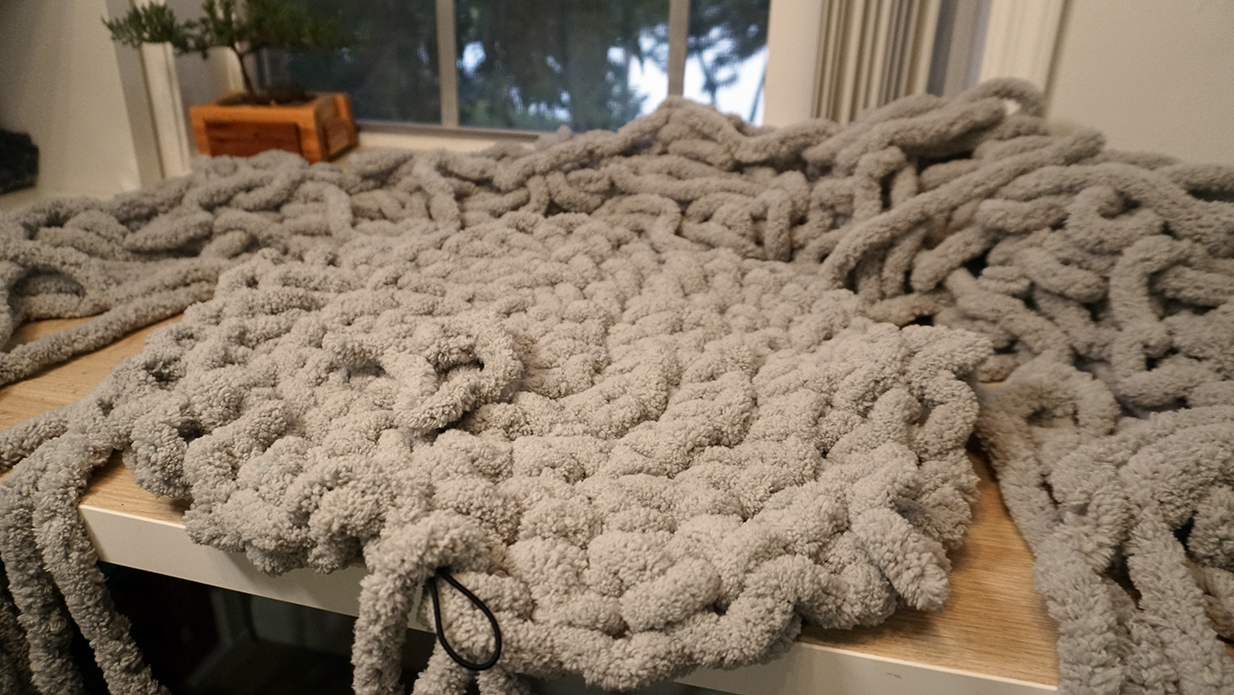
Buuuut, it wasn’t. I was frustrated, mad, kept going to the drawing board, kept pulling apart stitches, and trying new things and generally not happy with how this project was going. In the end, through all my struggle I wound up with: not a ball. Eventually, I said: Fine! It is what it is. I have a cylinder. Then something neat happened. Once I accepted this project as a cylinder rather than a ball. I loved it. Now my crochet floor poof that has two different heights and looks more unique than the average round floor pouf.
This process made me think of a passage from Lao Tzu.
Life is a series of natural and spontaneous changes. Don’t resist them; that only creates sorrow. let reality be reality. let things flow naturally forward in whatever way they like.
Trial and Error with Crochet Floor Pouf
- Accept that it is what it is
- Follow the pattern – I had to redo this because I didn’t follow the pattern of increasing HDC between the 2HDC at first and it grew exponentially.
- Seriously, Count stitches – I had some issues because I wasn’t counting them and had to re-start
- Get the properly sized lining if using the ball. – Waiting for Amazon is no bueno. The measurements for the bags are for a flat rectangle, not the diameter of a sphere.
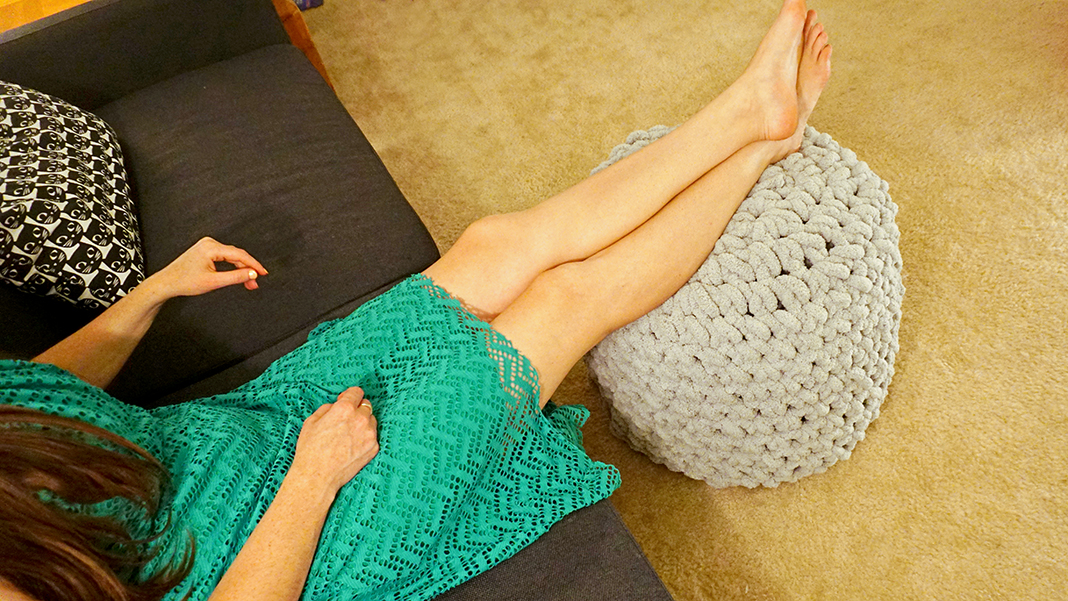
This project made for a wonderful crochet floor pouf that is soft and fun in our home. Hopefully, it will add some dimensional life to your home as well. Please send any questions or comments to saturatelife@gmail.com and thank you for stopping by!


