The lights! The smells! The music! The decorations! Christmas season is here! Since I moved down to Florida I have zero decorations. I purged and everything I owned fit into my car. When it came to my tree and my kitchen I use my kitchen more. The thrilling part is now I get to have a plethora of posts based on creating more Christmas decorations! My first project is something I thought was super chic but warm and cozy: a Burlap Wreath.

Burlap is a warm rough texture. Currently, it is very hip for rustic weddings, and a warm-toned textural fabric. Creating a Burlap Wreath means that the fabric is less likely to fade over time and can be tailored to the particular décor theme of choice. Plus if they are done without exclusively Christmas accents then Burlap Wreaths can stay up year round!
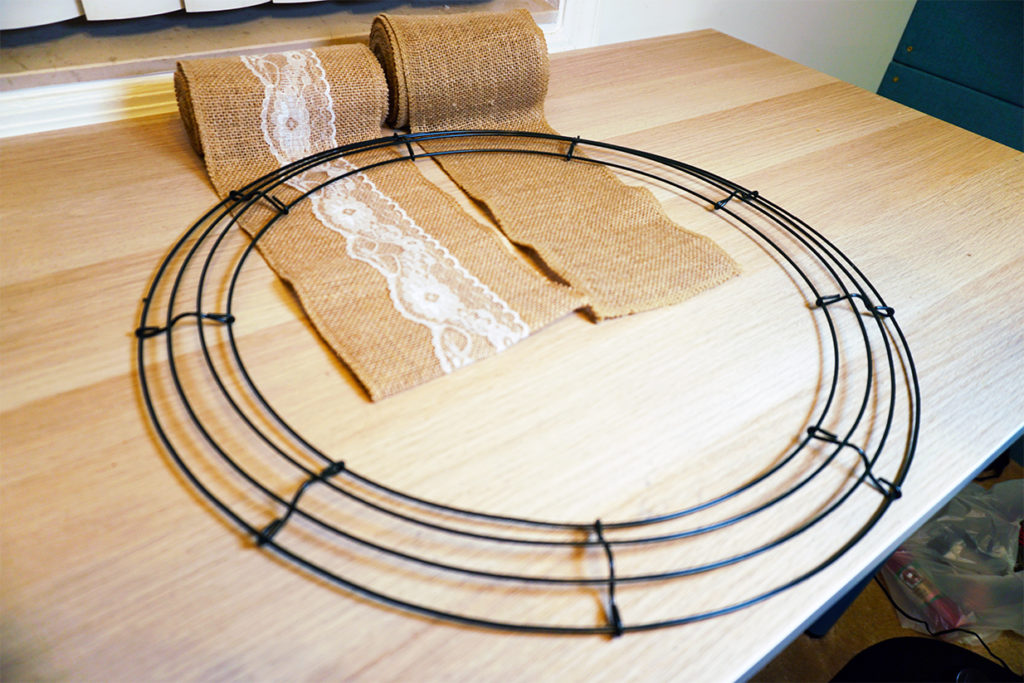
Materials for Burlap Wreath
- Wreath Frame – ( I used an 18″ wreath frame )
- Rolls of 6″ wide Burlap ( I used around 56′)
- Sewing supplies
Starting off the Burlap Wreath
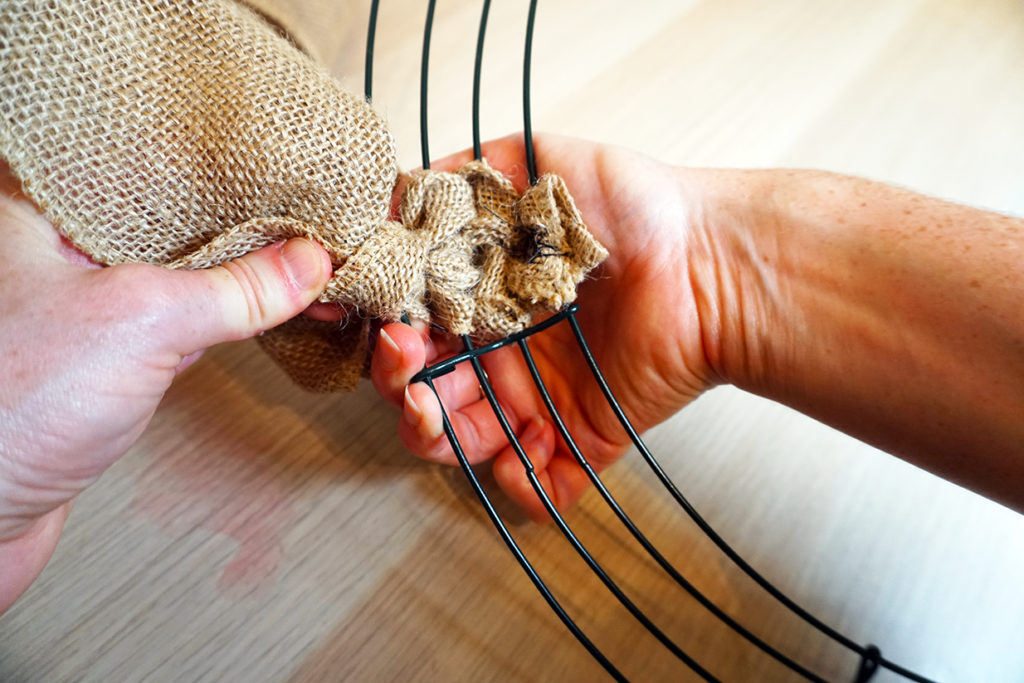
To begin the burlap wreath I started off by folding the burlap twice into quads. Then it is wrapped around the innermost ring of the wreath frame and sewn there. The color and quality of the stitching does not matter, it won’t be seen. Just as long as it stays connected.
Making the loops of the Burlap Wreath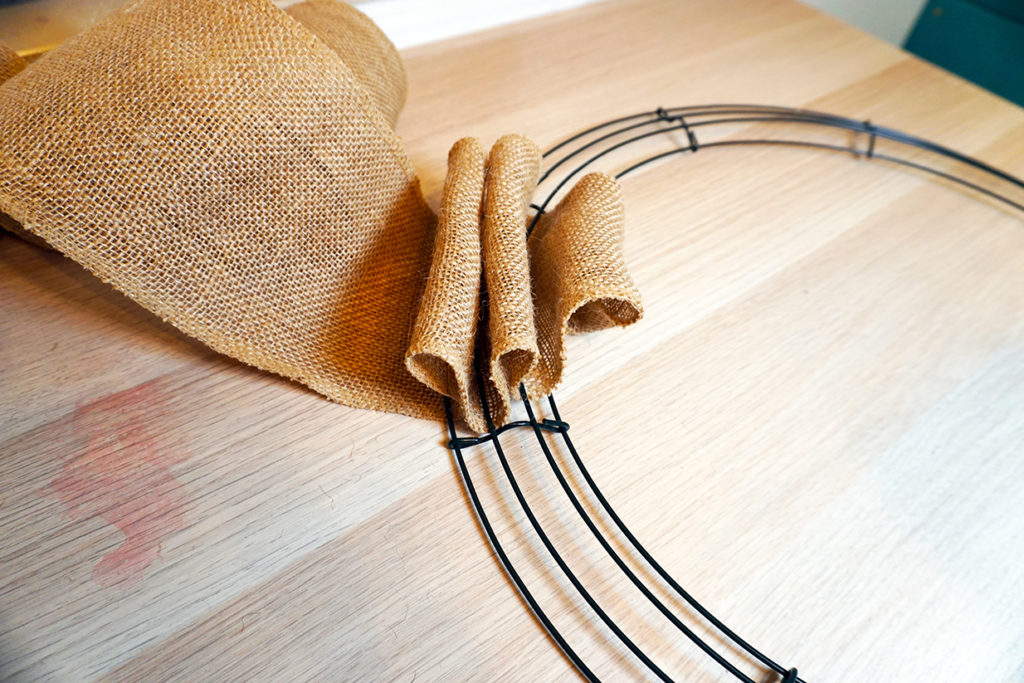
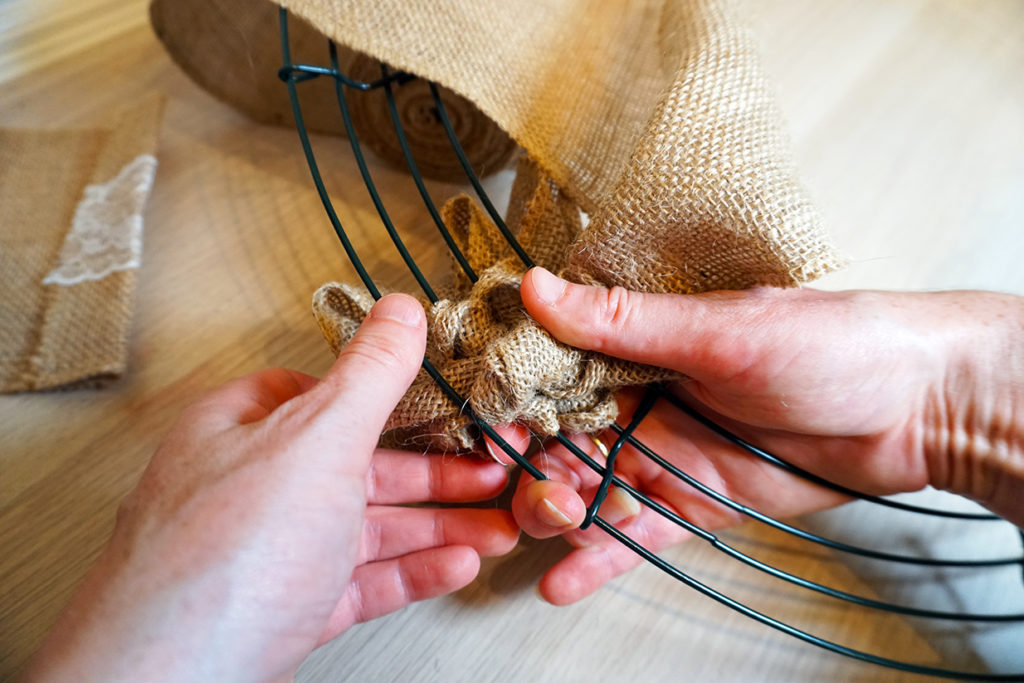
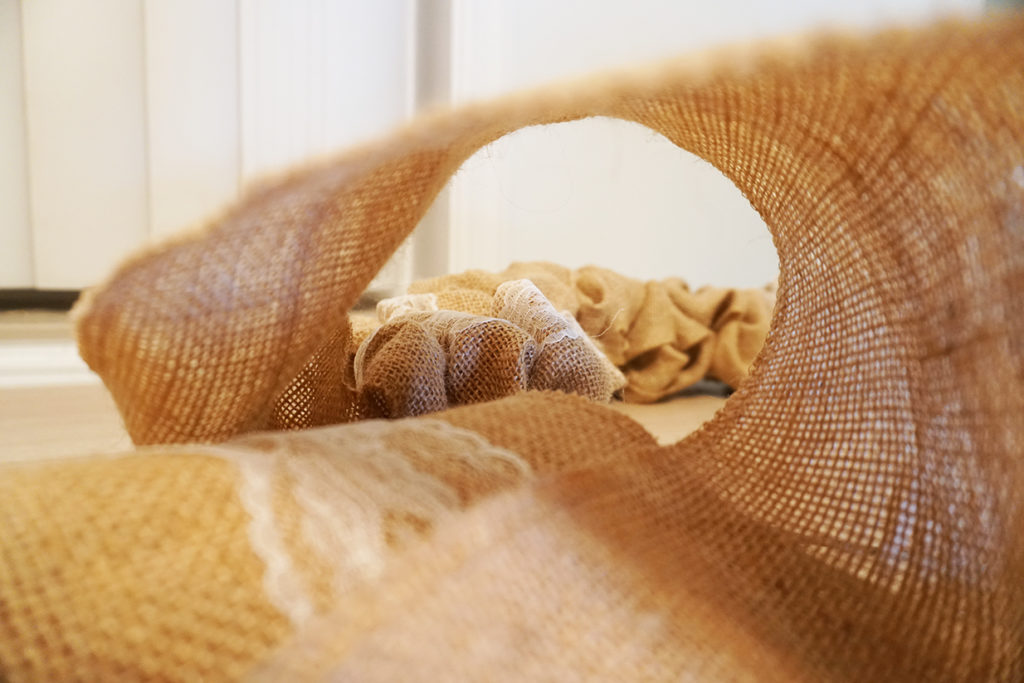
Once the end of the burlap is connected take the length of the burlap and push it between the wires to make loops. Keep them of uniform length and the bigger the wreath frame the bigger your loops will probably be in order to look correct. between the four wires, there should be three large loops.
Mashing and Twisting the Burlap Wreath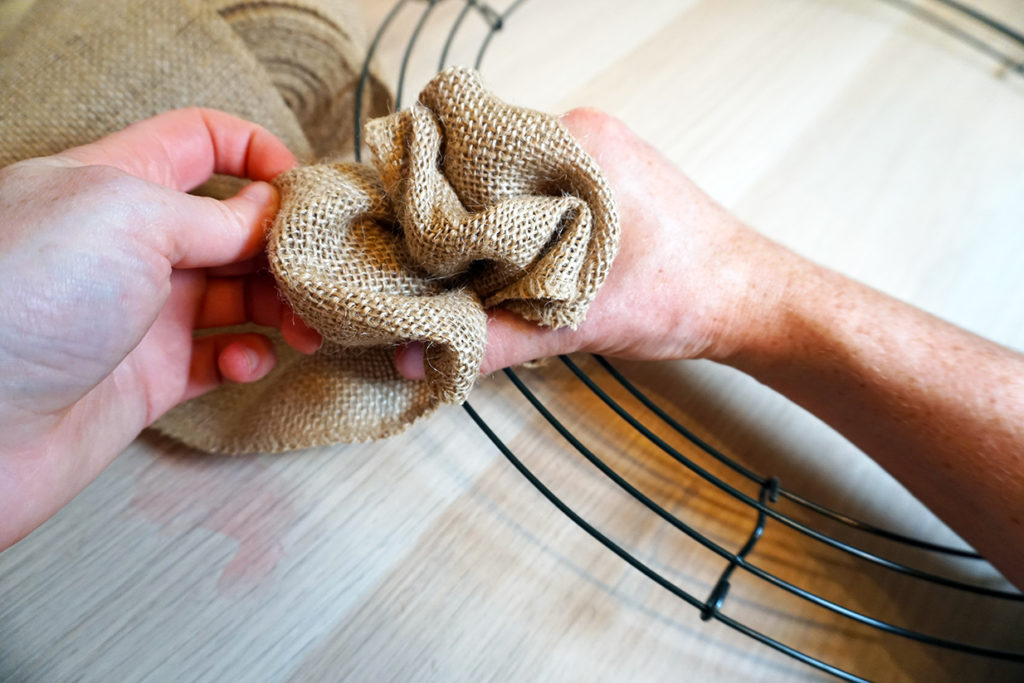
Once the loops are made to the size that looks to be correct mash them together so the loops become this bundle. Okay, now readjust because they probably are not big enough (this was my issues) or they’re too big and just look silly. When they look to be the correct size we can start to move onto the next line of loops.
First, we take the tail and twist in the opposite direction of the direction you are continuing your loops. If you are building your wreath clockwise you will twist the fabric counter-clockwise. If you are building your wreath counter-clockwise you will twist the fabric clockwise.
This will help with any sort of pattern or lace that is only on one side of the fabric. Twist tightly about once or twice, something like that. I got kinda distracted and did what looked and felt to be right.
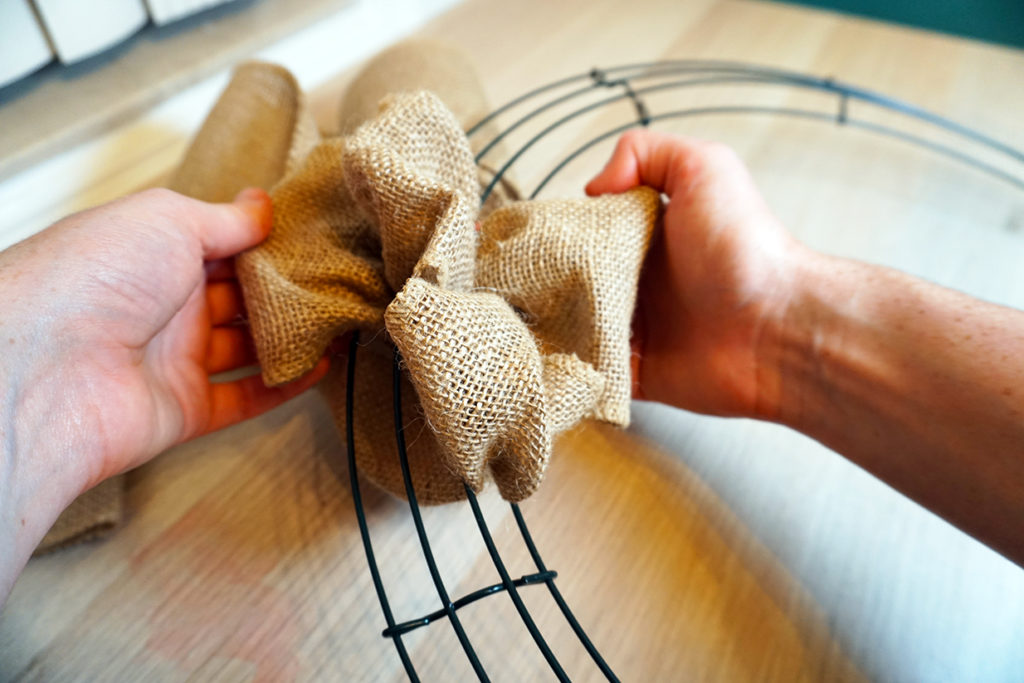
From there make the loops as done before, repeat as needed.
Ending or Changing the Burlap Roll
If you are changing fabrics for the burlap wreath or coming to the end of the roll try to end on the outside wire of the wreath frame. Fold the fabric into quarters again and sew just as done in the beginning. Go ahead and start the new roll by sewing it onto the innermost rung and start again.
Accessorizing the Burlap Wreath
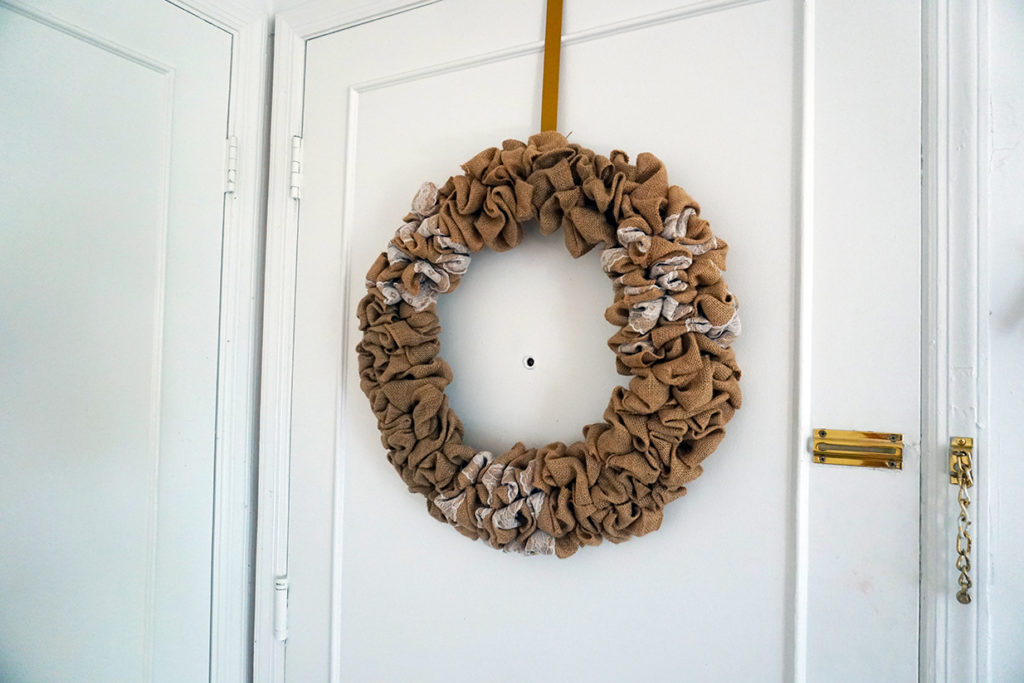
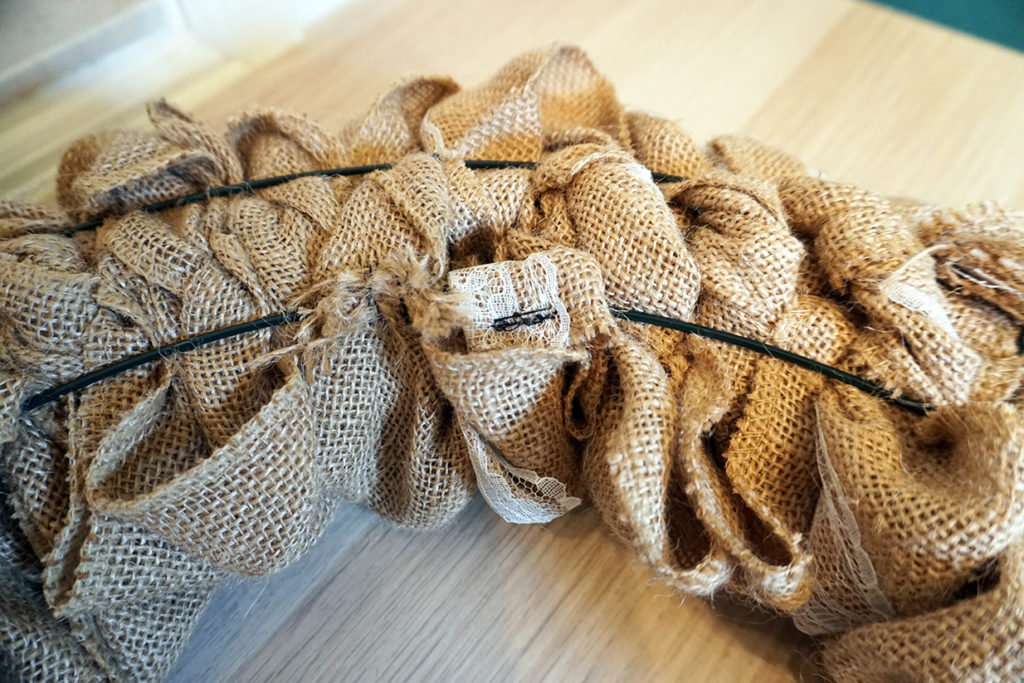
When the wreath is full and no more loops are to be made it is finished! Huzzah! From here it’ a beautifully simple piece of décor that can warm up a space or it’s easy to accessorize.
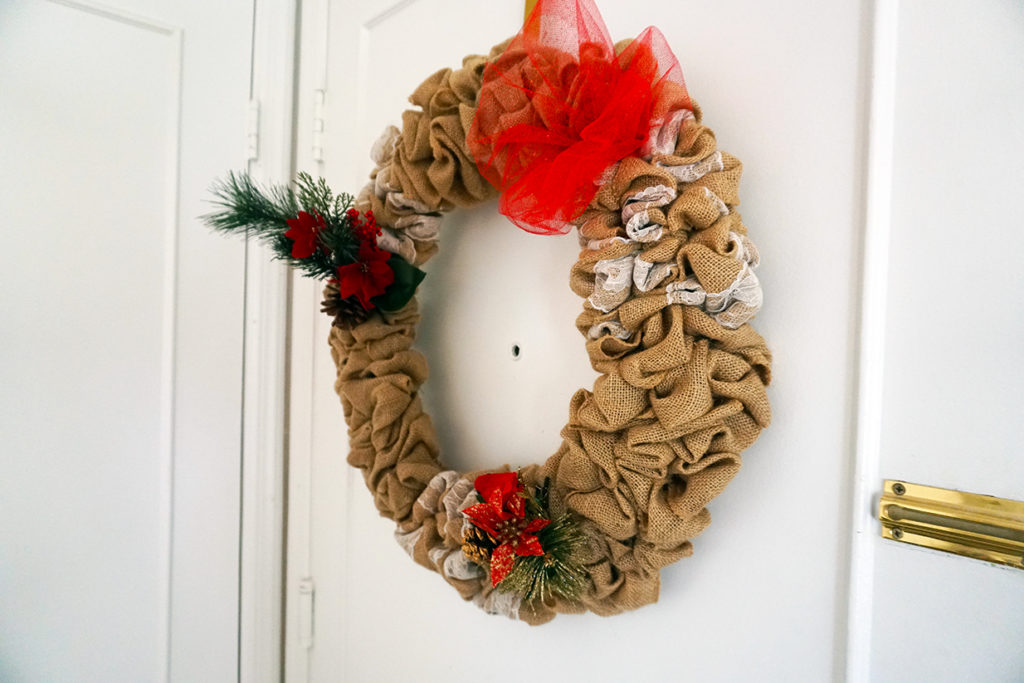
For Christmas, it is fun to add in Pinecones, pieces of evergreen, snowflakes, really anything for any décor. The burlap becomes and natural, neutral tone as a backdrop for any piece. I added some burlap with lace as a nice accent to break up the solid piece, however, there are many different colors and patterns to use.
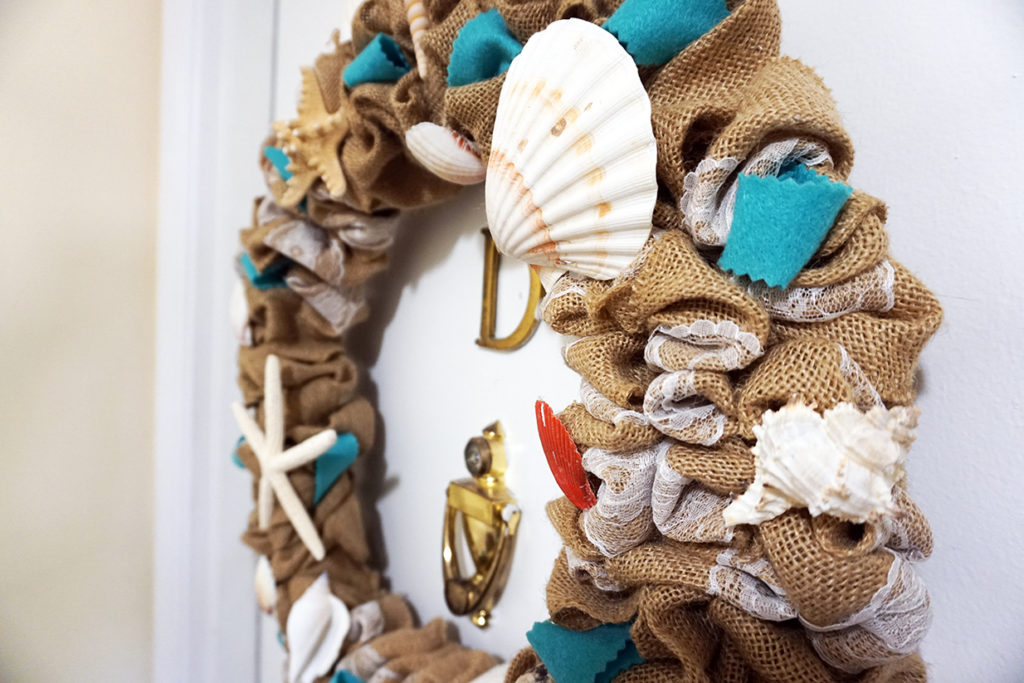
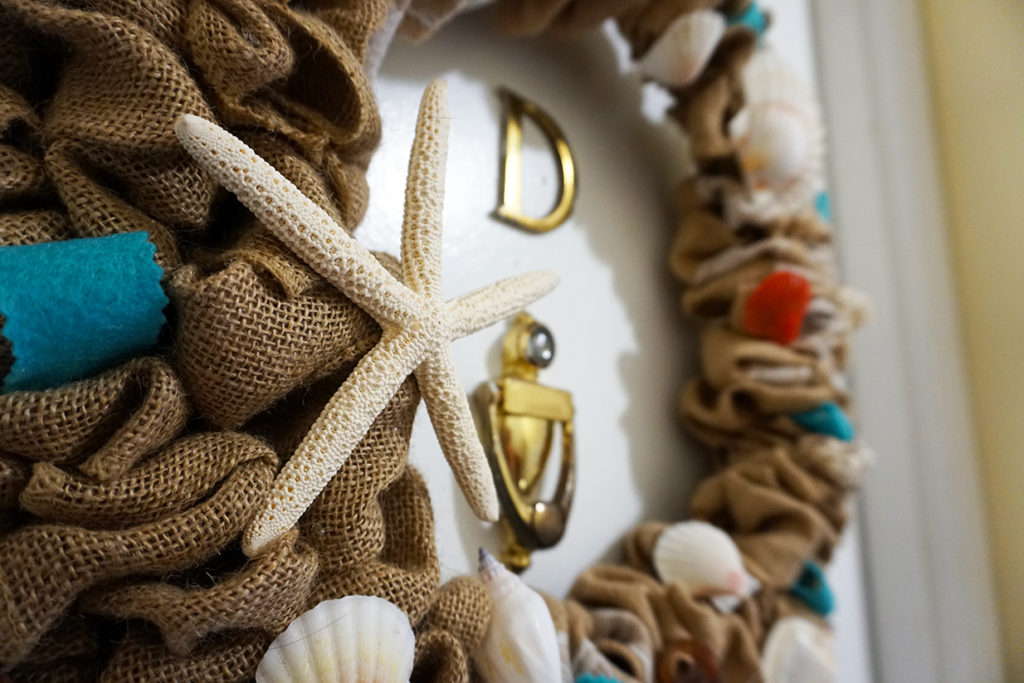
In the end, Fitzi and I wanted to celebrate our move and have a beach theme Christmas. I accessorized my burlap wreath with hot gluing various shells and starfish to the wreath which then the burlap becomes reminiscent of sand and the lace of the ocean foam. There is also additional pops of blue with some leftover turquoise felt that accent the loops of the wreath.
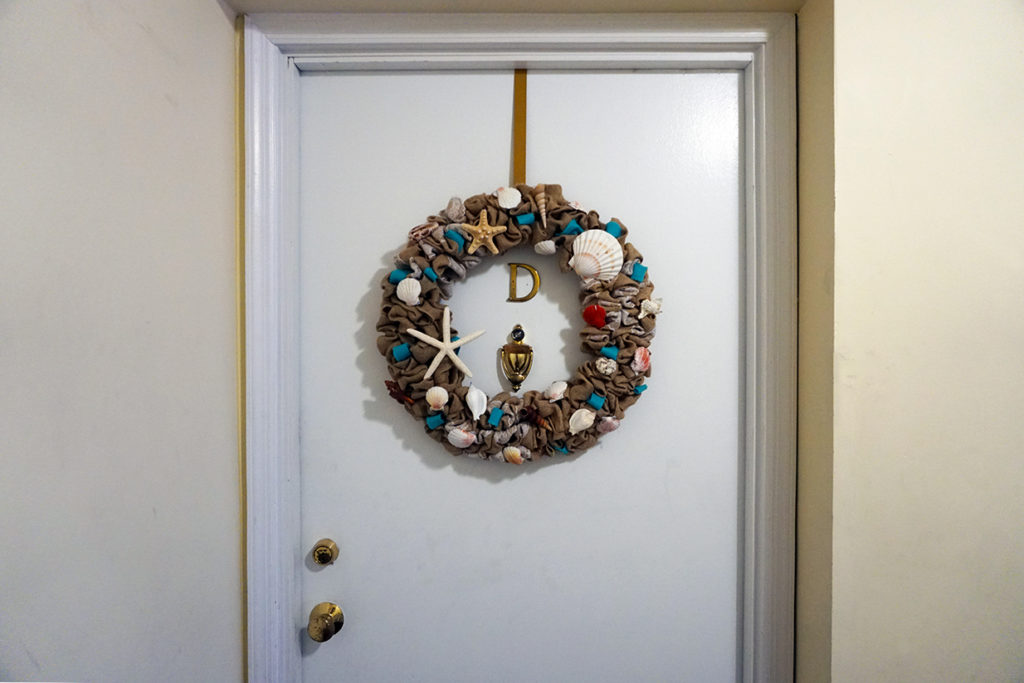
This was an easy afternoon project that can really warm up a space or an entry. I am incredibly thrilled with how my burlap wreath turned out that it may be staying up year round! Thank you for looking through my instructions to make a burlap wreath!
Trial and Error of Making a Burlap Wreath
- Keep the loops regular when creating the wreath. I ended and starting mine regularly on the different sides of where I began to keep from accidentally slowly increasing and decreasing in size as I went around. I would highly suggest it so when the wreath is finished the starting loops aren’t accidentally a different size than the ending loops.
- This wreath uses more burlap than what you think it will.
- If the loops become a little off it is easy to take fabric from nearby loops to keep it all even. This can be done even if it isn’t the most recent set of loops you were working on. It’s a very forgiving project.
- If anyone tells you it’s a 10-minute project they are liars. I would say a 12″ wreath is maybe 30-45 minutes. 18″ is definitely double that.
Thank you again for reading my instructions on how to make a DIY Burlap Wreath. I hope you enjoyed it and please share your Wreaths and ideas to saturatelife@gmail.com!
![]()