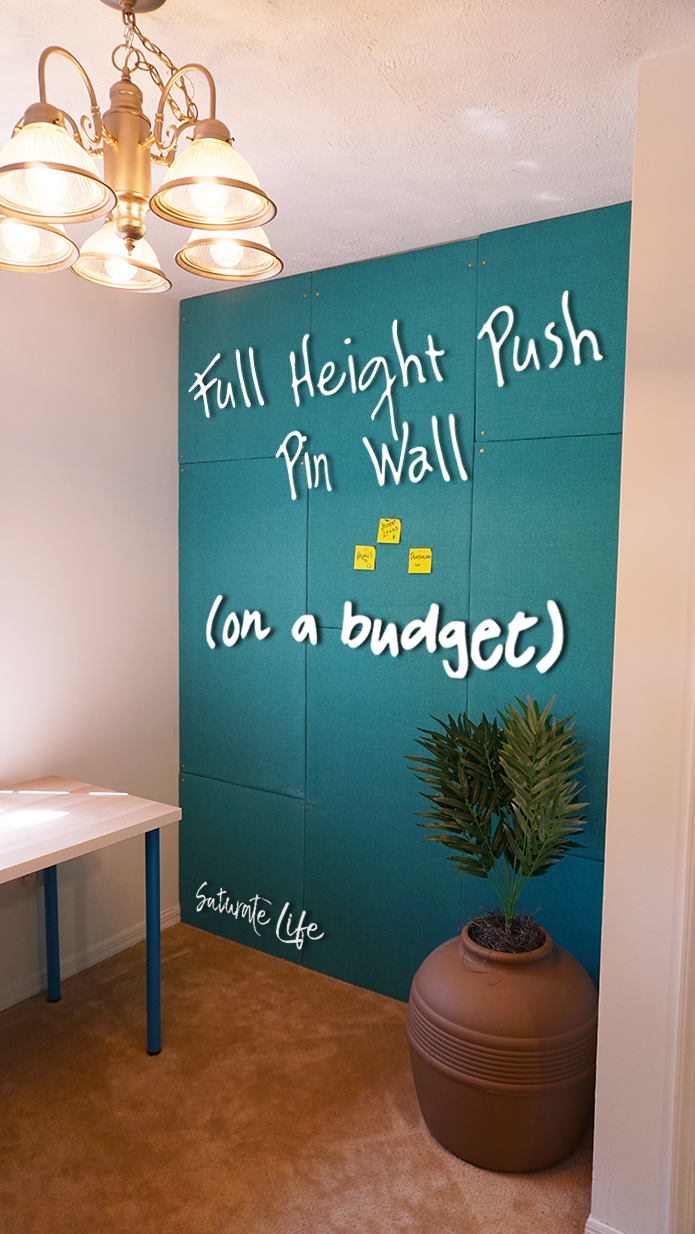
I’ve sourced through my options and I’ve finally been able to achieve my dream to have a push pin board to cover a whole wall without spending a fortune. I love the aesthetics of full height push pin walls. Magnetic walls have their charm, but they are heavy, cold, and don’t have the same appeal to me. I spent my college years dreading/celebrating “pin ups” for my designs. The warm soft feel of a cork or felt wall appeals so much more than metal.
The difference in material also yields a different, more comforting feeling to a room. I am a firm believer that paint can go a long way, but it is nothing compared to a change in texture like a push pin board wall will provide.
But damn are they expensive. Cork and other tackable materials will costs $50 for only a few square feet. In my new apartment I have a nook that is 6′ wide by 8′ tall. To cover all 48 square feet of that material will cost over $300. I have better things to buy with that. Like $300 worth of tacos.
The Key Ingredient for a Budget Push Pin Wall
Lucky for thrifty people like us there is a solution (Yay!). I was able to construct this full height push pin wall for around $70. However, it’s only because I was picky in my materials and aesthetics. This project can easily be done for much less if the right materials are selected or omitted.
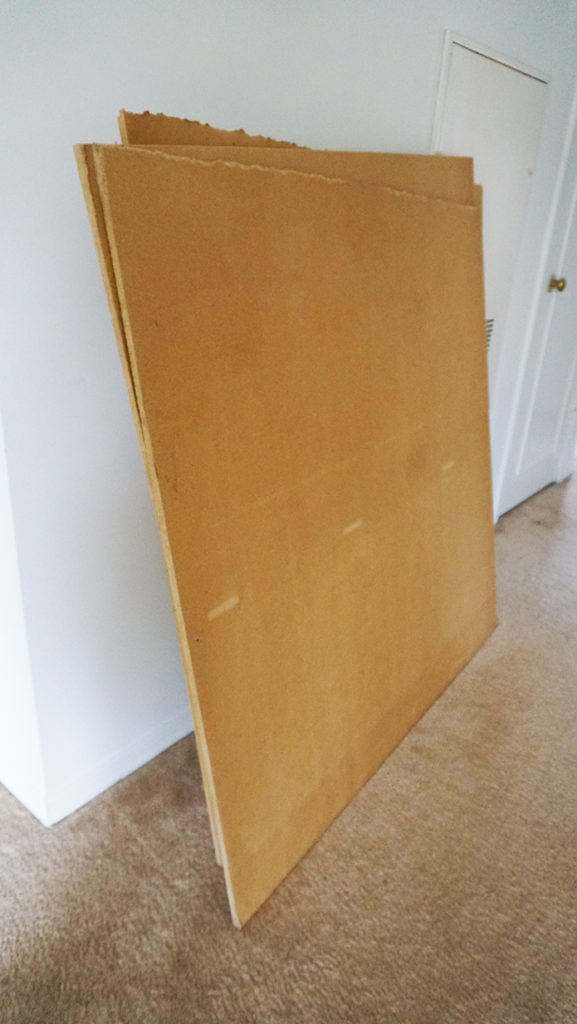
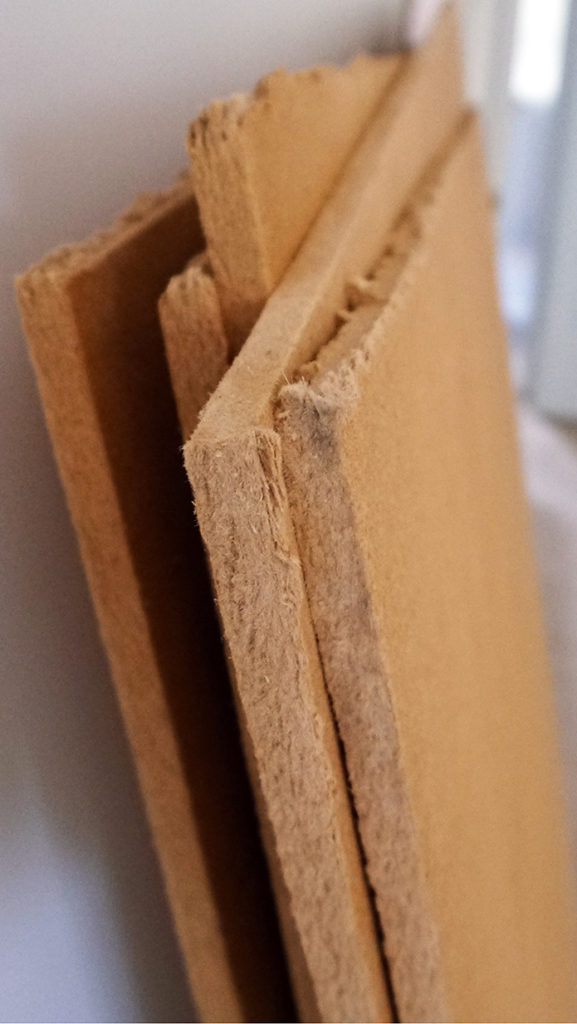
The key ingredient for this budget friendly push pin wall is: Sound Proofing Board. The brand name is Homasote, however, talk to the people at your lumber yard and see if there is a generic. I went to a local place, their Homasote cost around $25 for a 4×8 sheet while the generic was under half that at $13. Sound board is a lightweight material made of glued together bits of fine pulpy wood. It is easy to cut by hand, but it is difficult to make the edges look nice by hand.
Materials needed for Push Pin Wall
- Required amount of Sound Board (Homasote)
- Slightly more fabric to cover the Sound board
- Minimum 2″ Screws
- Heavy-duty Staples
How to choose which wall to be the Push Pin Wall
In my new apartment there was a small nook, the same one I made into my corner office in my previous post about creating rooms within rooms. I saw that wall and knew my goal of having a Push Pin Wall will come to life. The biggest key factor:
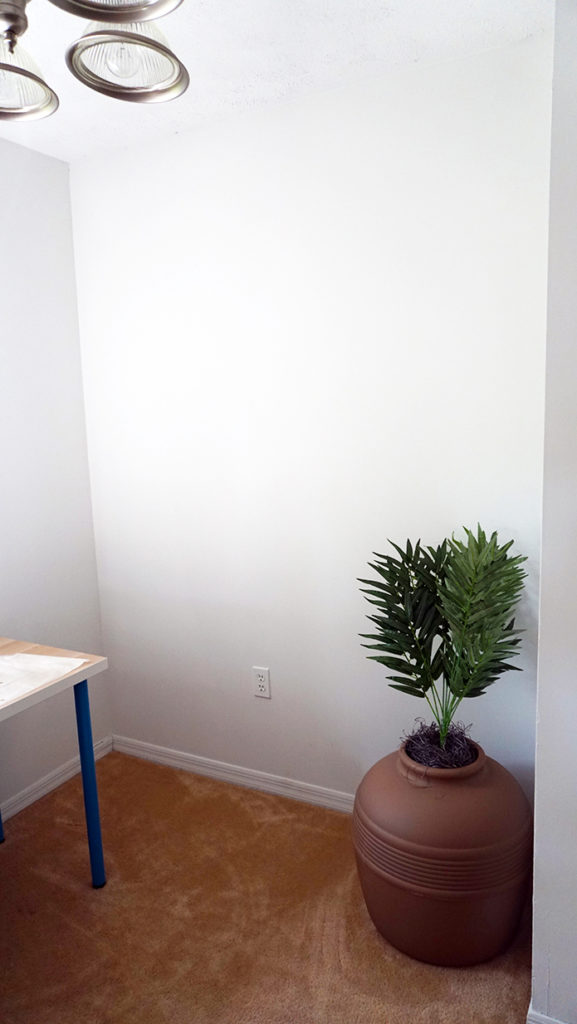
It’s small.
This nook has the surface area of only 48 square feet which is small, 6’x8′ to be exact. I am not planning on putting up 24×36 pieces of paper so I did not want to cover a much larger expanse of wall. Plus, more push pin wall is more budget. If the desire is to cover 500sqft wall then go for it. More power to you.
The next key factor I looked for is:
Location Location Location
Just like many things this location was ideal. My smallest wall is actually in my bathroom… or closet. However, those are terrible locations for the Push pin wall. The Soundboard would soak up all the humidity from my shower and I won’t be able to see all my hard work in the closet (but it still will be faaaaaaulous!). Take careful note of what is on the wall or what could be inside of the wall. Think about plumbing or wiring. I cannot stress this enough. If all the fixtures in your bathroom are on the other side there is a risk of drilling into the plumbing. Don’t drill in line with your outlets or switches. Unfortunately I did cover up an outlet. However, I was not that bothered by it because there was another outlet less than 3 feet away on the adjacent wall.
The final deciding factor:
2 interior corners.
Just like painting a wall, I do not advise having the finished edge of this project be on an exterior corner. The push pin wall is more likely to get damaged and it difficult to get the seam of the board to match as well as one would think it would. The interior edges will protect the push pin wall as well as hide imperfections.
Planning ahead for the Push Pin Wall
Did you know that for construction of offices a good designer will instruct the purchase of the large conference table in the very beginning of a project and have it moved in before any walls get built? It seems silly, the table gets strung up from the ceiling and hangs out until everything has been built around it. An experienced designer has learned the hard way that sometimes it’s impossible to get that giant thing in once the walls are built!
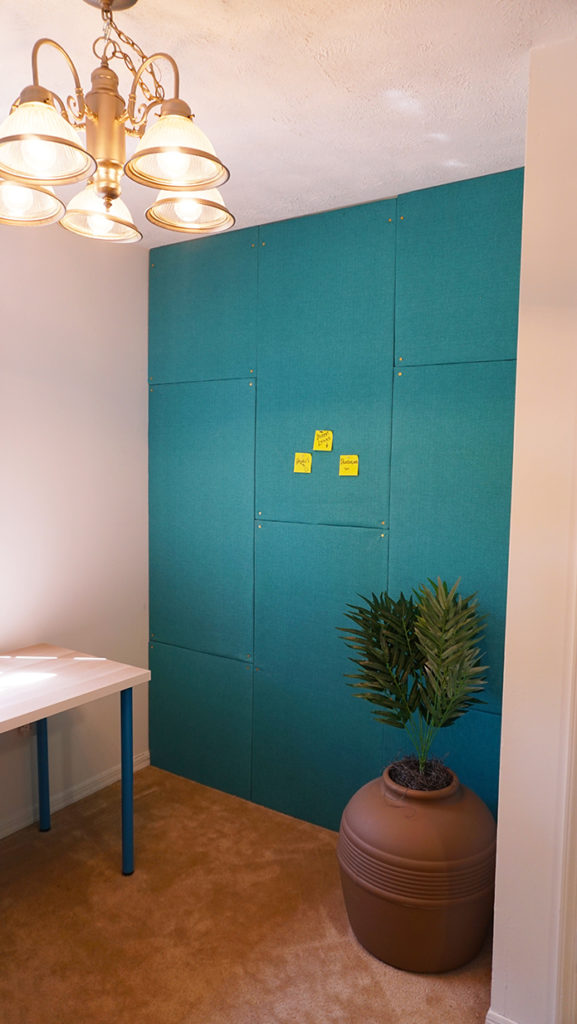
What I’m getting at is to plan for every part of a project, because perhaps doing something that doesn’t seem to matter now may be extremely important later. I thought about what I wanted to do with my project. With the extra 2 feet beyond the standard 4×8 board would mean I would have to have a seam somewhere in my project so I decided to play with it and highlight the seams rather than hide them.
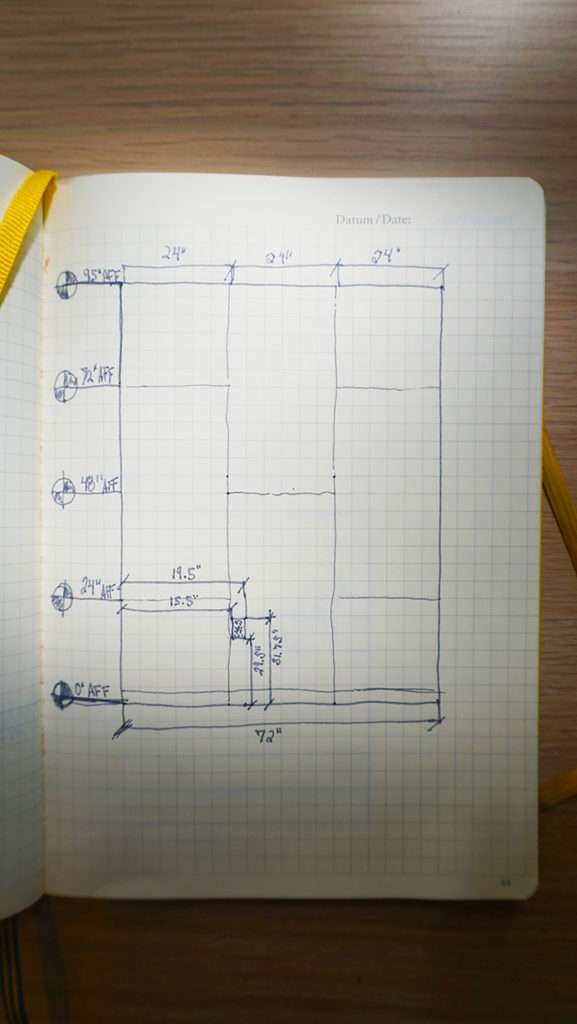
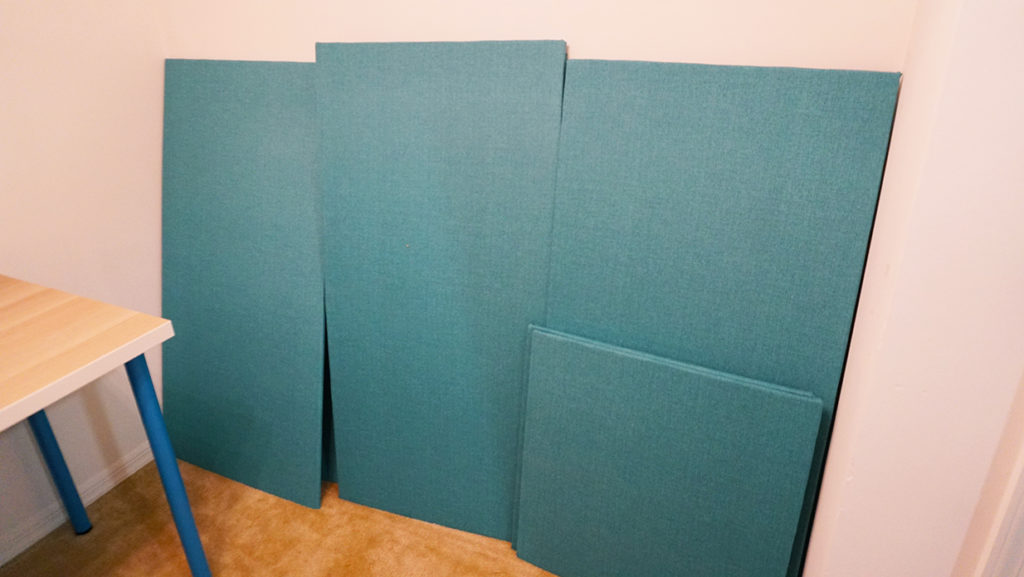
I decided to break down the boards to simulate a large scale running bond pattern. Ultimately this was more labor, however it helped in multiple ways.
I was able to handle the pieces better.
They were no longer these massive sheets that I could barely maneuver around. Sound board isn’t heavy, but 4×8 sheets are still difficult to maneuver. I could manipulate them better and have a little bit of give and pull.
They fit into my car.
You have a truck? Lucky you with your ability to haul things and finding excuses to not move everyone’s furniture. I don’t. Preemptively deciding to work in smaller pieces means that I could now cut the pieces that will fit in my car.
It gives the Push Pin Wall more aesthetic appeal
Let’s be honest here, having a neat pattern is much more interesting when it comes to decorating a space. It takes a traditional pattern from the floor and brings it vertically up the wall driving the eye upwards making a more dynamic space for those observing it. Thus it is exciting and has much more charm.
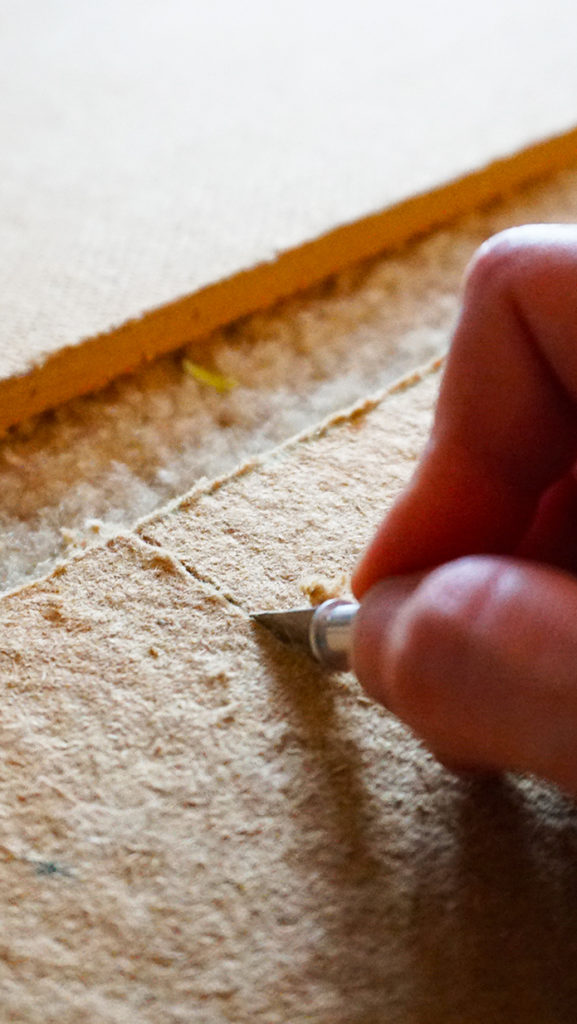
However, cutting them down had it’s challenges. It’s difficult to cut the sound board so it would have nice even edges. They were not straight, displayed the frayed edges of the glued together pulpy board and in general, kinda stunk. So I decided to cover them with a beautiful hardy fabric.
Choosing a fabric for your Push Pin Wall
Just like with anything, the fabric is technically optional. For me it helped hide the mauled up edges of my boards as well as not-so precise gaps in the seams that occurred after it was assembled. But all that aside, I was not a fan of the brown.
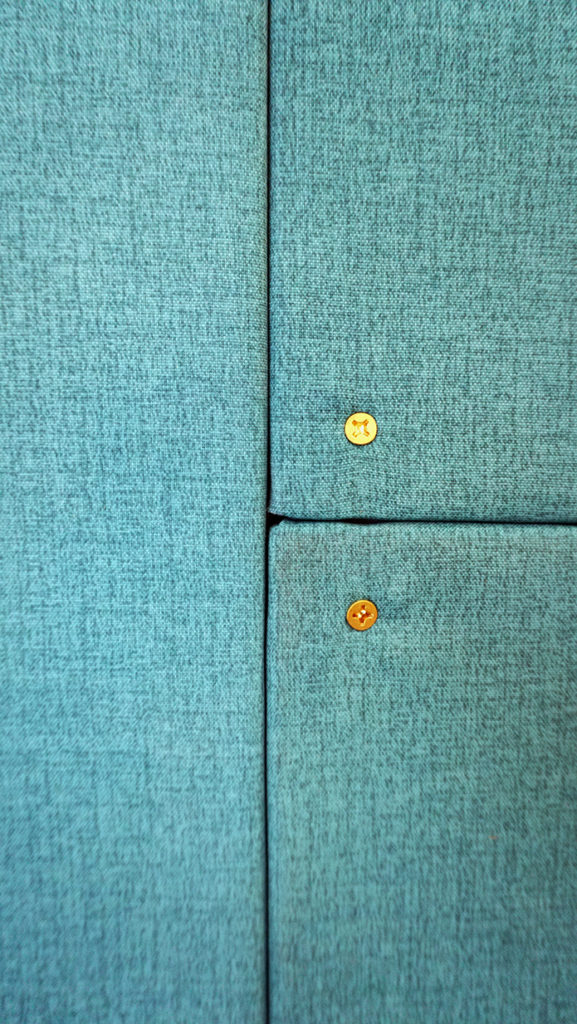
I chose a non-repetitive pattern like stripes so I would not have to be concerned with the pattern lining up after the push pin wall was assembled and to use as little fabric as possible. I also worked hard to create the seams I wanted those to stand out and not be in competition with a bold pattern. It gives the push pin wall a visual texture without making it look too busy. The color, because it was the roll that had the most on it and wouldn’t clash with the rest of my decor. (Sometimes, that is the deciding factor)
Felt would be a fun option for a small child’s room. The material is soft and fluffy as well as would yield the option to have multiple types of felt, cut them into shapes and letters so the child can stick them on the wall for a method of tactile learning.
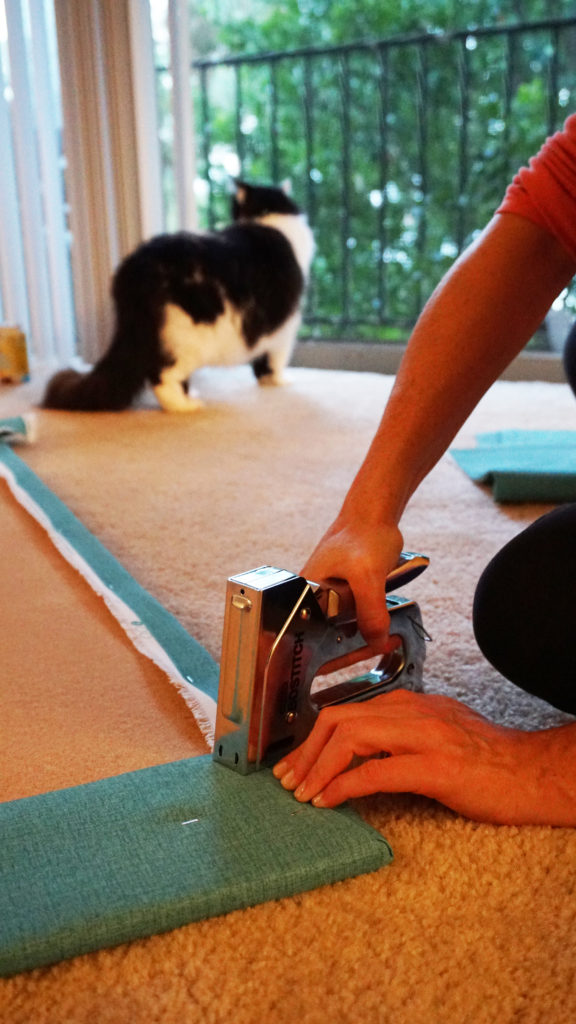
I took my fabric, pulled it as tight as possible, and used my heavy-duty staples to upholster it to the back of the boards. I identified the back of the boards because one side had a more fluffy texture and was embossed with identifying makings from the manufacturer. Making the fabric taunt removed any creases that happened while the fabric was on the roll so there is no need to iron it out first.
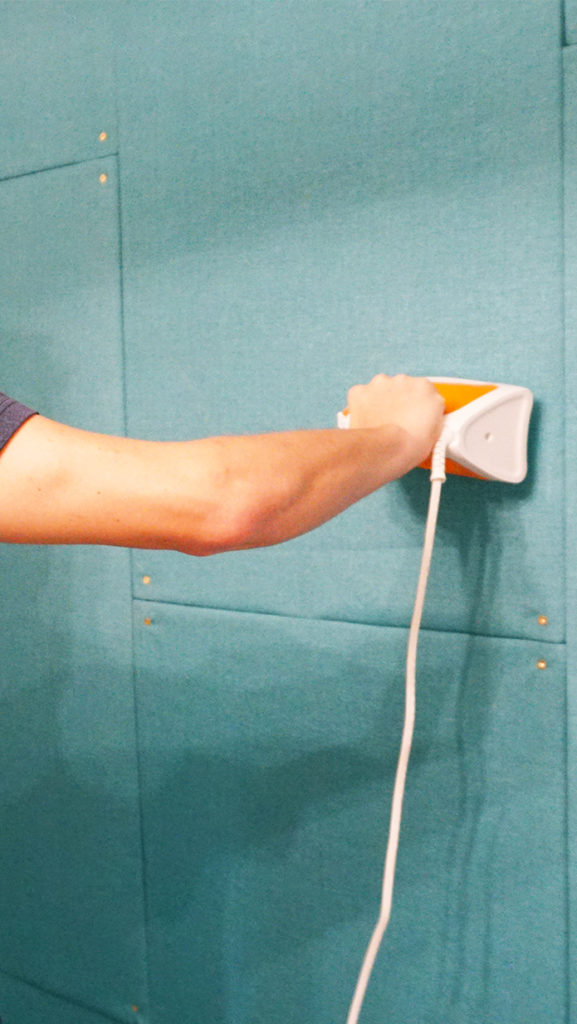
Adhering the Push Pin Wall to the…Wall.
One of of the buildings I learned about during school was the Chapel of St. Ignatius by Steven Holl in Seattle. Along the facade of the building there are these bronze nodules breaking up the large slabs of concrete.
Photo Copyright of: Paul Warchol Photography as shown on Arch Daily
The church was made though tilt up concrete construction. In other words, the concrete was poured in sheets off site, then carried to site and “tilted up” through a series of cranes and hooks that were incorporated in the face during the drying process. The beauty of the exterior is that the designer did not try to hide the means that it was built, but celebrates it. Steven Holl designed a cap for these hooks to highlight the fact the building did not erupt from the ground as is, there is a logic and method that was used.
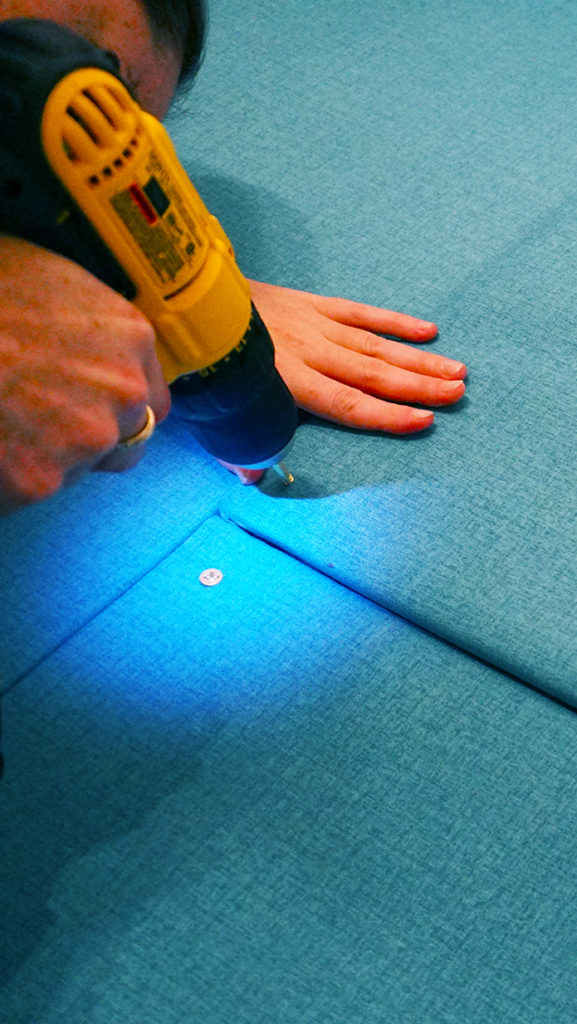
Instead of hiding the screws I sought out some beautiful brass screws that stands out from the blue backdrop. I already expressed joy in the seams that were necessary to the construction of the project it was logical to also highlight the means of adhesion to the wall. The gold of the brass pops and glitters in the wall adding yet another range of textural difference.
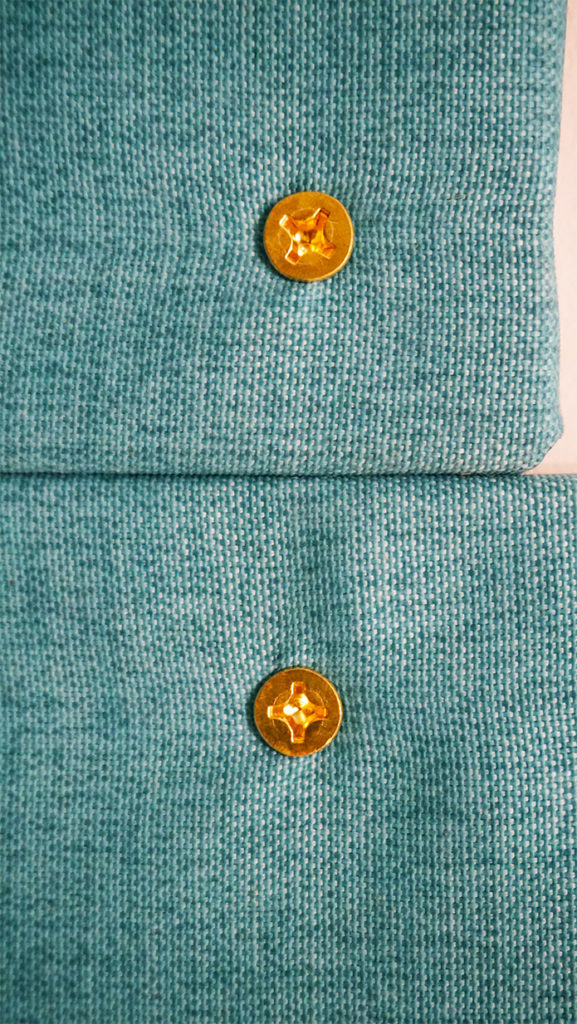
If you wish to hide the screws there are several options. Depending on the fabric, it wouldn’t be hard to make a small slit, take a plain, long, drywall screw and screw the board into the wall and glue the slit behind it. Or perhaps painting the nails, or gluing a small bit of fabric to them. Since I decided not to hide the screws it really depends on what will look best with the fabric chosen.
Expectations of the Push Pin Wall
This wall is definitely a budget wall. If it’s not used extensively it should last decades, however, it is not self healing like cork. Once a hole is made, there is a hole. This means if used extensively the soundboard won’t have the fibrous material for the pins to hold on to. I do not expect to be able to put heavy objects on it. No shelving unless I also put the screws into the drywall behind. I plan to use it for reminders, sketches, and as a means to keep on track with notes and reminders. However it does work as sound proofing board works, it does absorb sound and makes my space quieter which is rather peaceful.
Learn from my trial and error with making Push Pin Walls
- Sound proofing board is awesome to use, but it is messy. Try cutting outside or be prepared to vacuum and clean up after. If using power tools it creates plenty of dust. If this irritates the lungs use the proper safety equipment.
- Be sure to be aware of existing outlets. I covered up an outlet because I had other options nearby. If there are no outlets nearby consider bringing the face of the outlet more to the front of your board or cutting out a hole in order to have access.
- T-squares are your friend. Using a proper sized t-square will create 90° angles which will make the boards line up better. I cut by hand and had to take a sheet down because it was not 90° and leaning too far to wedge the panel beside it.
- It may be a 2 person job. Depending on how large of sheets and how strong you are, having a second set of hands will help immensely with some of these large pieces. Drilling above my head was tiresome. It was nice to have someone help with the high screws or push my arm because it was getting so tired.
- Know the construction of your walls. Again, what is in your walls? At the top of my walls there is apparently a metal something-or-other that I could not screw through. My screws at the top of my push pin wall are two inches lower than the rest because I could not even get it into the wall behind.
- Be careful with Gyp Board! Gypsum Board is like sand wedged between two pieces of paper. When a screw is put through the gypsum shifts and repeated drilling near the same spot may combine and create one large hole that will not hold up the panels. Long screws are entirely necessary because short screws cannot grip onto the gypsum core. (It’s a 3-5/8″ stud wall, just keep below that length.) I was extremely nervous about this but thankfully I did not run into this issue.
- Fabric is useful to hide imperfections. With how mucked up I made the edges of my boards some of them are a little wavy. My fabric relaxed enough to be slightly loose and I was able to push it over and drill them it so it covered up a large gap behind.
- Painting prior may be helpful. In some of my gaps and corners I can see the white wall behind. This is not immediately apparent, so it doesn’t bother me. However if you know it would upset you, painting the wall black or similar to the color of your fabric will help mask that.
I would love to see your interpretations and uses of my method of full length Push Pin Walls. Please email photos of your concepts and outcomes at saturatelife@gmail.com.


