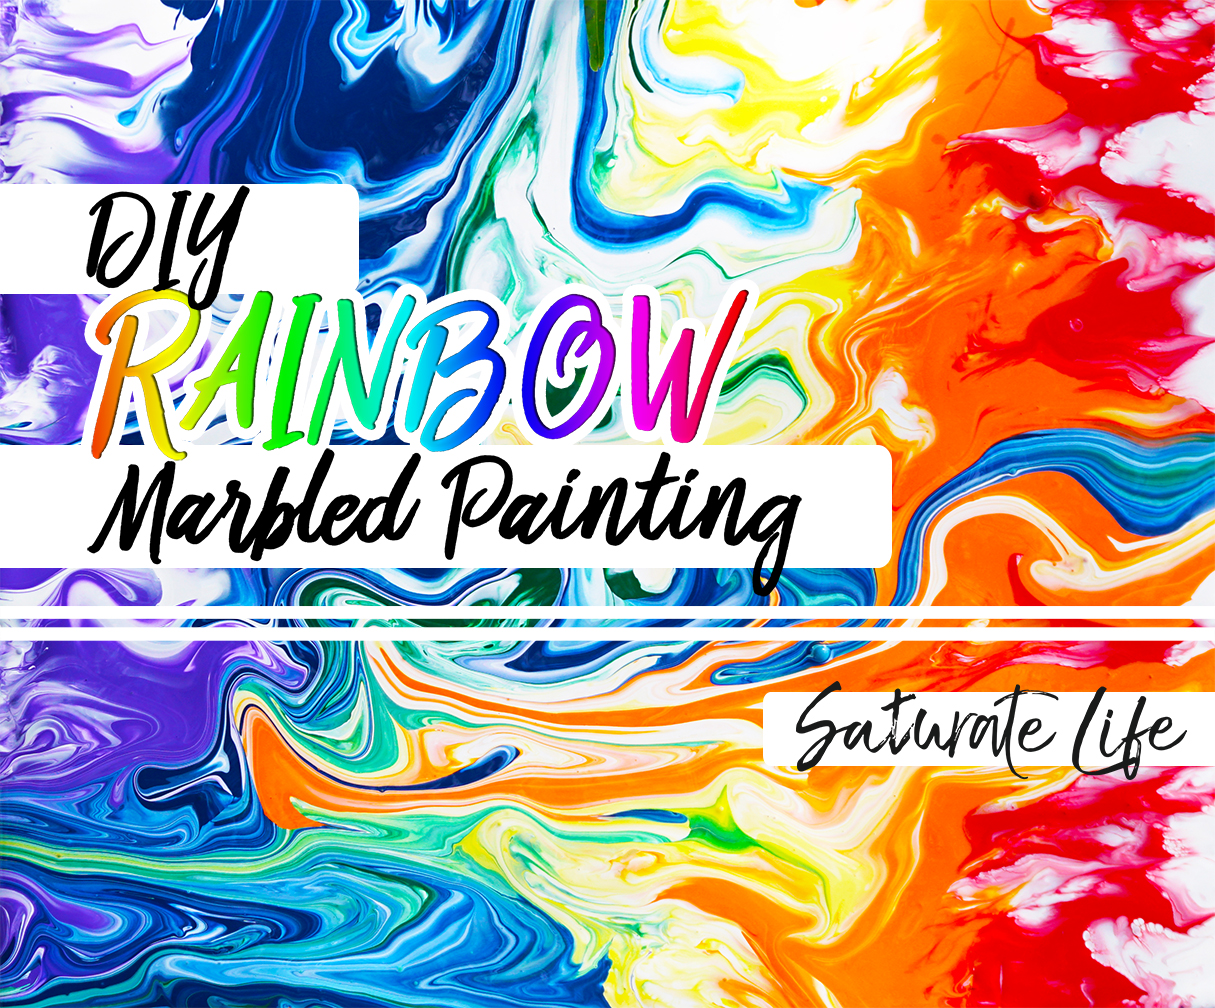
I am really enjoying these fun ways of making marbling techniques. I first tried out creating marbling designs with fingernail polish on plastic items and now I’ve graduated into showing it as the canvas art that it deserves to be. This is a fun project that is foolproof, slightly messy project, and would be fun for kids of all ages (or adults who never really wanted to grow up!)/a Here are some easy, step-by-step directions to have a rainbow marbled painting to saturate your life!
Materials for DIY Marbled Painting
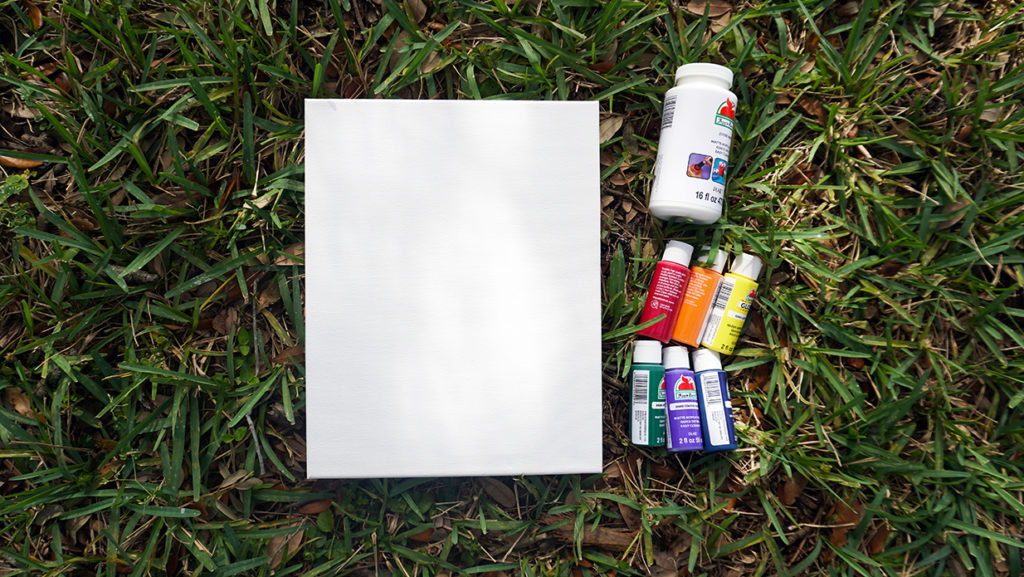
- Canvas (I suggest to keep one side below 12″)
- 2oz Container(s) of chosen Accent Paints
- 4-8oz Container(s) of a Dominate Background Color
- Roll of Plastic Wrap
Setting Up DIY Marbled Painting
This is a little bit of a messy project. If making your DIY Marbled Painting indoors put a bit of newspaper/craft paper down prior to starting. If working with little ones just wallpaper the entire room with newspaper/craft paper. It will make everything easier. Florida has been hit with a cold spell for the past few days and although I have been here for only a few months I’m already whiny. It’s under 50 degrees ughhhhh. But this weekend was pretty, at mid-60s which my Midwestern heart can tolerate so I set up my project outside with my lovely photographer boyfriend, Fitzi patiently helping me (mostly so I don’t get paint on his camera).
Starting DIY Marbled Painting
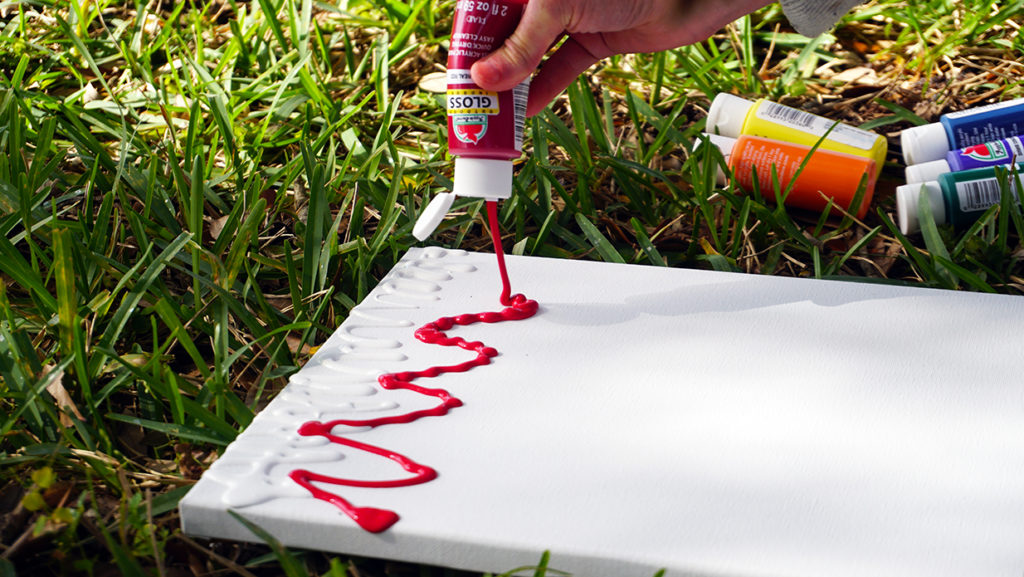
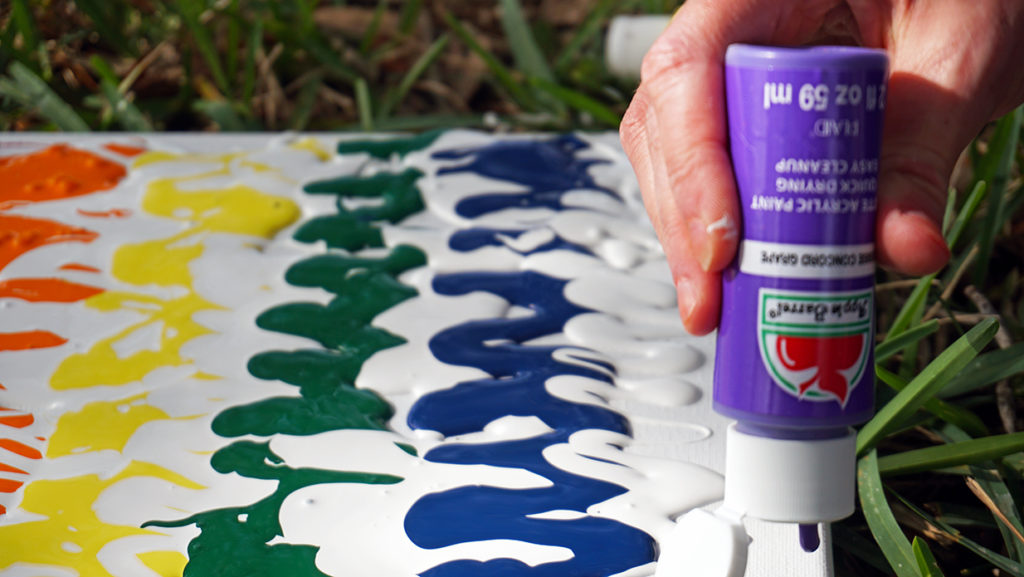
There are two different colors this project needs: The Dominate Background Color and the Minor Accent Colors. I played on hard mode and had 6 accent colors, but this project can be done with as little as one or two accent colors. While typically I would suggest the dominating background to be a neutral color it doesn’t really matter as long as the color is used as a base for all the others to set on.
There are also two ways to approach the DIY Marbled Painting A more systematic approach/ pattern to lay out the colors or just throw that shit everywhere and see what happens. Both reveal some beautiful pieces of work so neither is wrong.
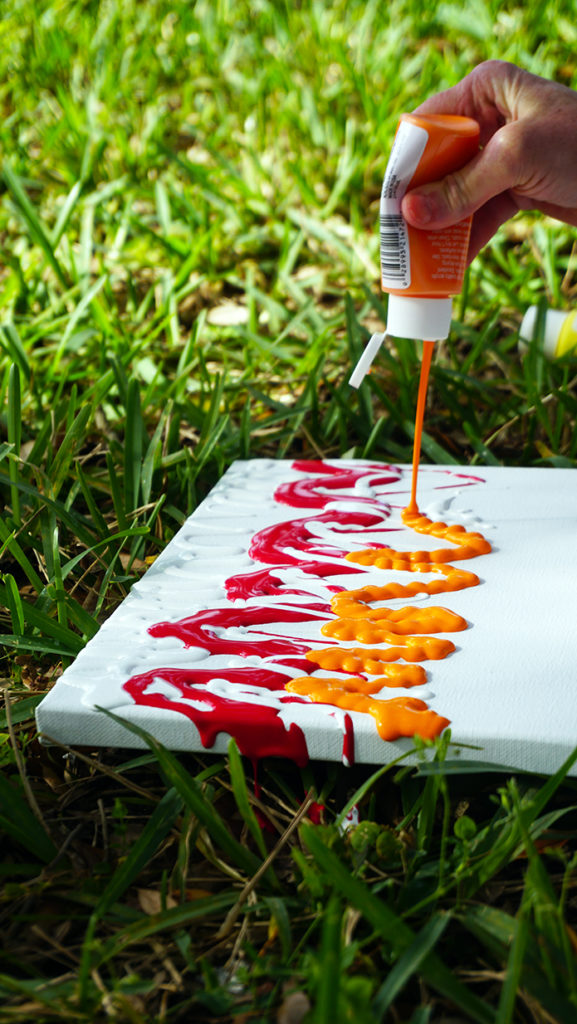
Since I was working with so many accent colors I chose was more systematic. I did not want to mix the paints but instead just marbleize them. If you also have a bunch of colors this would be the way I would suggest approaching the project.
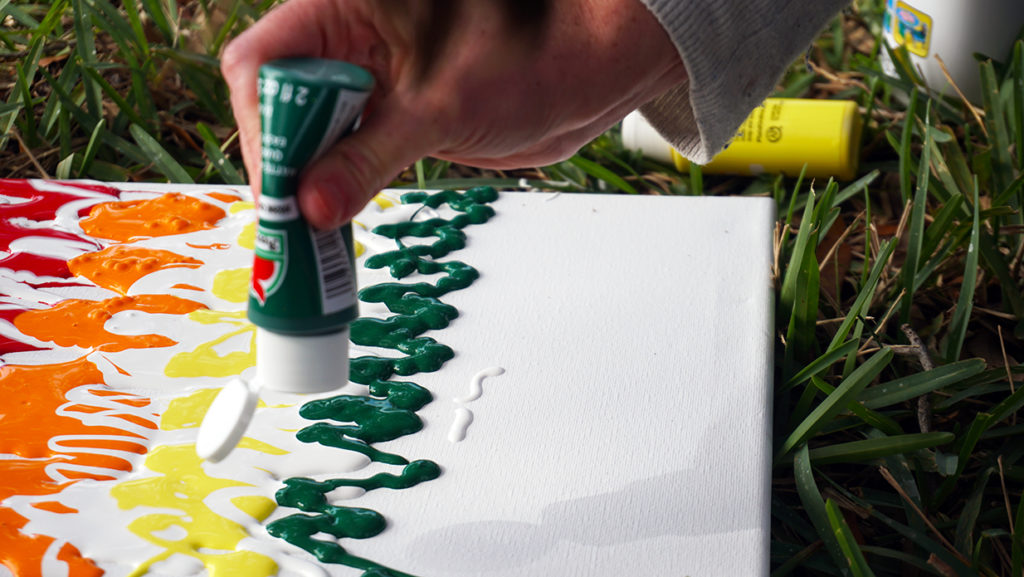
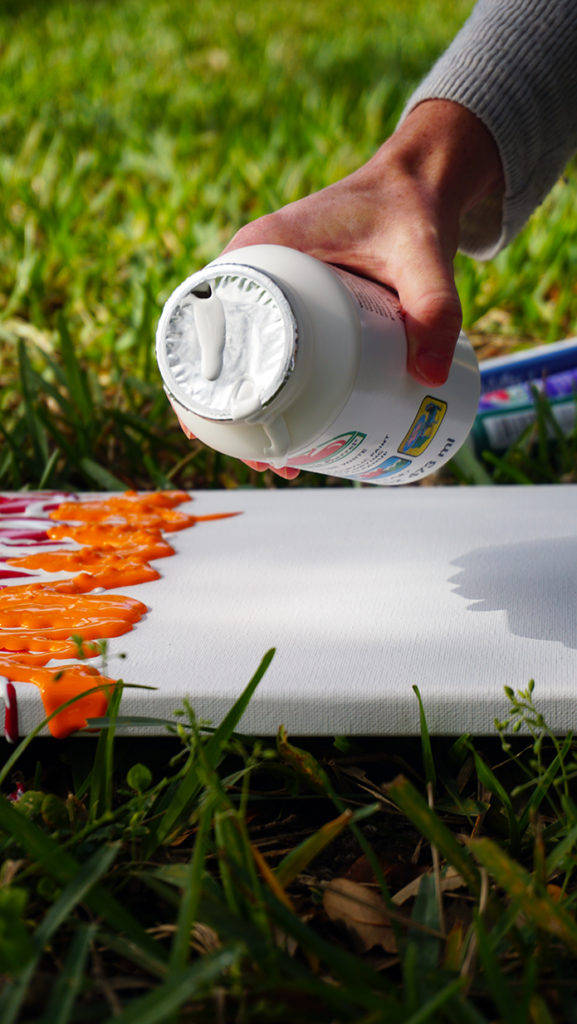
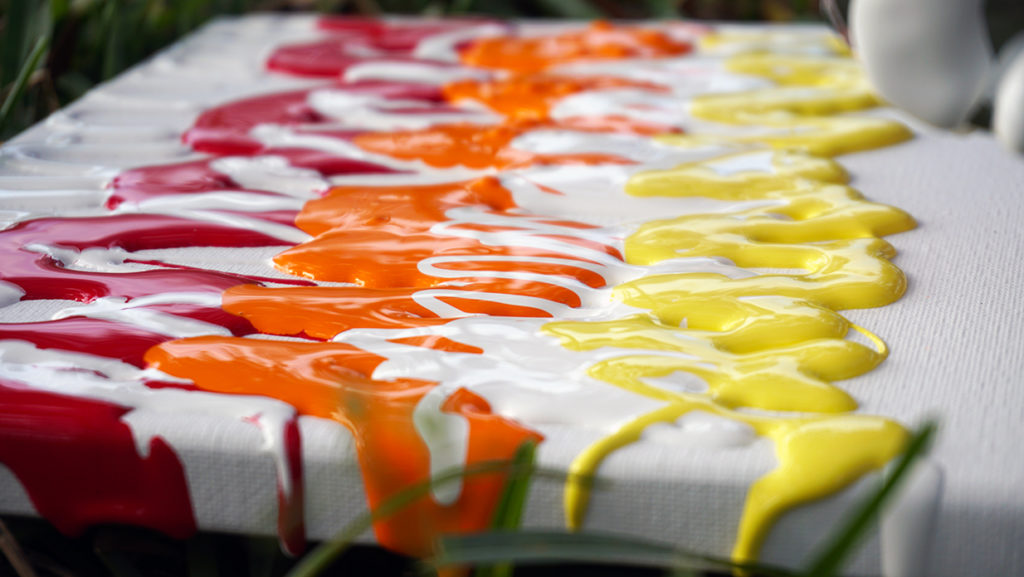
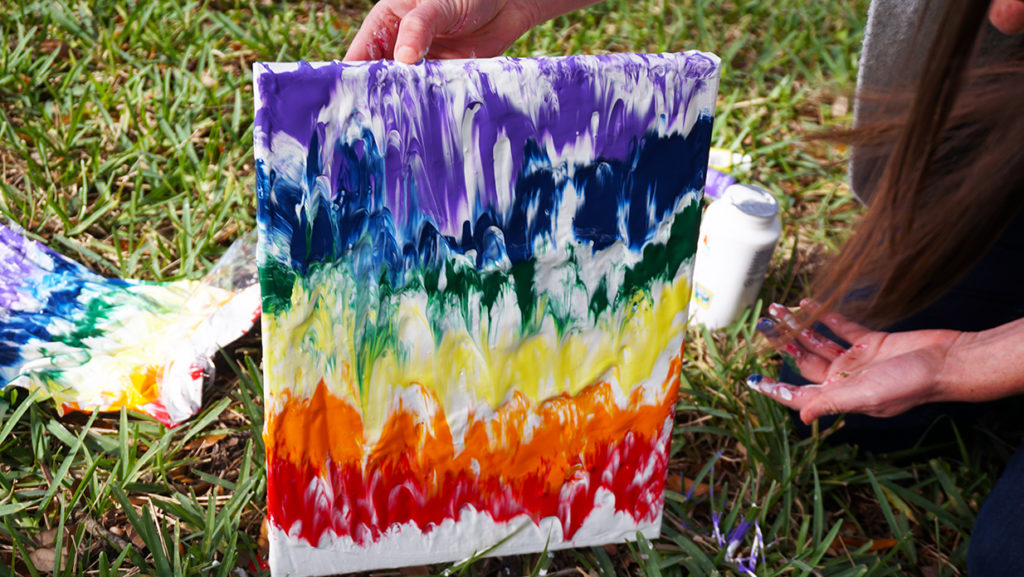
My background color for the DIY Marbled Painting was white. I wanted the colors to have a bright background to separate them a little bit. This way each color can pop on its own. I started with the white then systematically began layering each color on the background in a squiggly row. Between each color, I have a squiggly row of white.
I let each color overlap a little bit but still tried to keep the white pretty prominent.
Plastic Wrap and the DIY Marbled Painting
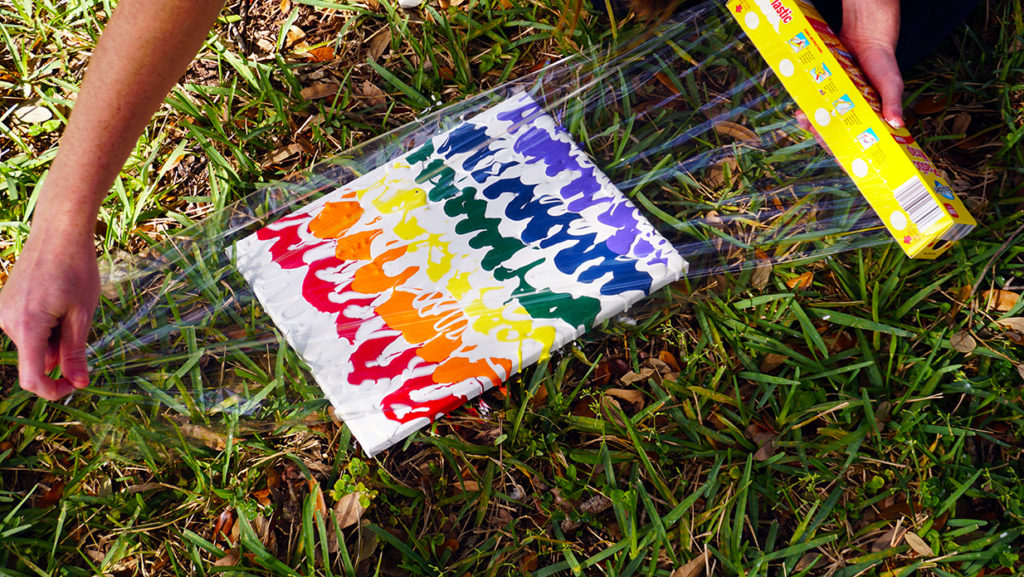
When I was finished with my painting it was time to start the Marbelizing. At this point, we take our plastic wrap (I need something to do with my wrap since I made an eco-friendly DIY Beeswax Wrap to use on all my fruits and veggies) and carefully lay in on the painting. once it makes contact leave it. If it’s askew leave it and get more seran wrap to cover the entire painting. The point is not to have the colors mix. Moving the plastic wrap will do that. This is also why I suggest using a canvas under 12″ most plastic wraps are 12″ wide by umpteen feet long.
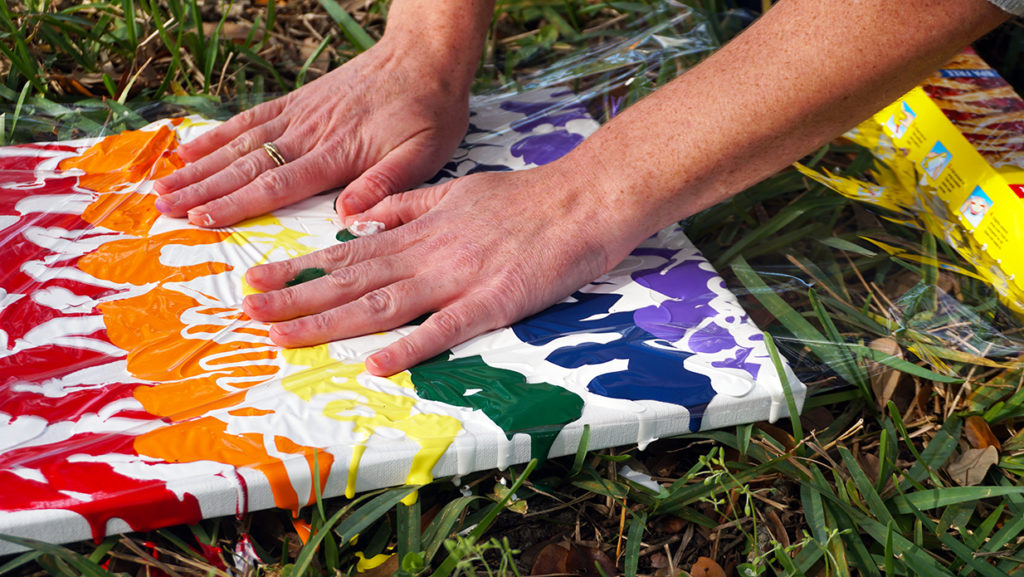
When the plastic wrap is covering the entire painting kinda mash it in with your palms to squish the paint around. Don’t rub think more of a blotting motion. Maybe take your finger to rub but mostly blot to squish the blobs of color together so it covers the entire painting.
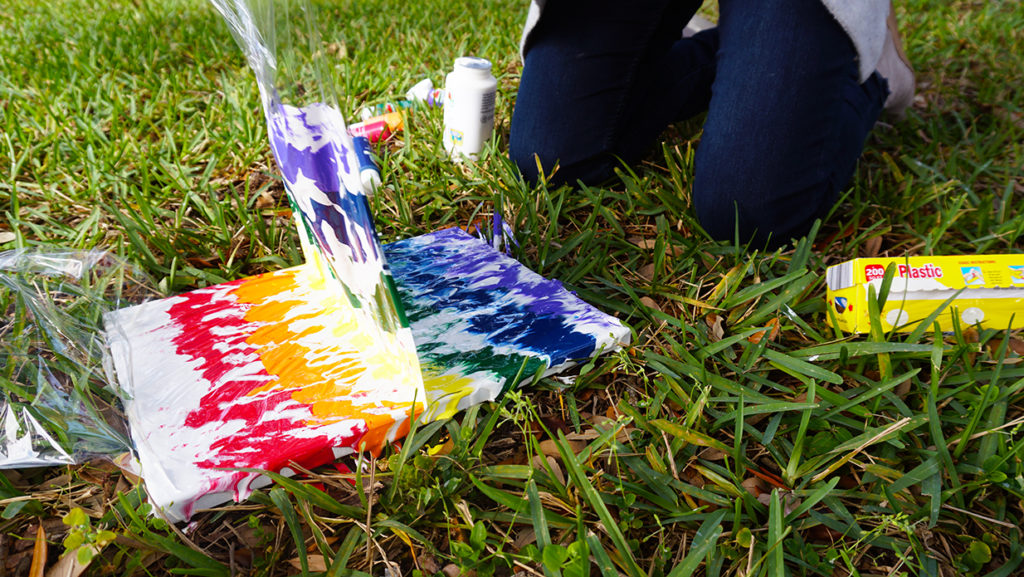
Carefully remove the plastic wrap and set aside. If you want a second DIY Marbled Painting it may be possible just to drape the painted wrap on the other canvas (I didn’t try this) but it certainly looked like I had enough paint on it.
Dripping the DIY Marbled Painting
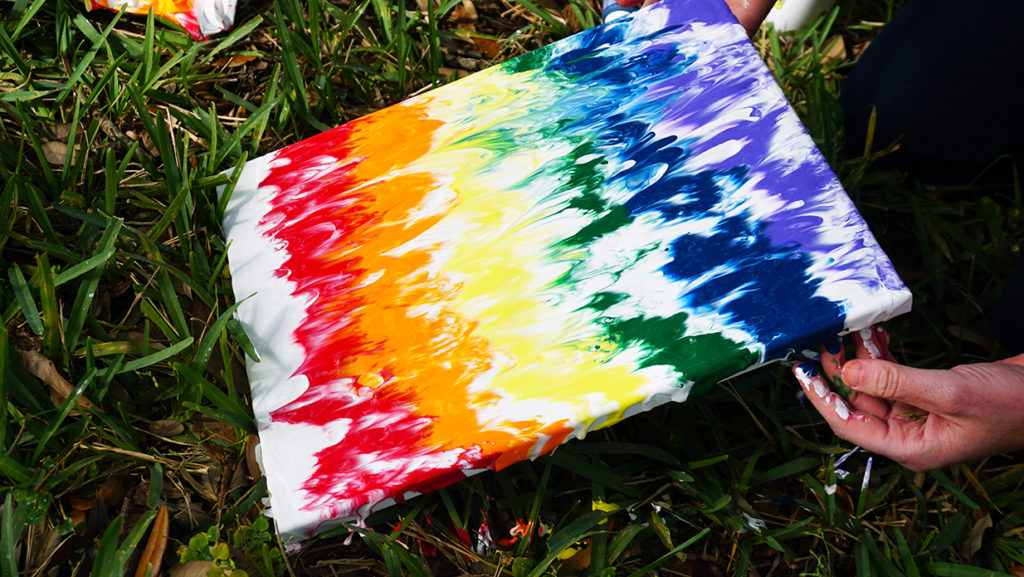
From here most of the paint should still be on the canvas. There should be a decent amount. If you like the painting like this then go ahead and let it dry as is. Otherwise, tilt the whole canvas to various sides to make the paint drip. If it’s not dripping easily go ahead and tap it on its side to help jostle the paint around.
Go one way, then the other.
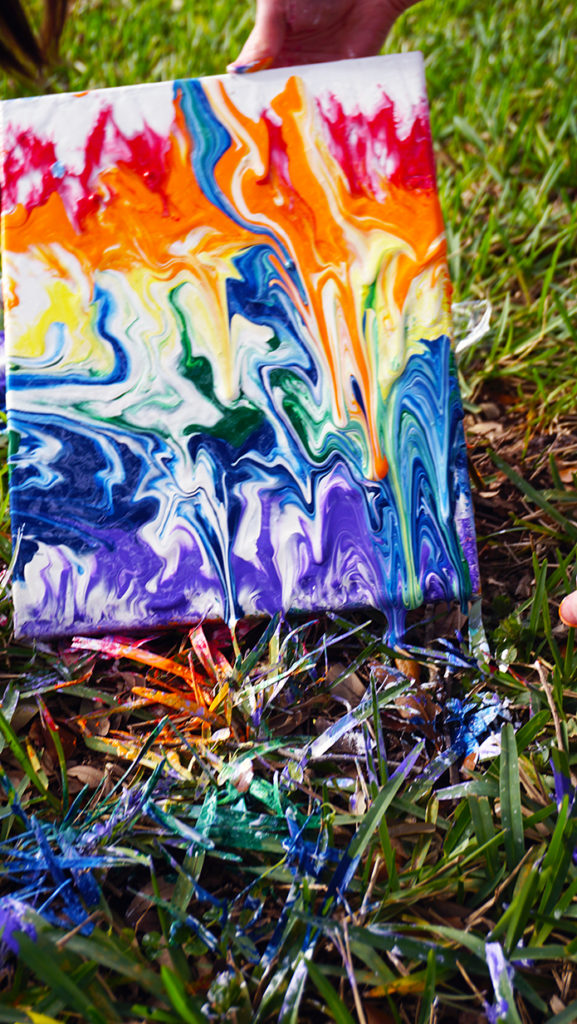
Until the marbling looks the way you want it.
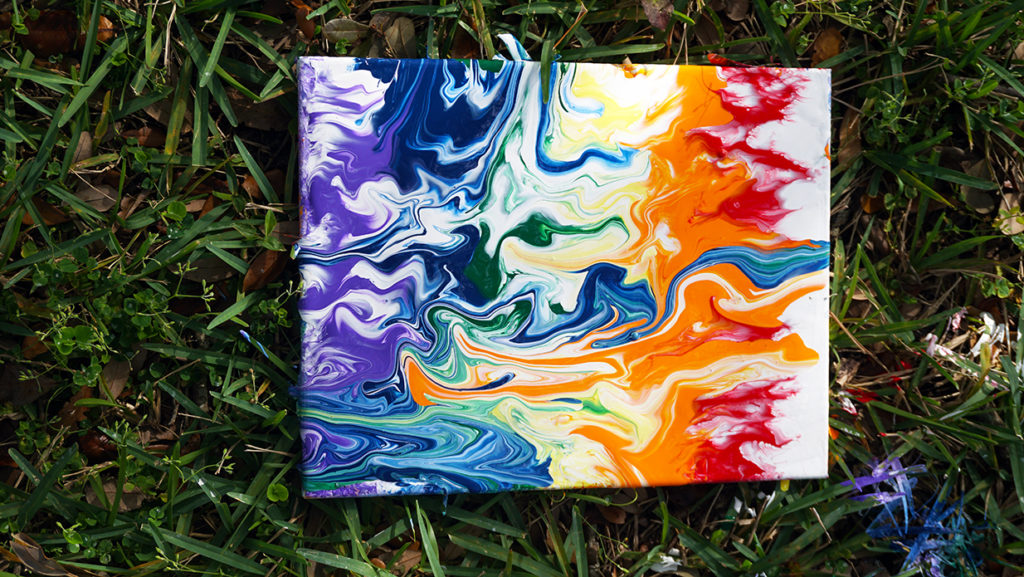
Let the painting dry on a flat even surface and that’s it! A DIY Marbled Painting that is incredibly simple but a really stunning image.
Learn from my Trial and Error in the DIY Marbled Painting
- Be careful about how much paint you put on the painting. In some spots I had a lot, others not enough. Try to coat the painting evenly with colors. You can tell which ones I had too much of because when tilting the canvas they rolled everywhere quickly.
- Use all matte or all glossy paints. I accidentally bought two glossy and they look weird all mixed in. Honestly, I would suggest using all glossy; it just looks nicer.
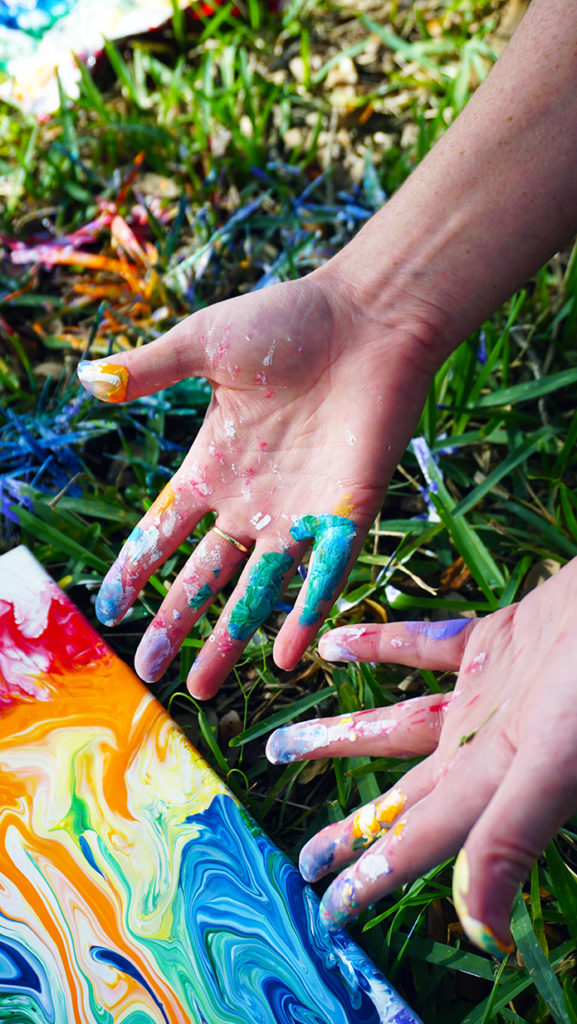
- Just take off the rings and loose clothing. I thought I was careful, but I wasn’t.
I hope you enjoyed this tutorial on how to make your own DIY Marbled Painting. Email me your beautiful versions of the painting at saturatelife@gmail.com and Thank You for Stopping By!
![]()