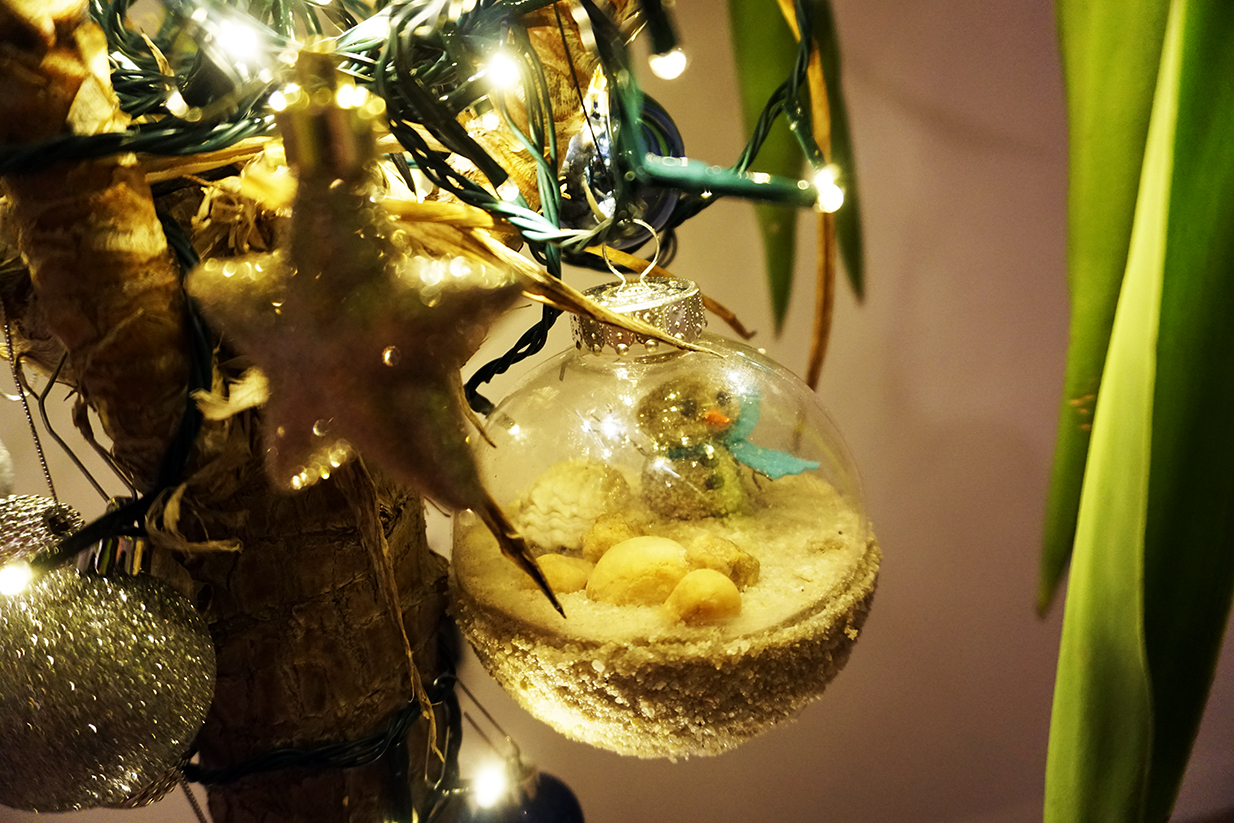
There are only a few more weeks until Christmas! This is probably the most fun I’ve had with Christmas in many years; I’ve been having a blast making our Florida Christmas come to life! This time I took inspiration in making those scenic snow globe ornaments and made it more beach appropriate. Although I used sand I can see glitter being an easy substitute for the sand for a more winter themed look.
Items for Snowglobe Ornament
- Empty Christmas Ornament – Like the 6 pack found here
- Half Sphere of foam to Fit inside
- Decorations to occupy the scene
- White Paint
- Sand or Glitter
- Glue (See my recommendations for Best Types of Glue for DIY!)
Getting Started with the Snowglobe Ornament
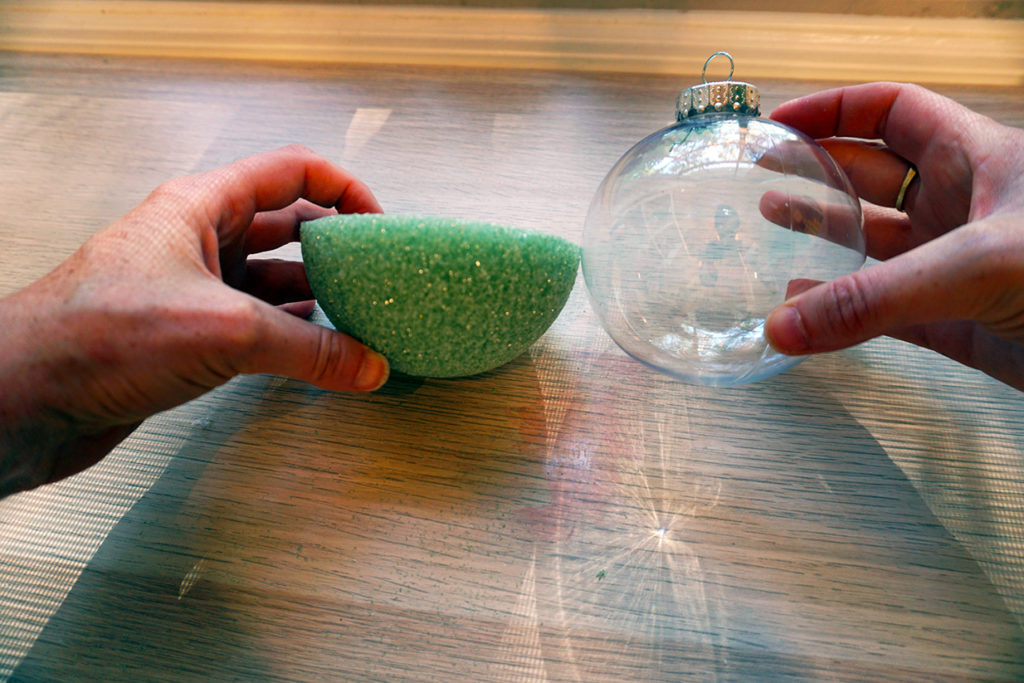
I should have made it easy for myself and got those ornaments that come apart but I craft on hard mode. To start off the snowglobe ornament I decided how tall I wanted my scene and used a hacksaw to cut the ornament where I thought would work. Please note: it wound up being a bit too tall. Err on the side of making the base shorter.
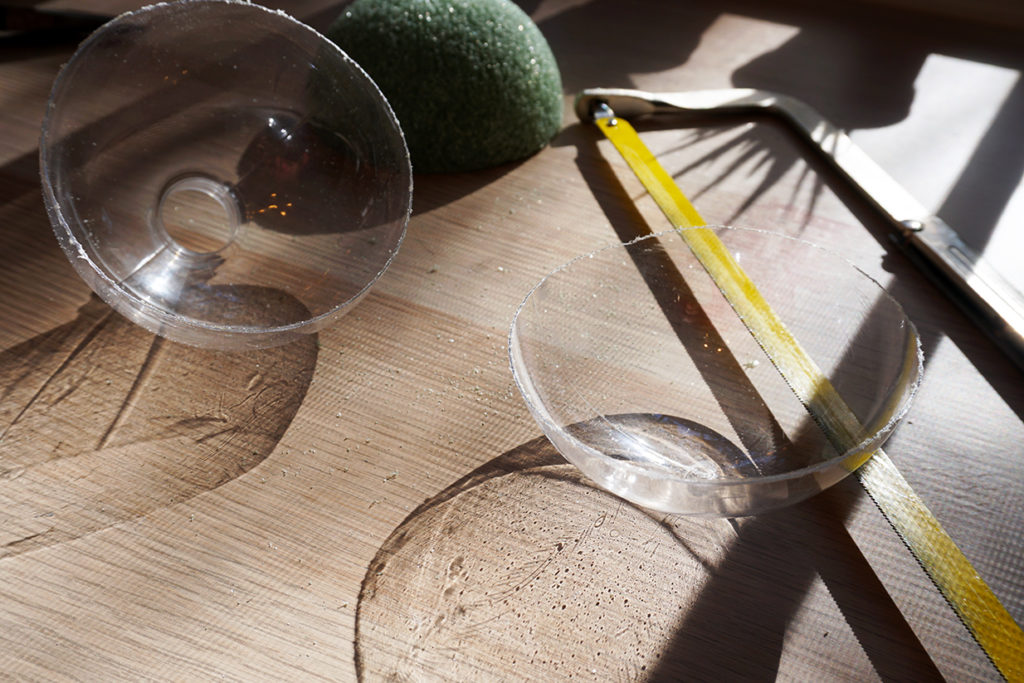
I then took the foam insert pressed it in to the point where the plastic edge actually cut into the foam. This made for a nice little edge where I now knew where to cut the foam insert to fit perfectly.
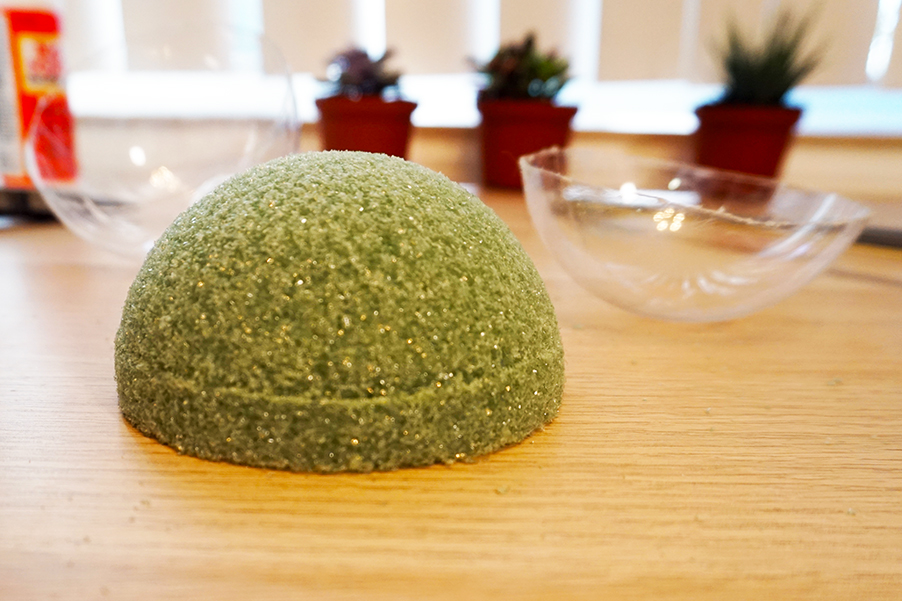
The idea behind cutting open the ornament is to eventually cover up the seam with the sand/glitter. This is much like this ship in a bottle that my grandmother owned. I thought it was amazing! How could they possibly get that ship in there? Did they tweezer it in there piece by piece? It was only until I was an embarrassingly late age did I realize. Oh. There was an accent of a rope at the base. They just cut the bottle and hid the seam with rope.
Making the Scene for the Snowglobe Ornament
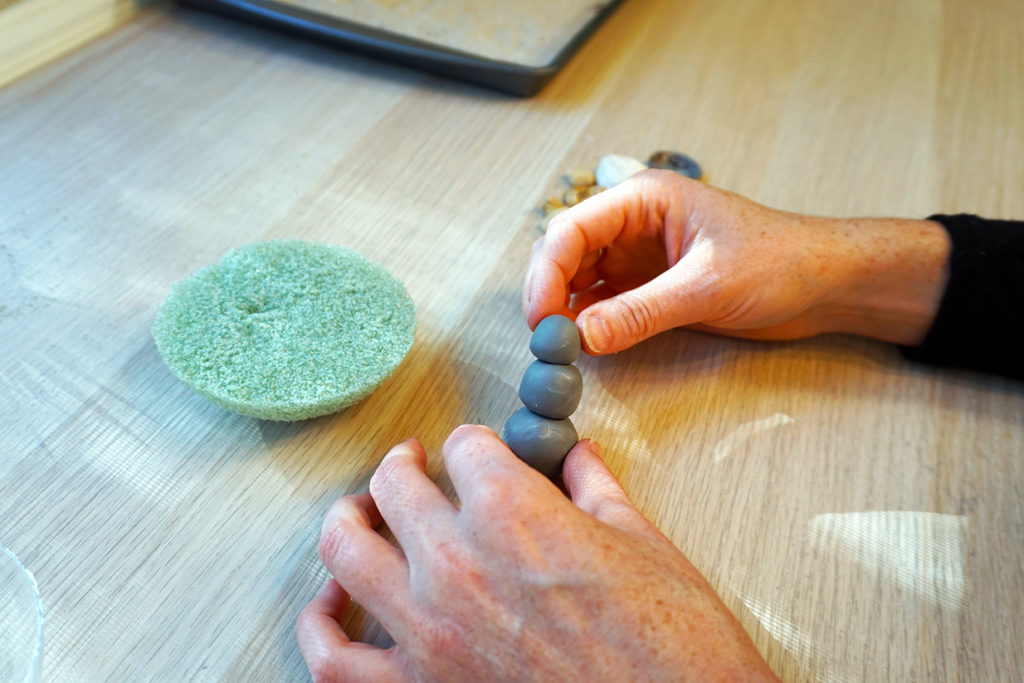
Next, I made the scene for my snowglobe ornament. I decided to add some rocks, a shell and make a little sand-man. This is where it gets fun and can be completely up to the creator on how to manage it. I decided to take some old clay and make the sand-man. However, some of those tiny scenes in Michaels are adorable as well.
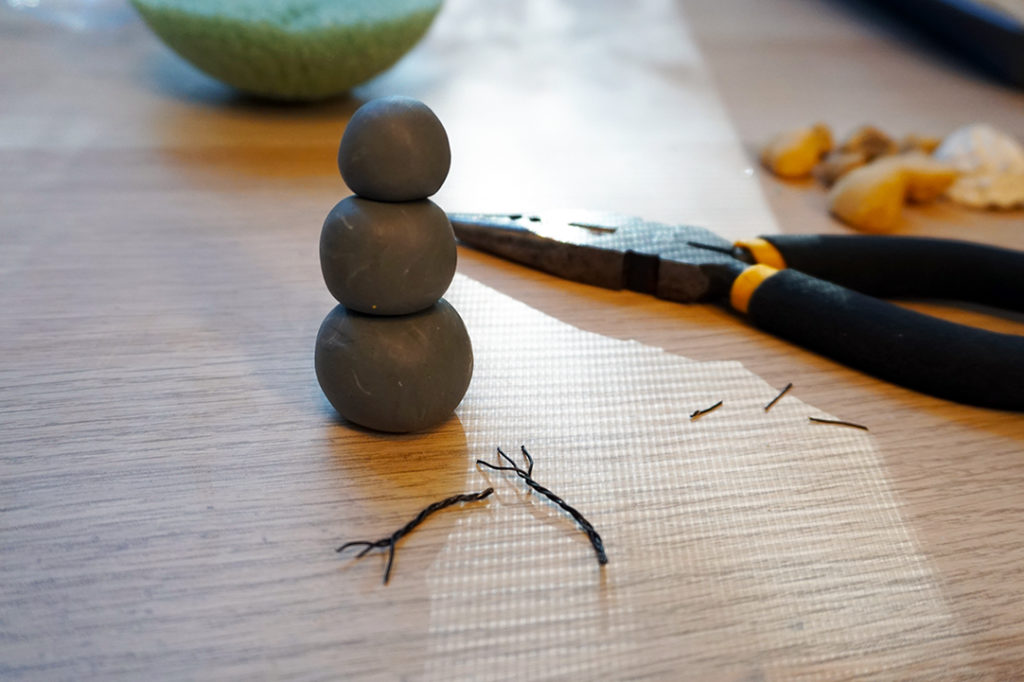
My sand-man for the snowglobe ornament out of some clay I had from a previous project. I only had a little bit of white so I mixed it with black to make this gray. This was a bit of an error. I really suggest keeping everything underneath the sand white. While he was still soft I twisted some thin floral type-wire I also had in my storage container of crafting supplies. Taking three and twisting them tight made for some nice sticks for his arms with three fingers on the ends.
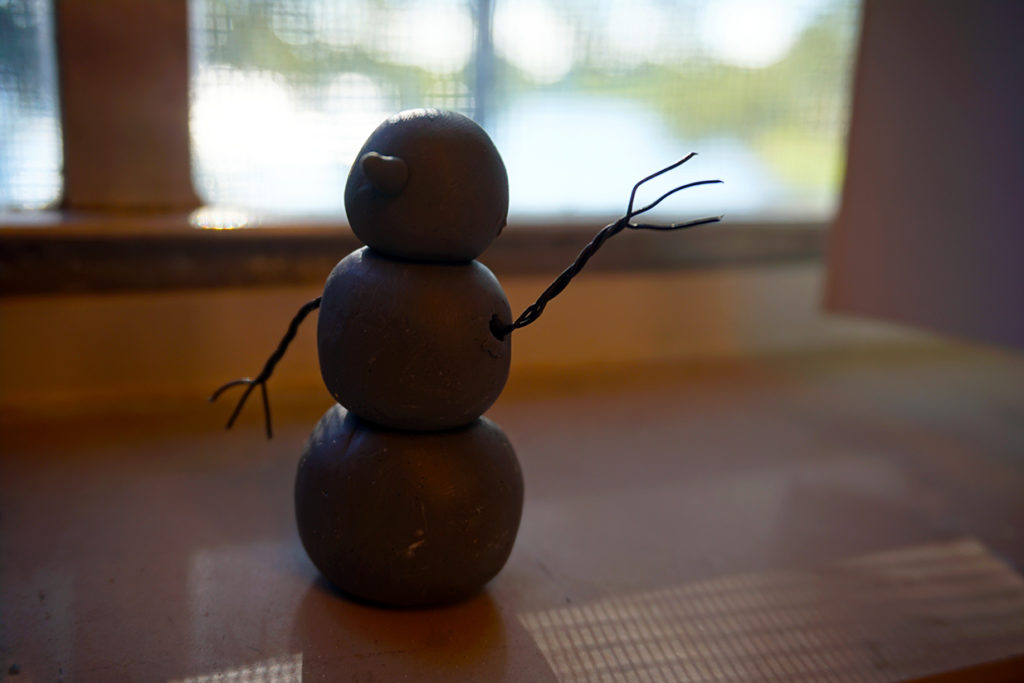
After gauging the holes I proceeded to bake the clay according to the instructions.
Adding the Sand Glam to the Snowglobe Ornament
As the clay was baking I proceeded to start the process of adding sand to my ornament. I got my sand from a nearby beach if you are also fortunate enough to live near a beach be sure to first bake your sand in order to sanitize it.
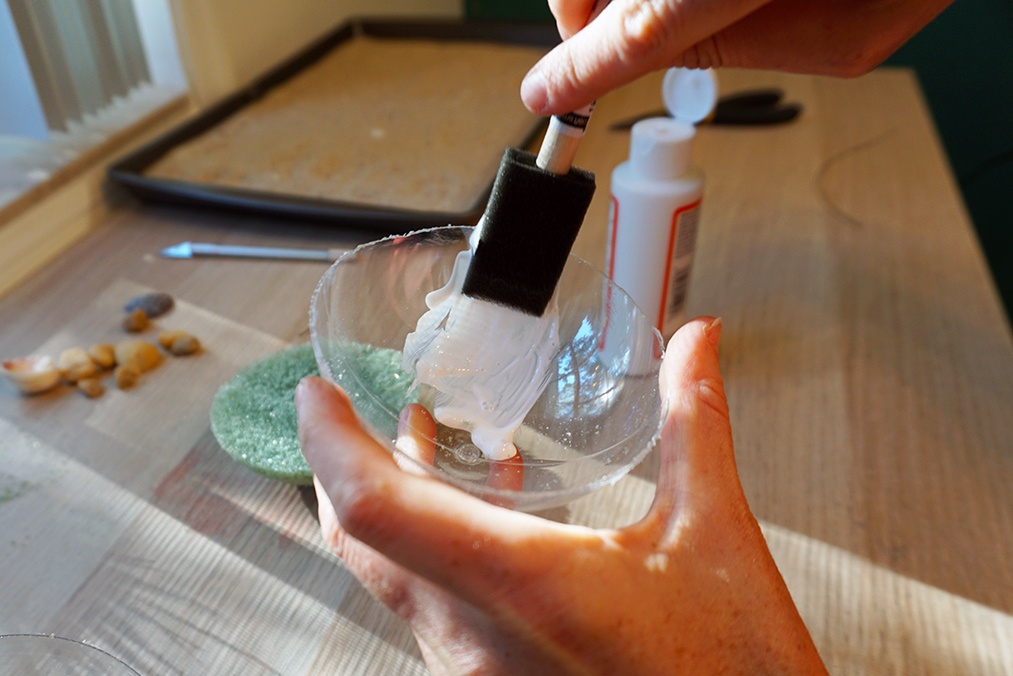
My goal was to coat the interior and the exterior in order to cover up the green of the foam. Looking back I really should have painted the foam ball white or bought the non-halved ball. But that’s why I’m telling you all these things so you can learn from my mistakes. I used a layer of decoupage stippled on with a foam brush to the interior of the ornament which I proceeded to cover in sand as well as all sides of the foam half ball.
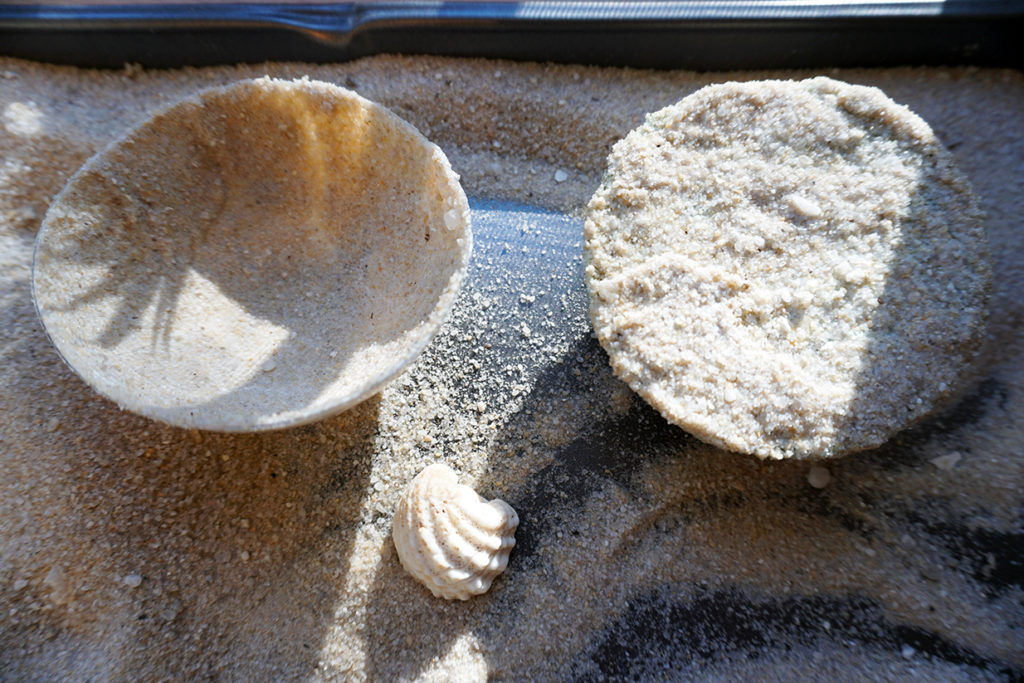
This is where I start having issues with projects. Take the time to wait for the glue to dry before adding a second layer.
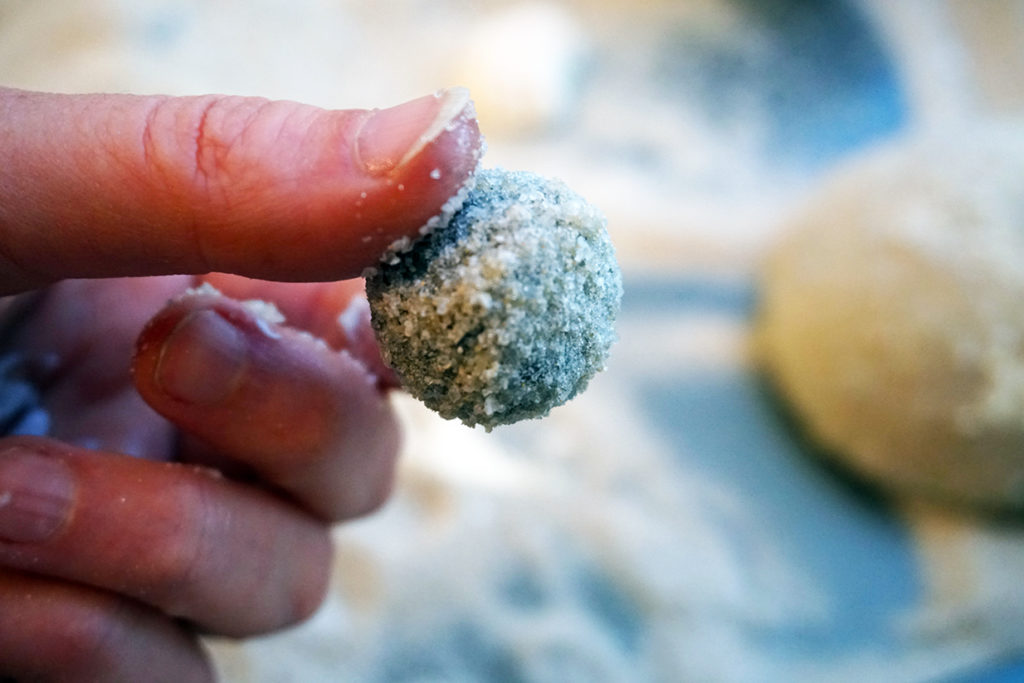
When the clay finished baking I also proceeded to also coat each piece in sand. First putting a dollop of the decoupage in my palm and rolling around the ball in the glue before rolling it in the sand. Again we have the excruciating task of waiting before adding a second layer.
Assembling the Snowglobe Ornament
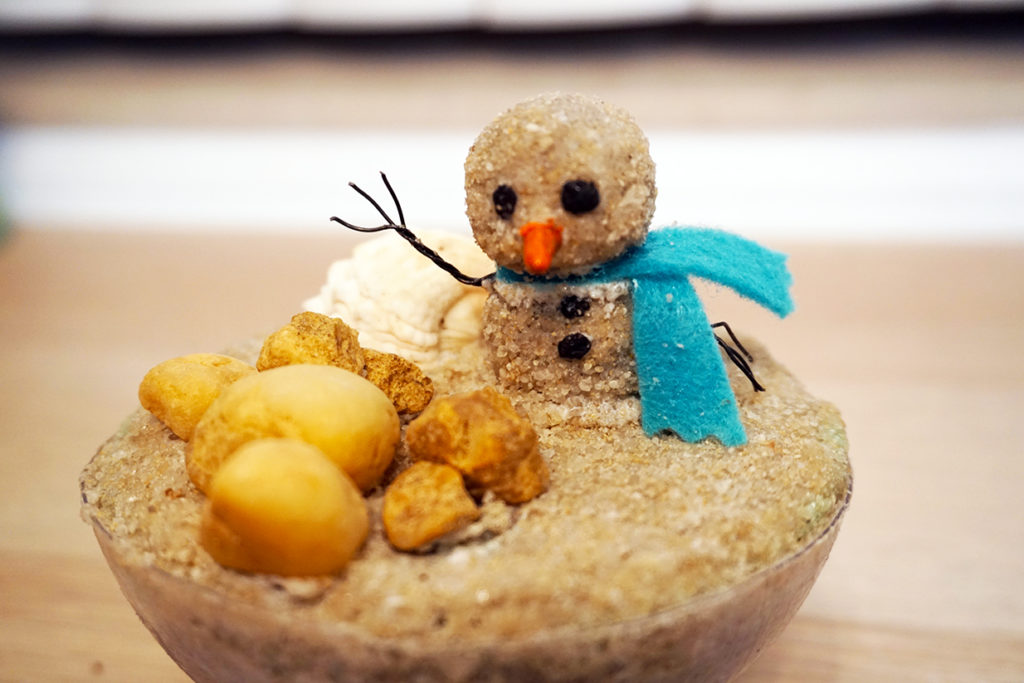
When everything is dry (or not if you’re impatient like me). I went ahead an put the foam inside of the bottom half of the ornament. In this process the extra layer of sand made the foam insert much larger as well as made it not sit quite as evenly. It is the utmost importance to make sure the base is even since the seam will be covered.
From here I started assembling. I used my super thick tacky glue to place all the pieces to the base. This is where I noticed how large my base became. Instead of a three tier snowman I had to cut him back to two. That’s okay though he still turned out darling!
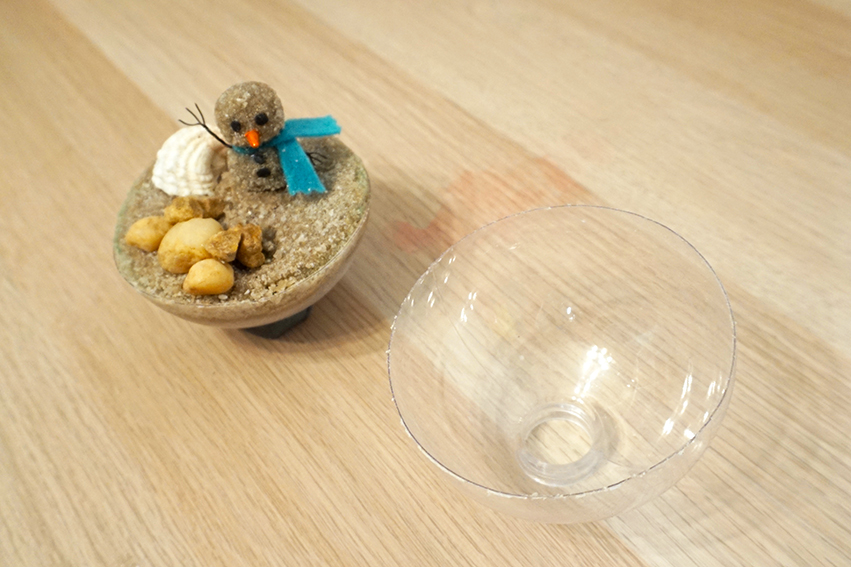
I added some more of that dark clay for his eyes and buttons as well as cheated and painted his nose with some orange nail polish I had around. I honestly loved how shimmery and bright his nose is because of it!
I added another point of color with his blue scarf from some old fabric I had around. It’s the same fabric I used in my DIY Burlap Wreath. The pop of blue really brought out all the tones I wanted within the project.
Putting the Snowglobe Ornament back together.
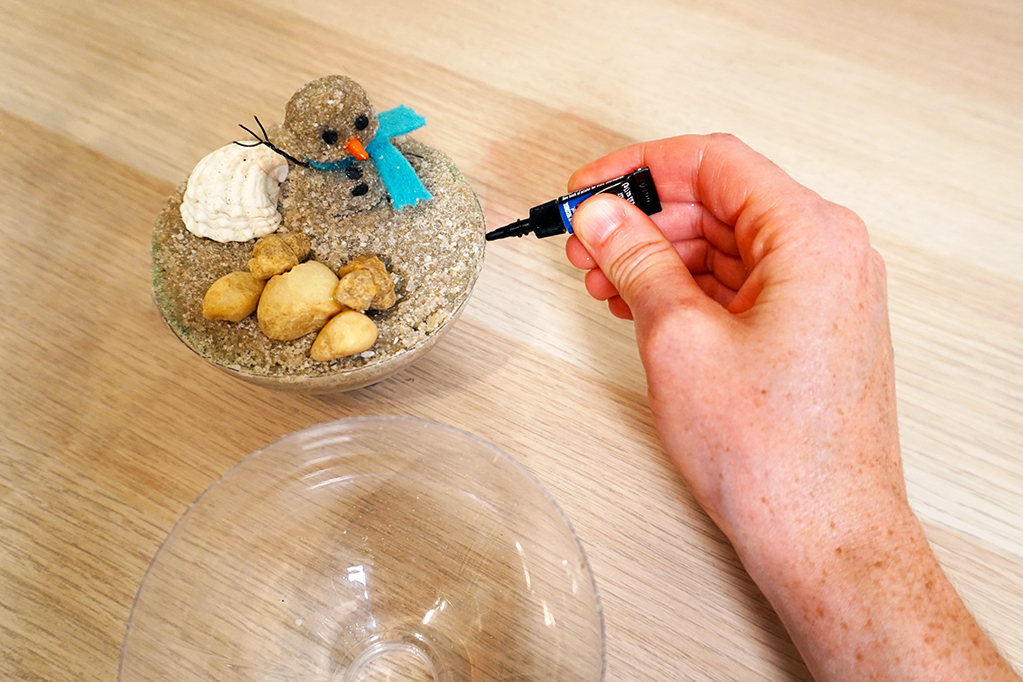
Once the scene in the snowglobe ornament was the way I wanted it I began to glue it back together first with super glue then to seam up the gaps with my super thick glue that I smeared down the sides so it wouldn’t be so thick.
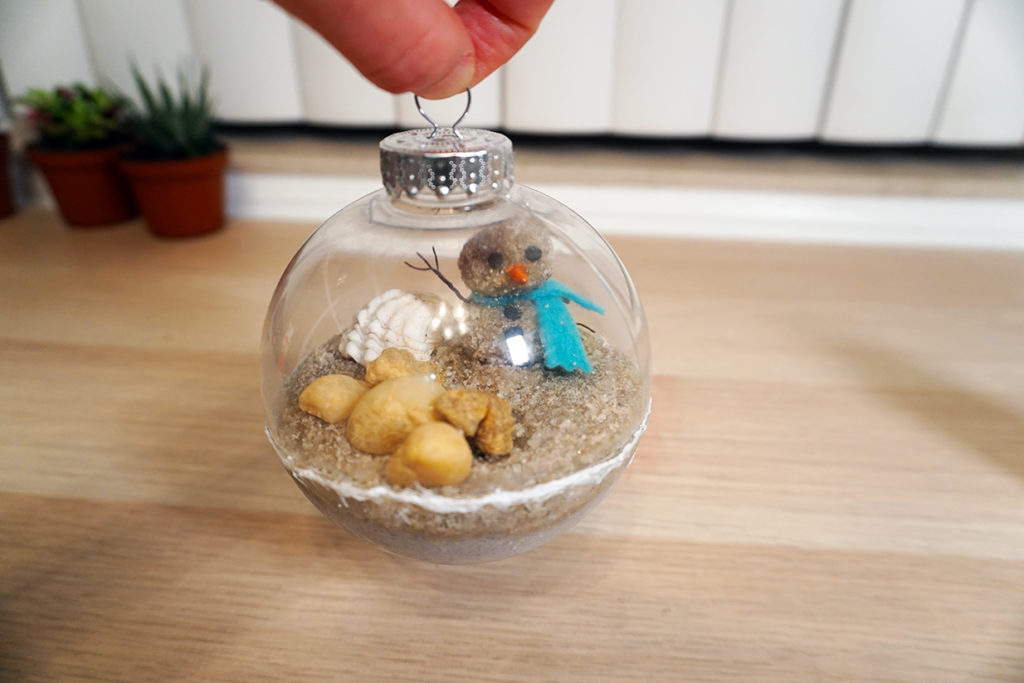 Then there is another bit of waiting, but this one is not very long. Super Glue dries fast. Like around 5-10 minutes
![]()
This is where you hope your scene is glued in well because I proceeded to put it every which way in order to decoupage the base and coat the bottom half in the sand again. From here you want to make sure the edge of the sand line is above your cut line as well as slightly higher than the base inside.
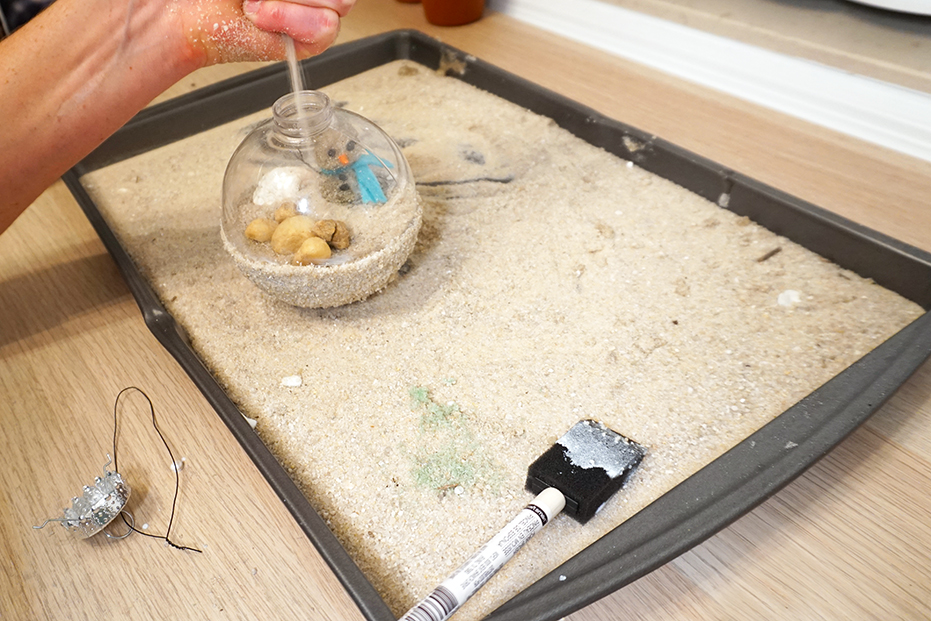
When the sand is at an appropriate height I added in some loose sand that I can roll around and act as a cushion for points where the glue didn’t reach ort the sand didn’t want to adhere.
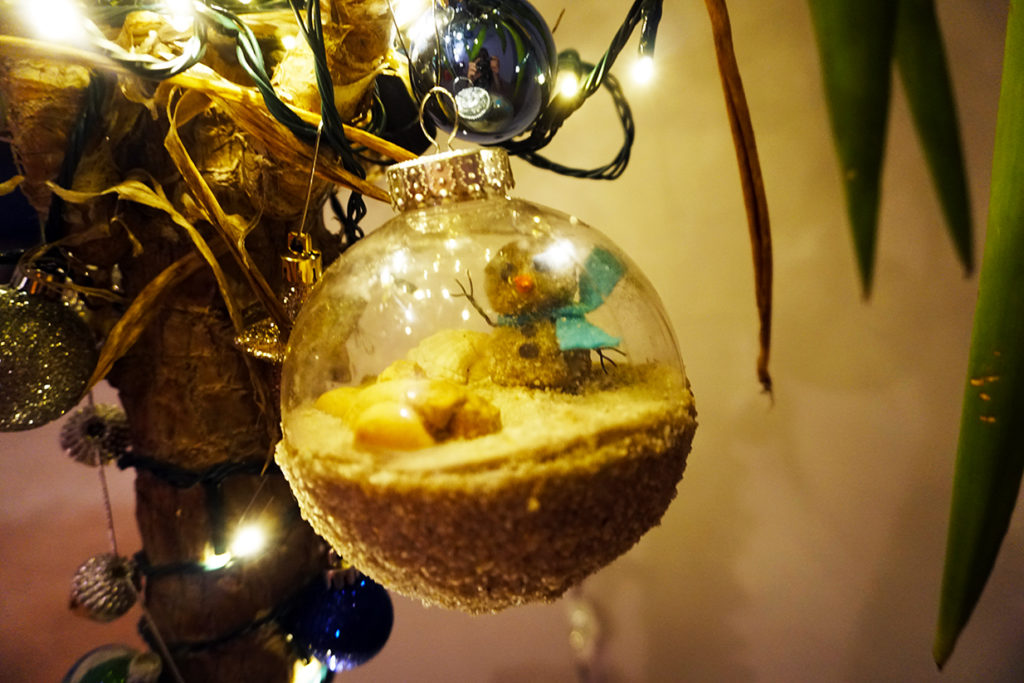
Finishing Thoughts on the Snowglobe Ornament
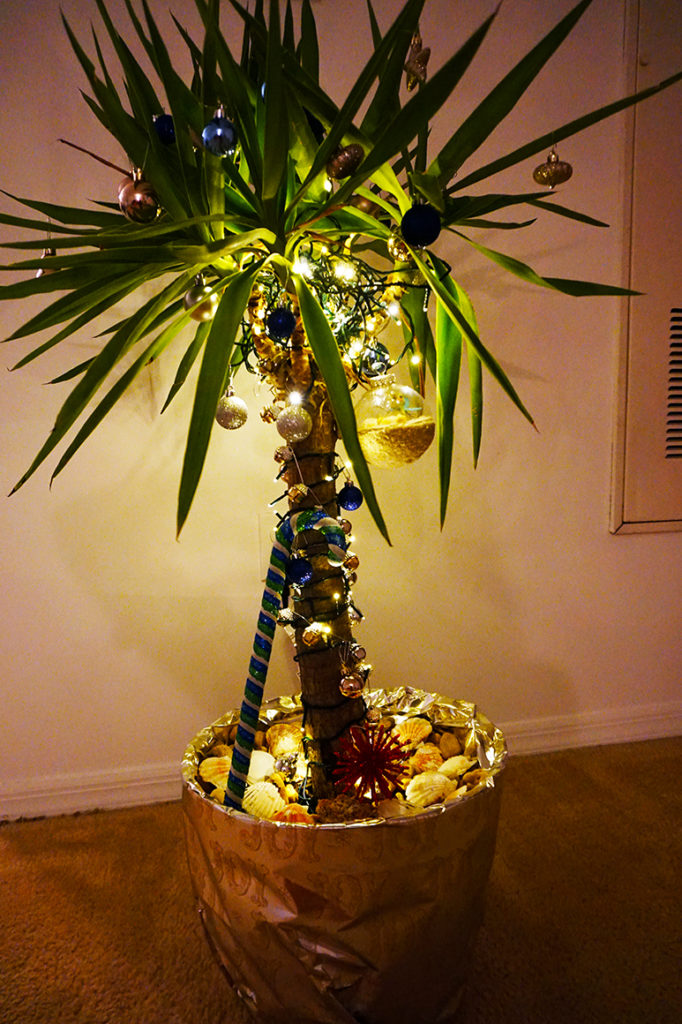
After replacing the top and adding a wire hanger the snowglobe ornament is finished! It’s a fun scene to remind us of our adventure this year and proceed to enjoy the little things in life.
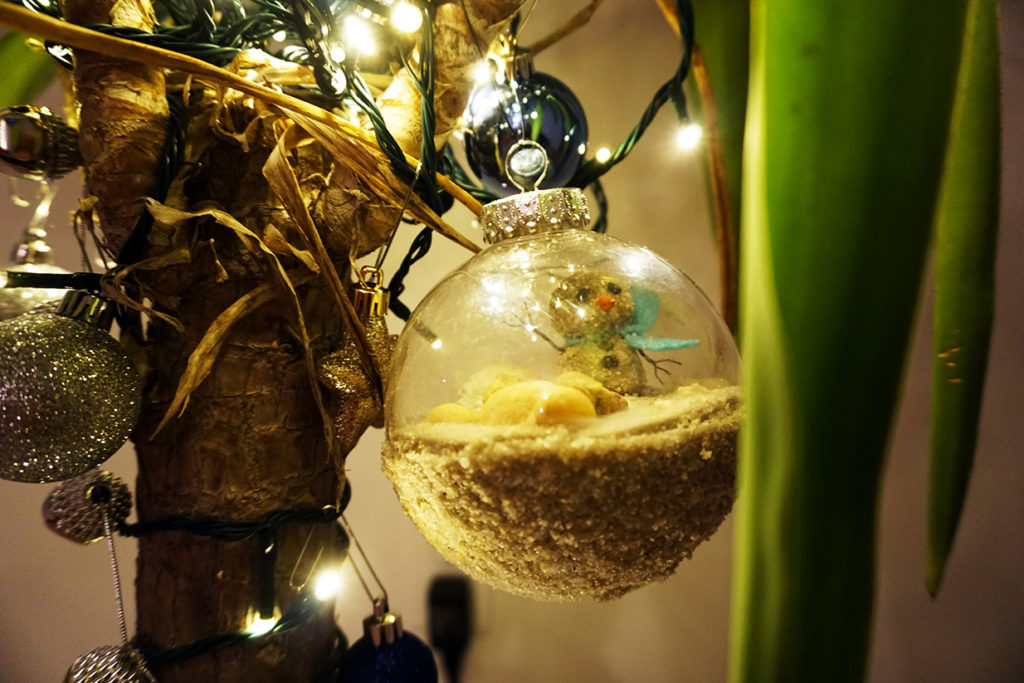
Learn from my Trial and Error with the Snowglobe Ornament
- Sand gets friggin everywhere. Jeeze. It’s even in my bar soap after I tried washing it off. Exfoliant?
- Just get the ornament that already comes apart. It’s nice to not have a seam, but it would be easier to change the height of the foam base.
- When cutting don’t try to use a soldering knife. The gap that melts through is too big to do anything with and it probably increased my likelihood of cancer by 2%.
- Really I feel bad because there was sand on the camera. It’s kinda amazing how sand gets everywhere.
- Make sure everything under the sand is white. I’m a bit disappointed in how dark my base and sand-man look because of the dark base I put the sand on.
- Definitely, wait between coats otherwise the sand will become this gloopy mess that kinda collects at the bottom making it all white.
- The sand is also a bit dusty and dirty. So my snowglobe is a little bit more unclear than I would like.
- Unfortunately, mine turned out fairly heavy. I’m glad I glued everything down okay because the top had accidentally slipped off a few times and the whole thing fell a few times. Since the sand is so dense it makes it difficult
- Ugh Sand.
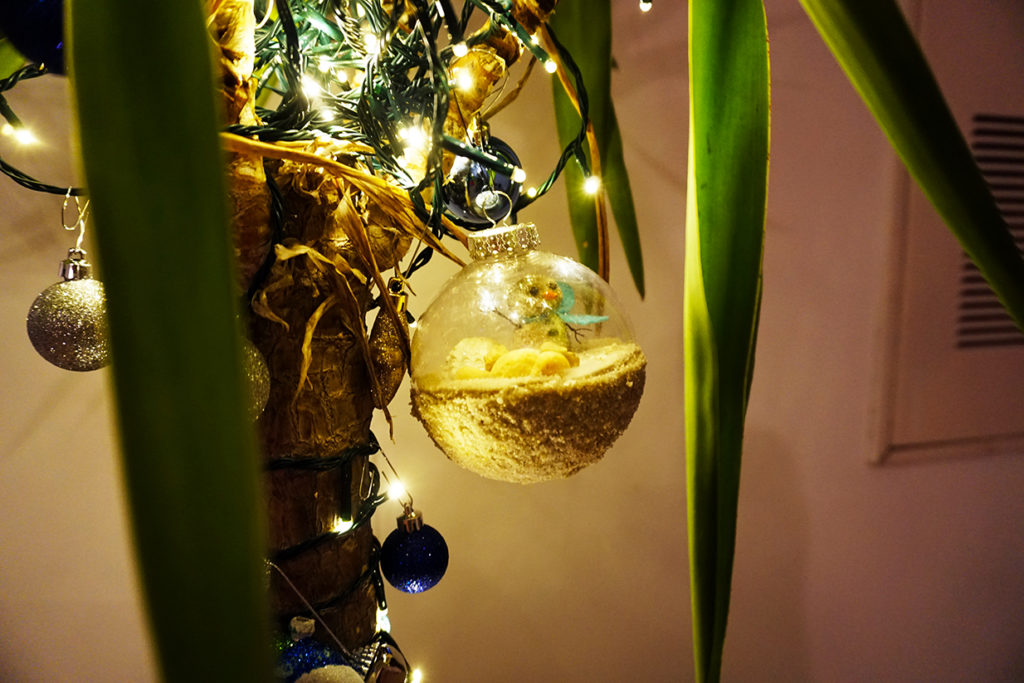
Thank you for looking at my instructions for a DIY Snowglobe Ornament. Please send me your renditions of your Snowglobe Ornaments at saturatelife@gmail.com


